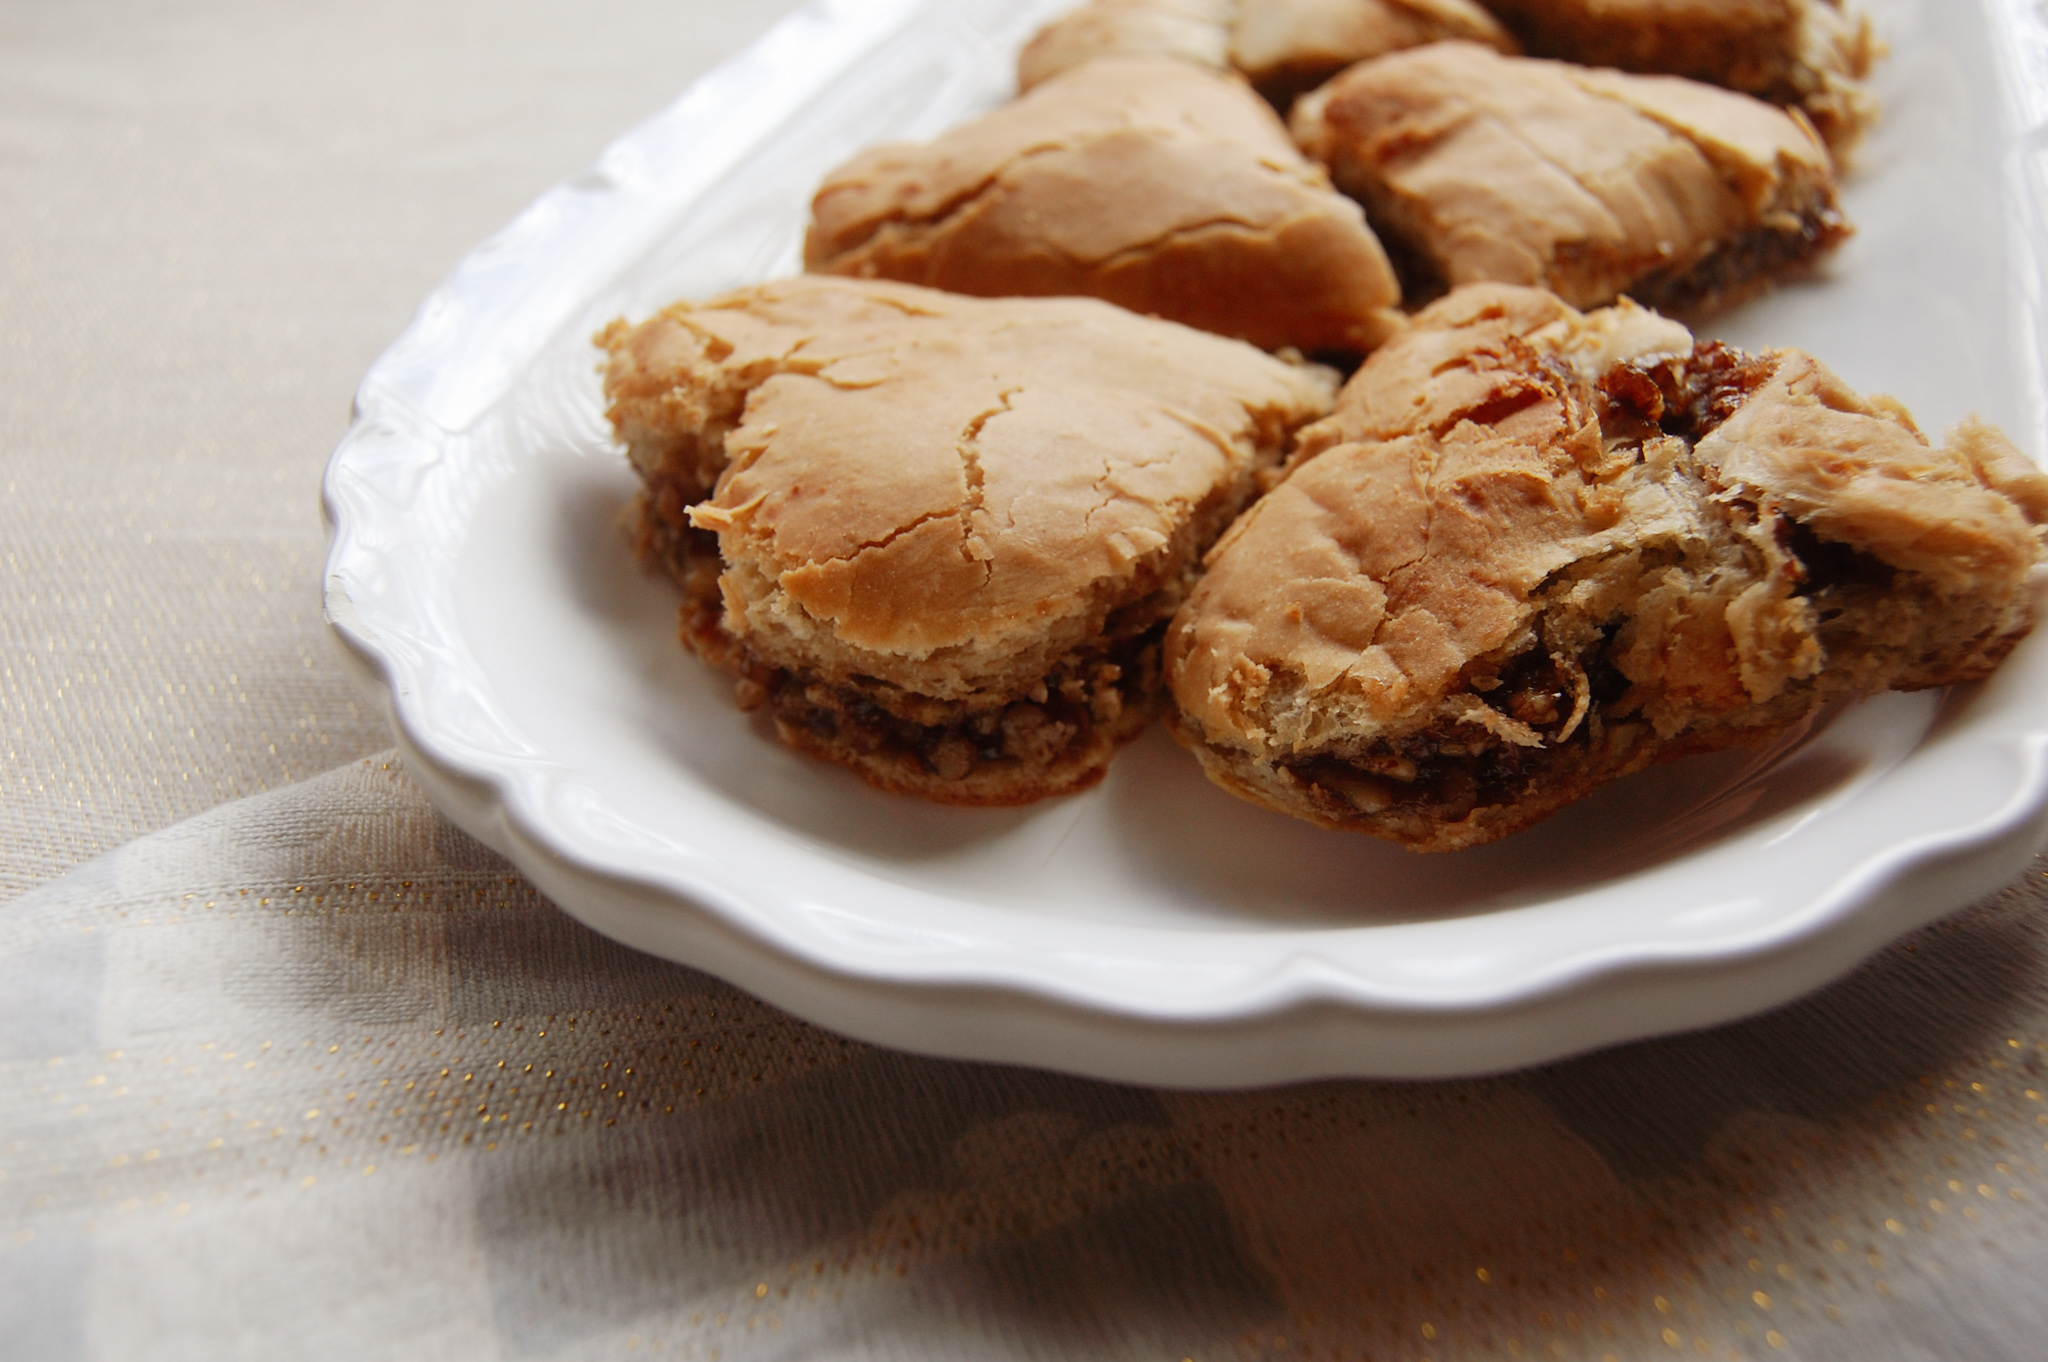
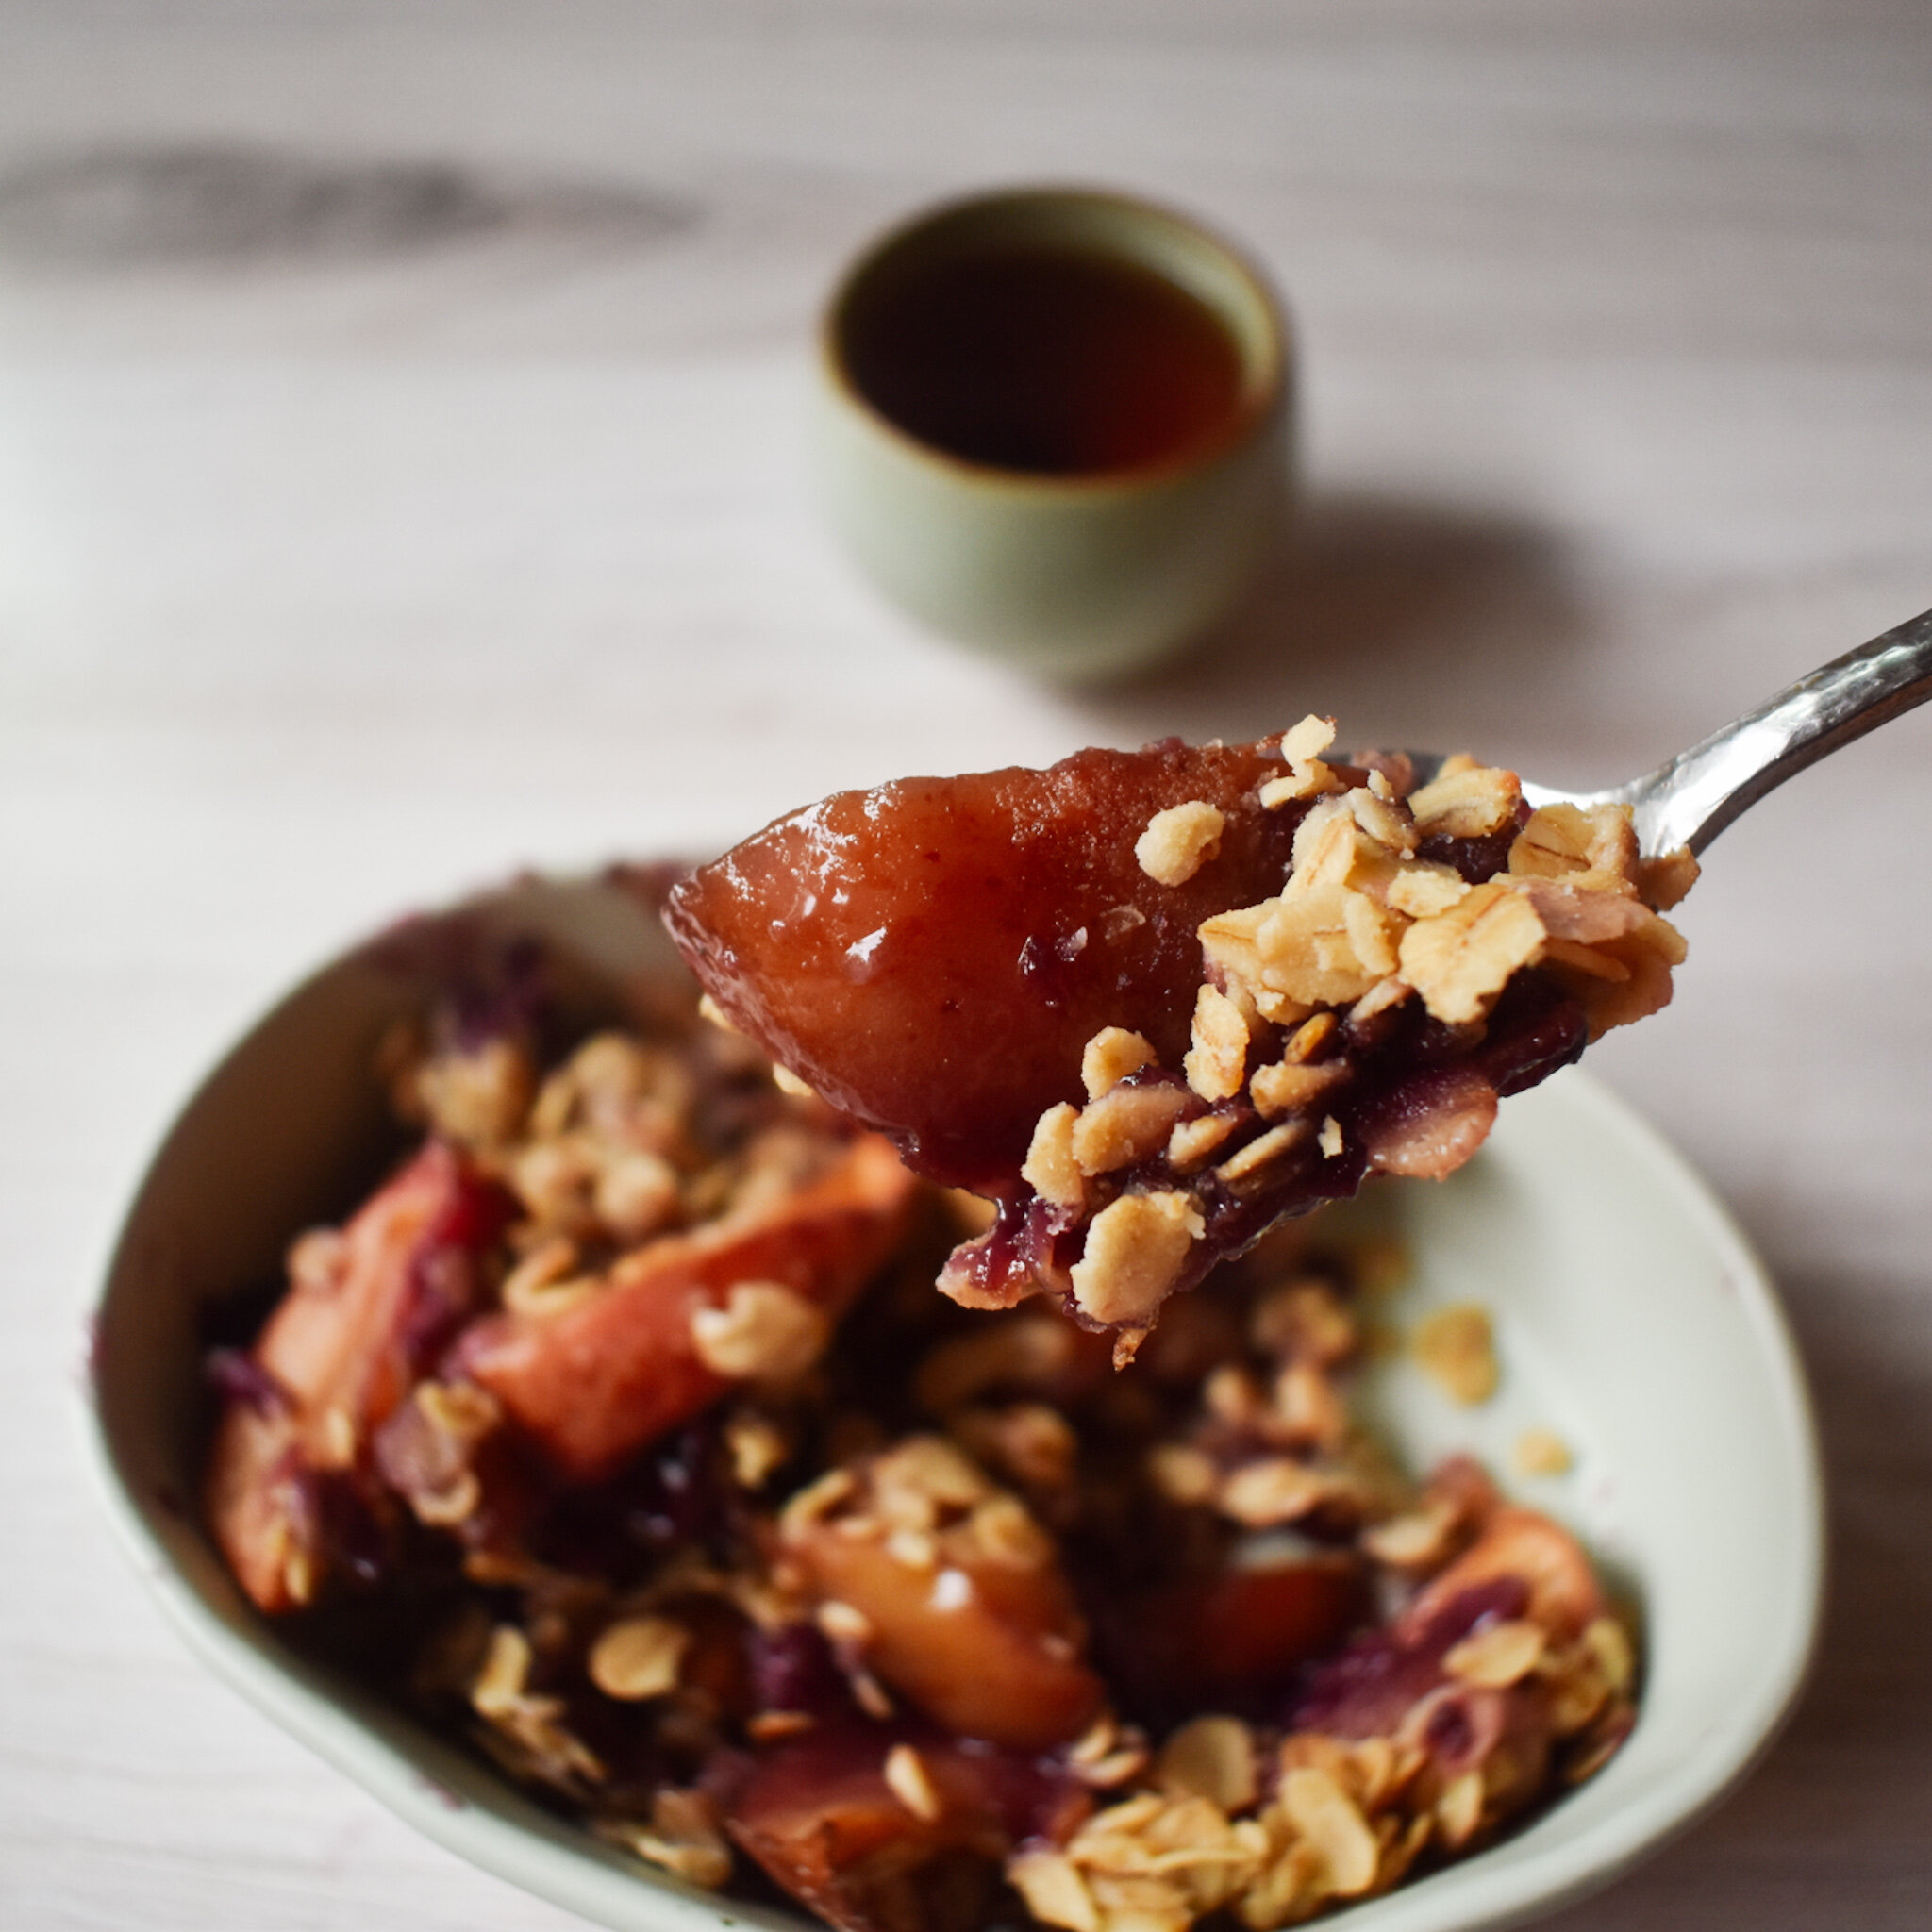
White Tea Apple Crumble

Crumble? Cobbler? Crisp? What’s the difference? Honestly, I don’t know. Even after looking them all up several times I see people refer to different things, different ways. That’s ok.

I’m naming this dish a crumble because to me, it’s a little crumbly just how I like it :)

This is another super simple recipe. While I will do some more in depth recipes too, to keep me on my one blog post a week routine, I need to keep things simple most of the time. The benefit of this is that I can figure out how to use ingredients I have on hand to create yummy things and share that with you too!

So today’s quick recipe, you need:

-Apples

-Butter

-Rolled oats

-Flour

-Baking soda (optional)

-Lemon

-Brown Sugar

-White tea

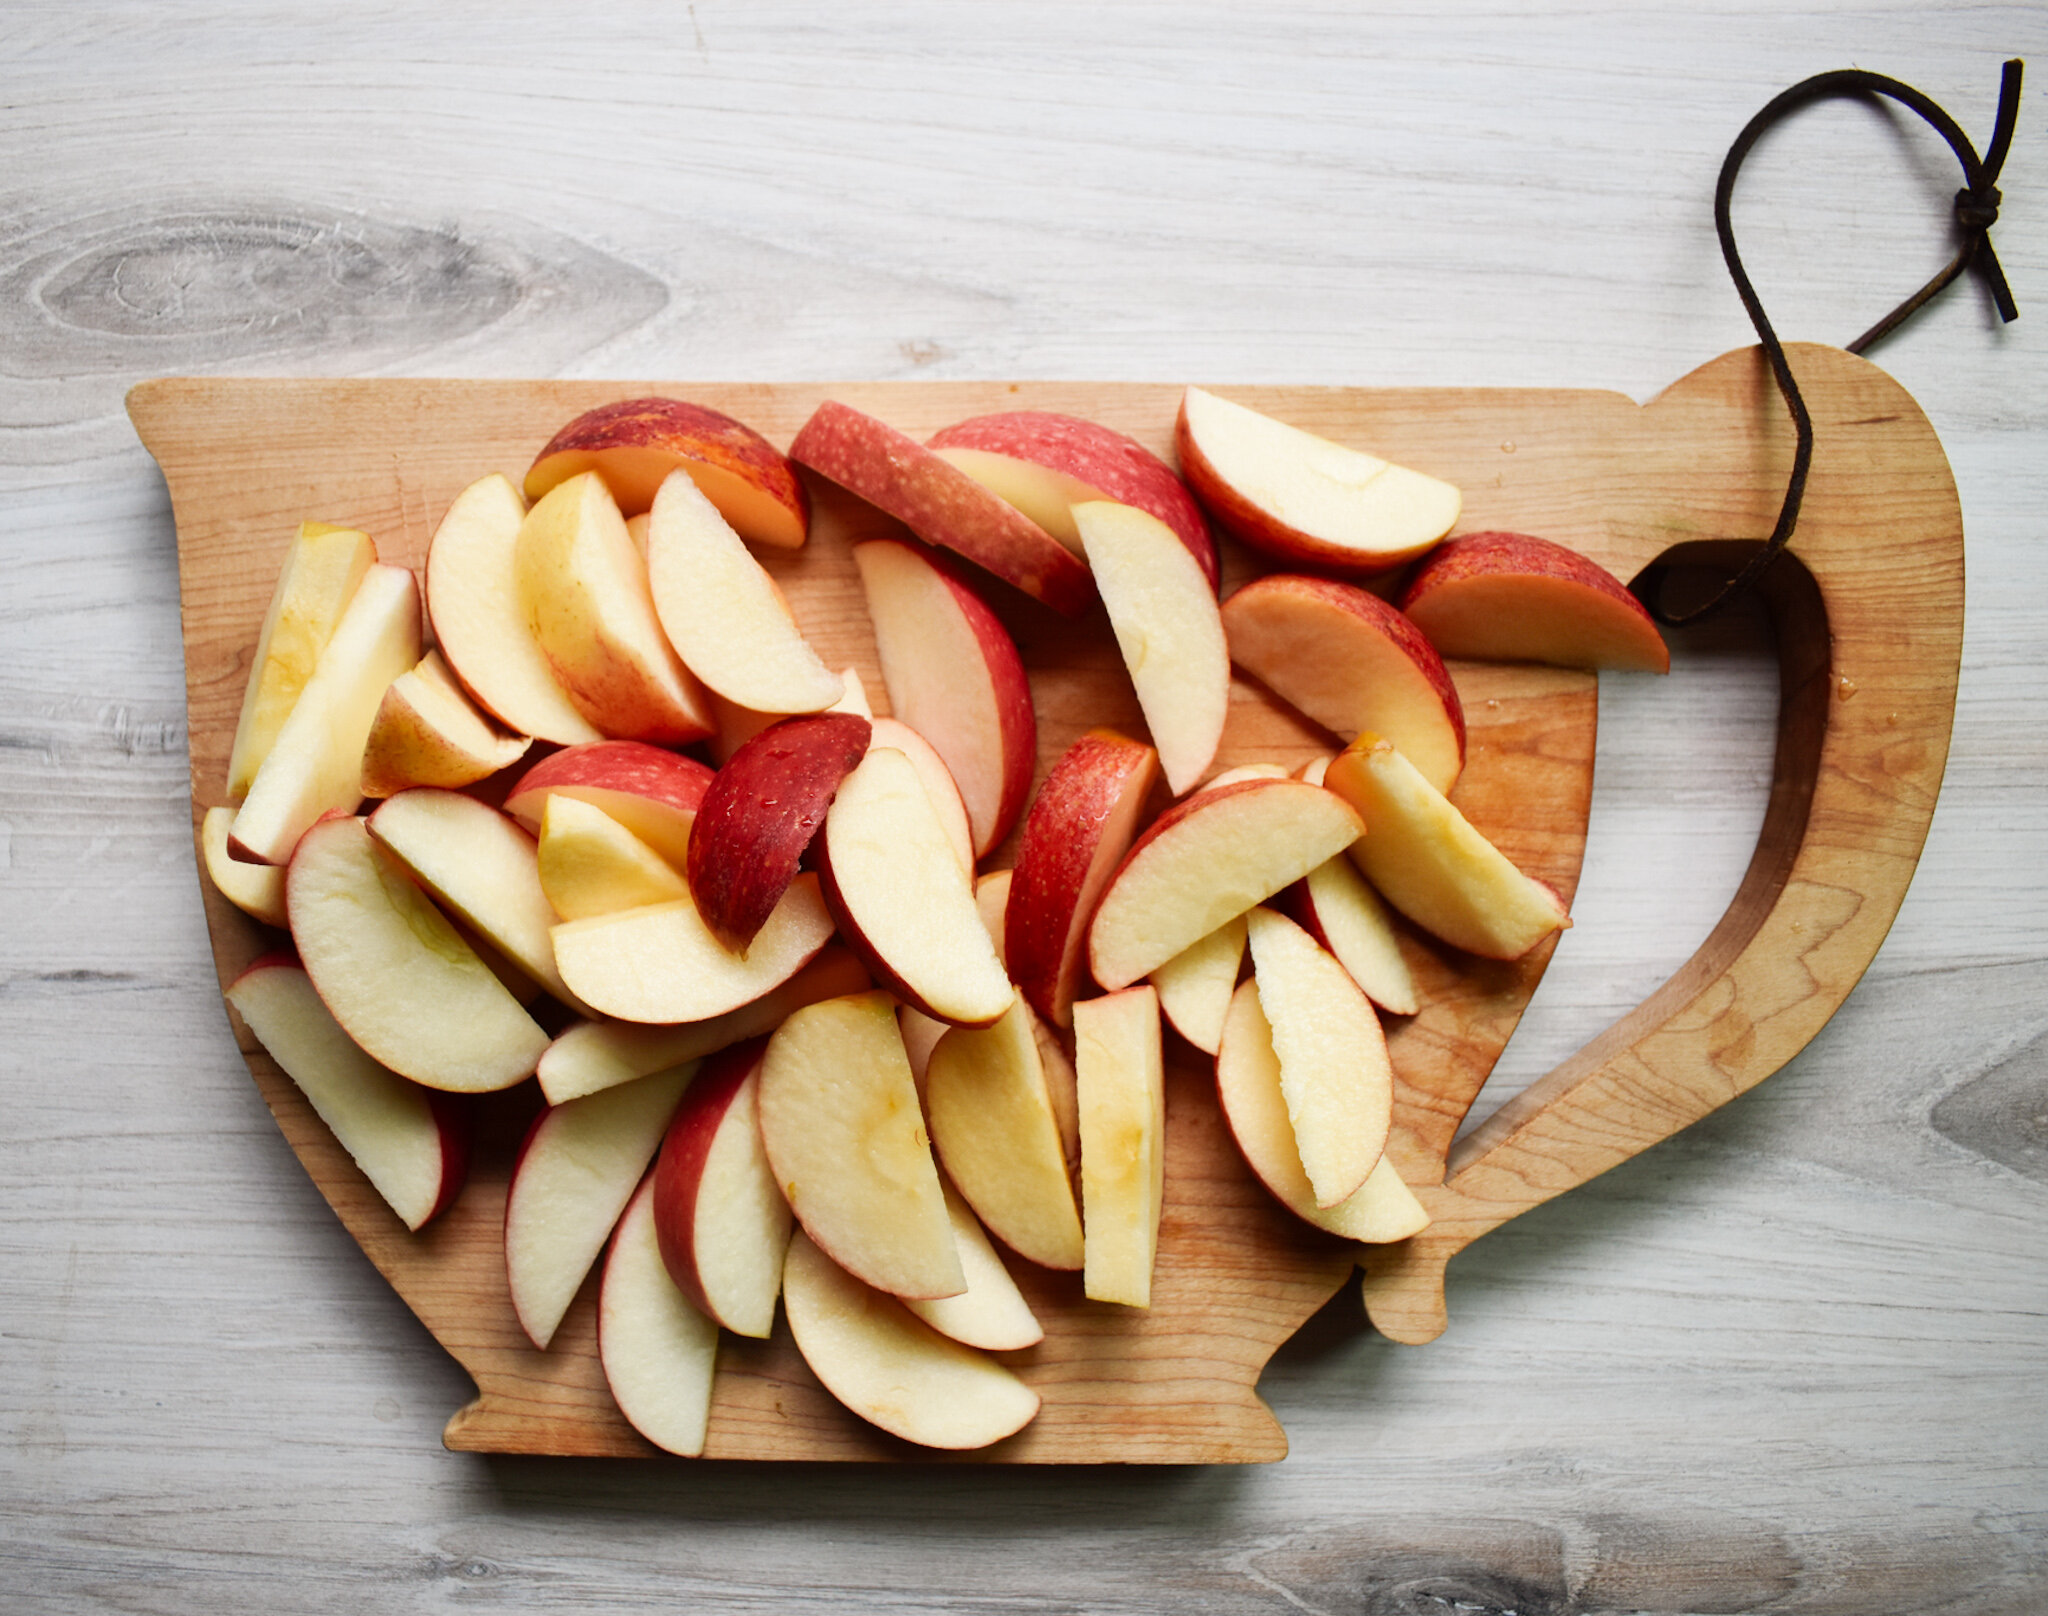
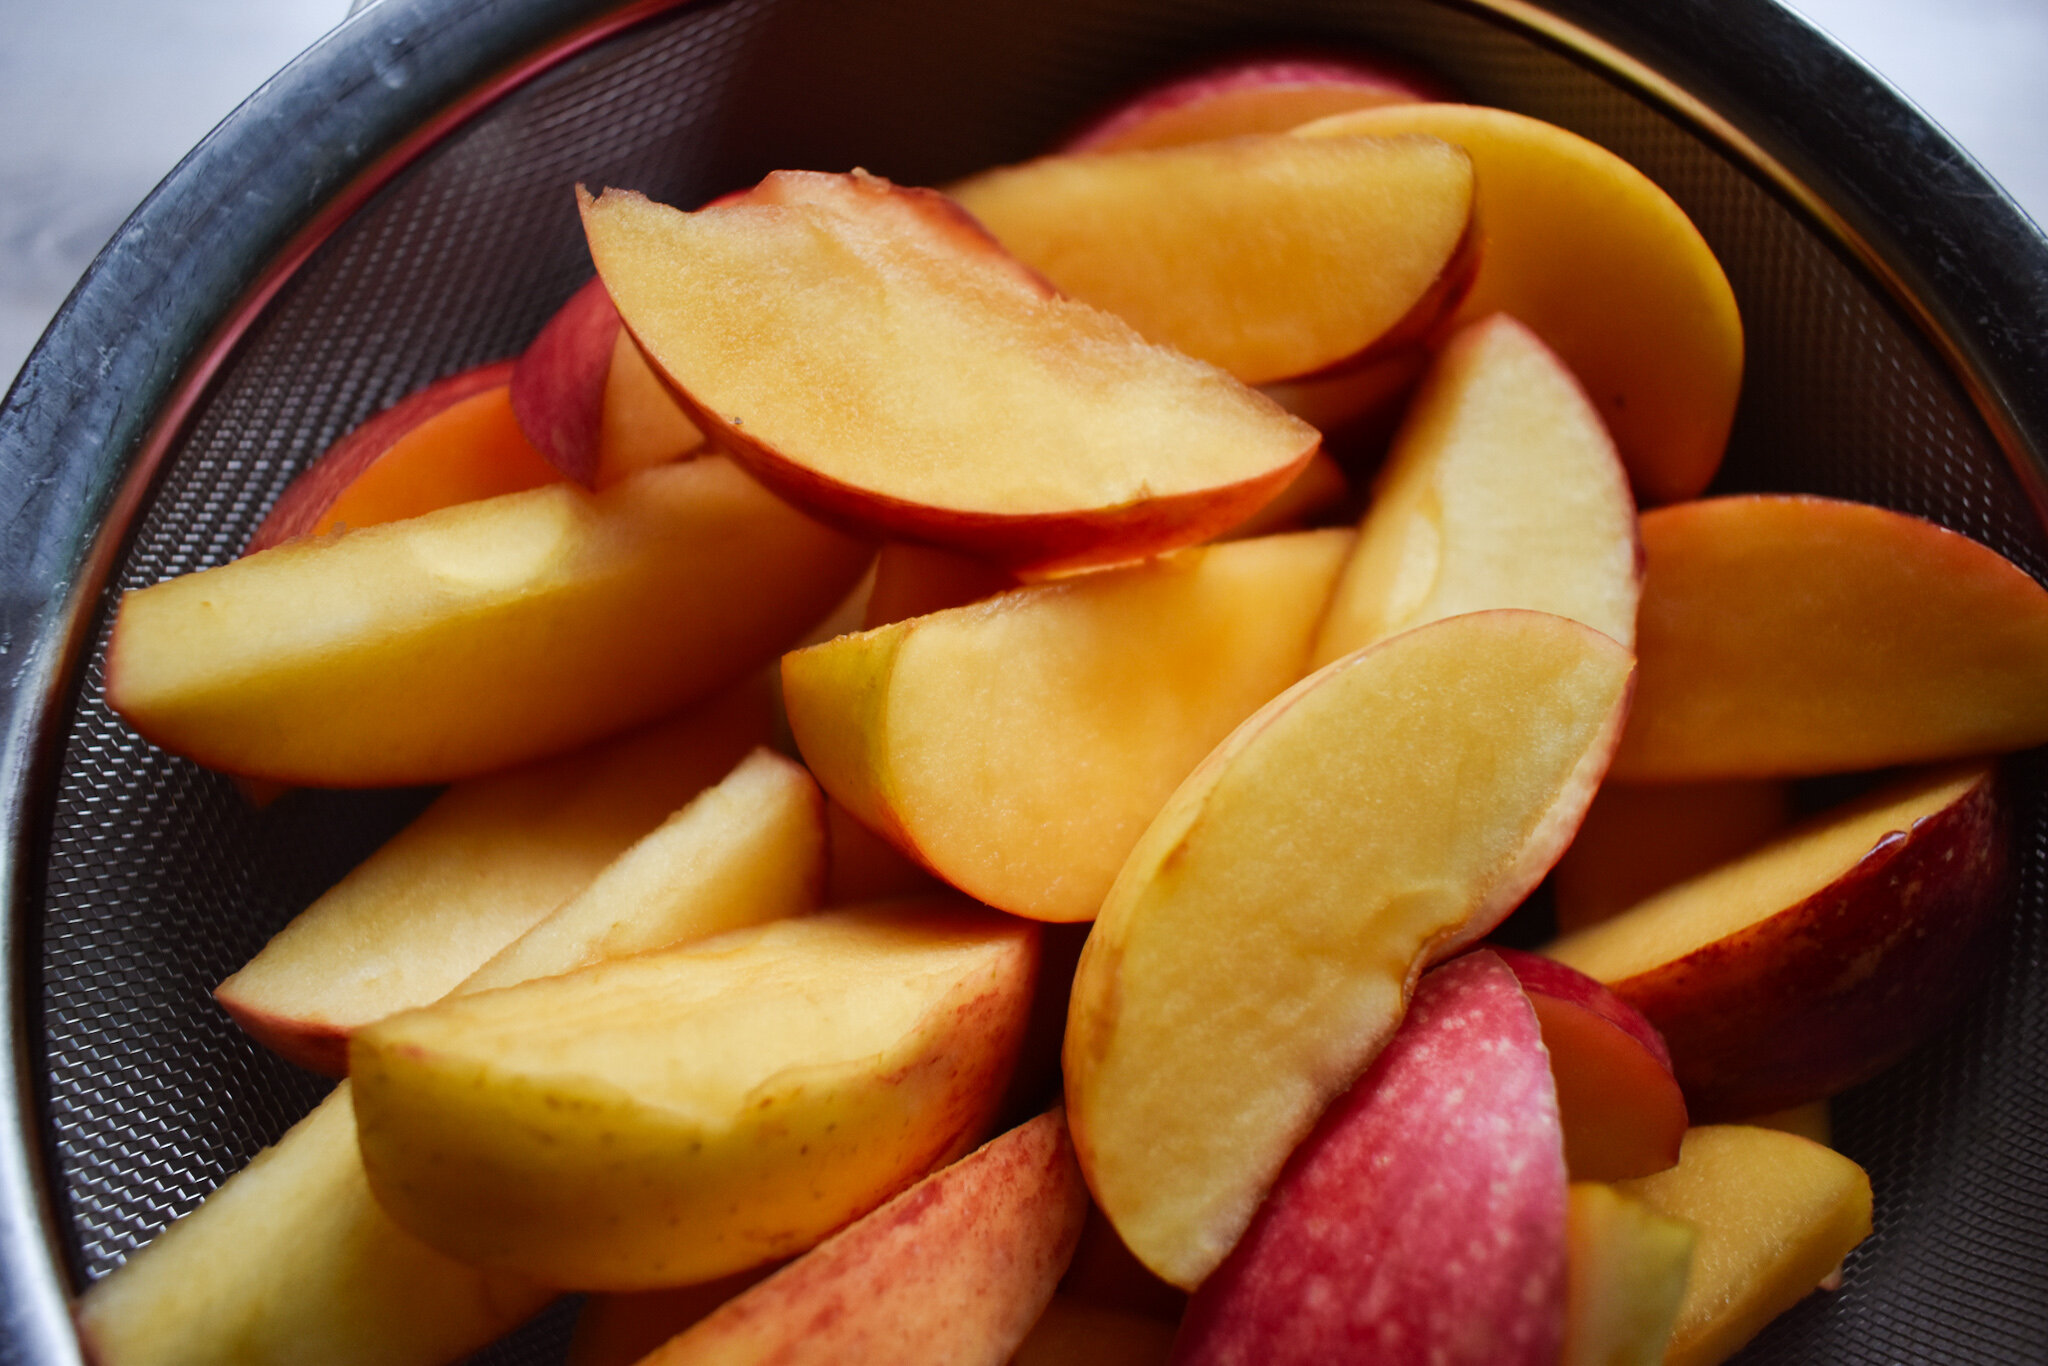
I used 4 apples for this crumble, they were two different kinds that I got in my weekly product box. In terms of prep, I would suggest slicing them relatively thinly so baking is quicker and cut out seeds etc. Some people peel the apples but I personally love the skin so I leave it on! Feel free to peel them if you’d like!

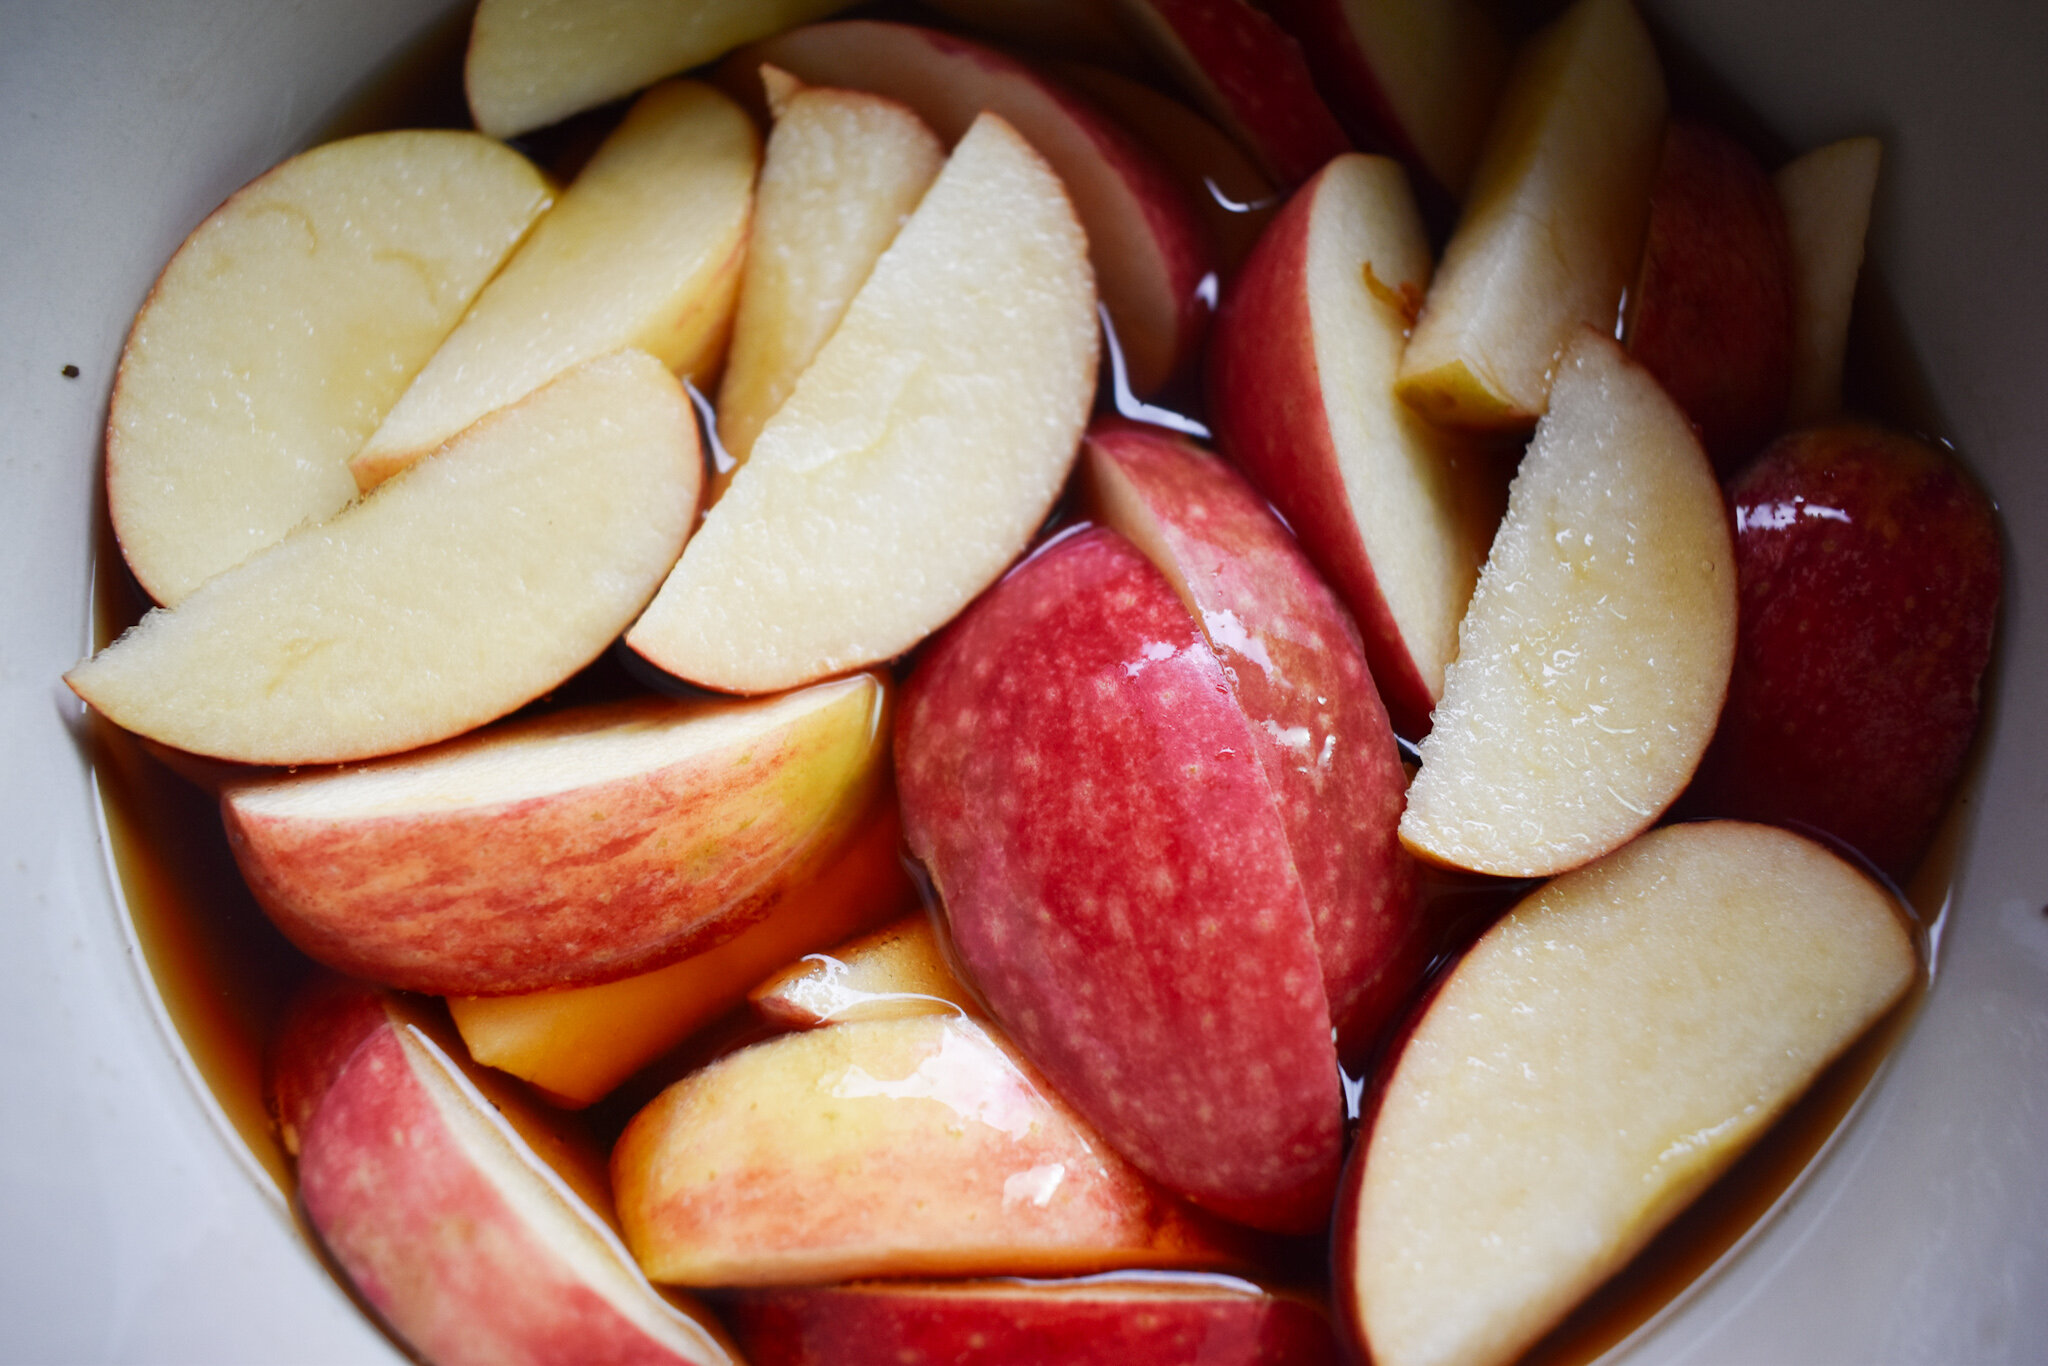
Tea comes into this recipe at the very start! I brewed up some white tea and soaked the apple for 2-3 hours in the tea! I brewed some Columbian white tea very strong and let it cool slightly before I put the apple in because I didn’t want them to soften too much.

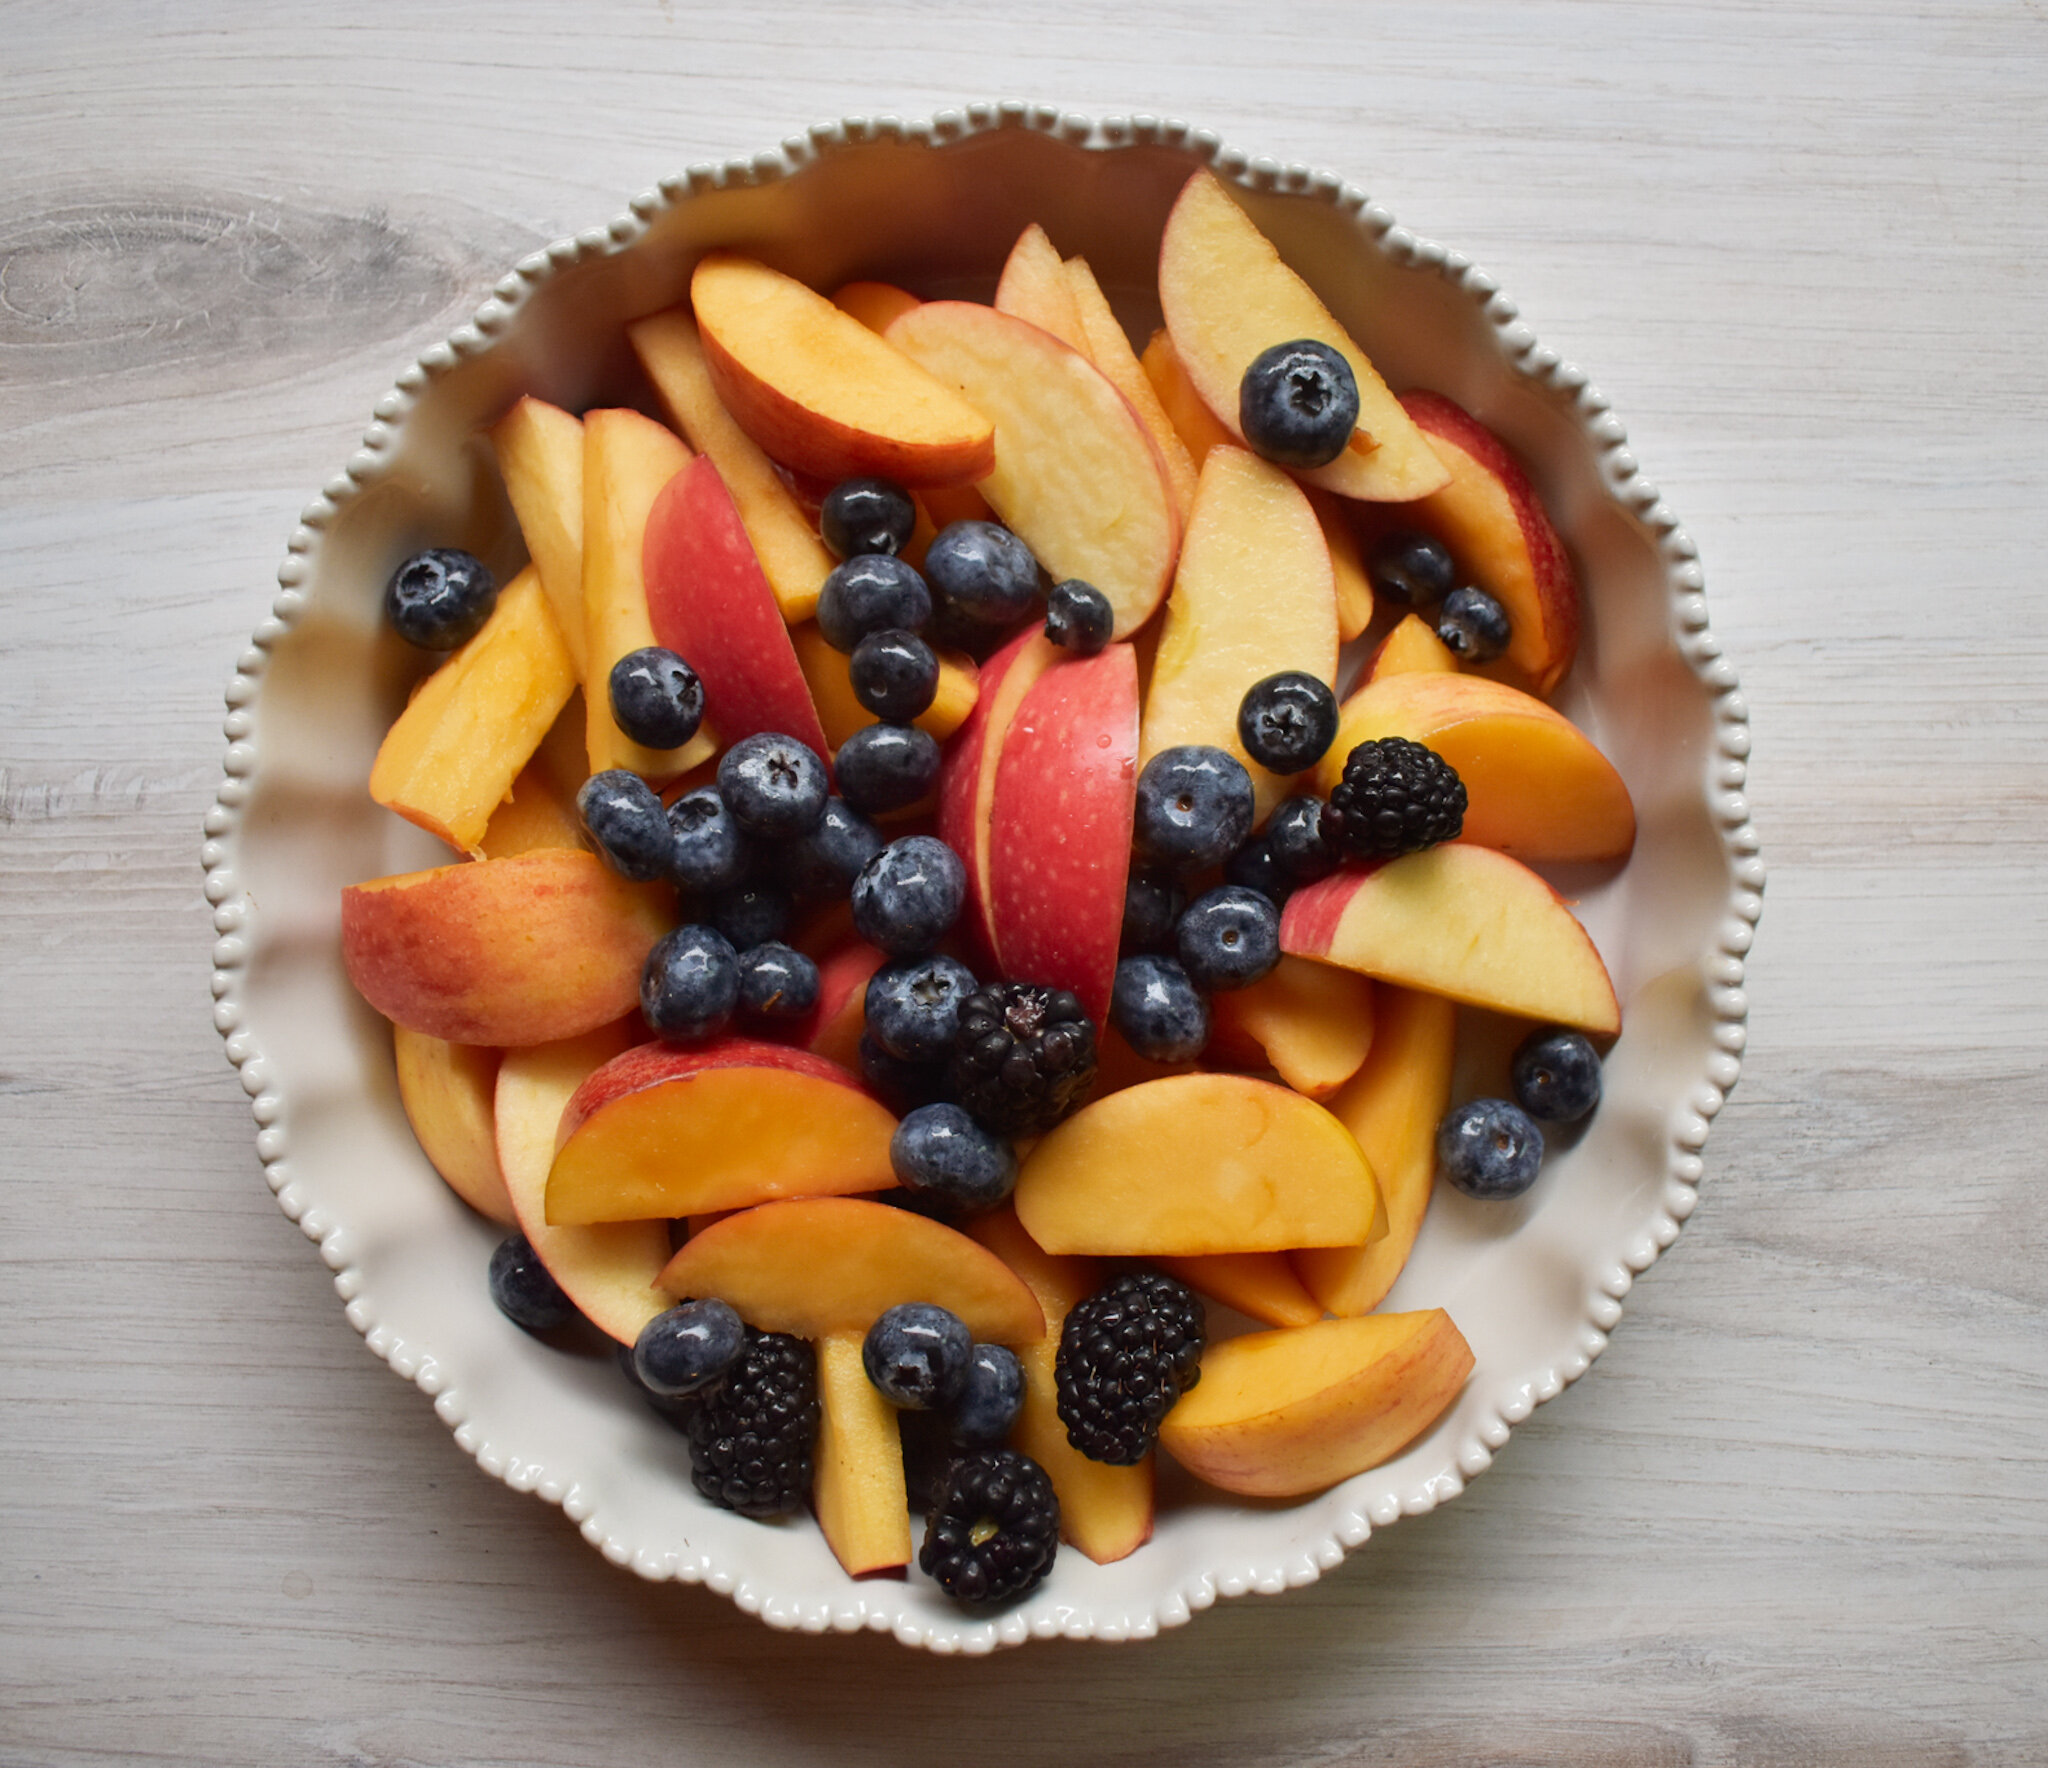
After about 3 hours, they looks like this, tinted with the white tea (compare to above photos) and they had a lovely white tea fragrance and taste. The reason I brewed the white tea strongly is that this is a very subtle taste and I wanted the apples to get as much flavor as possible from the tea!

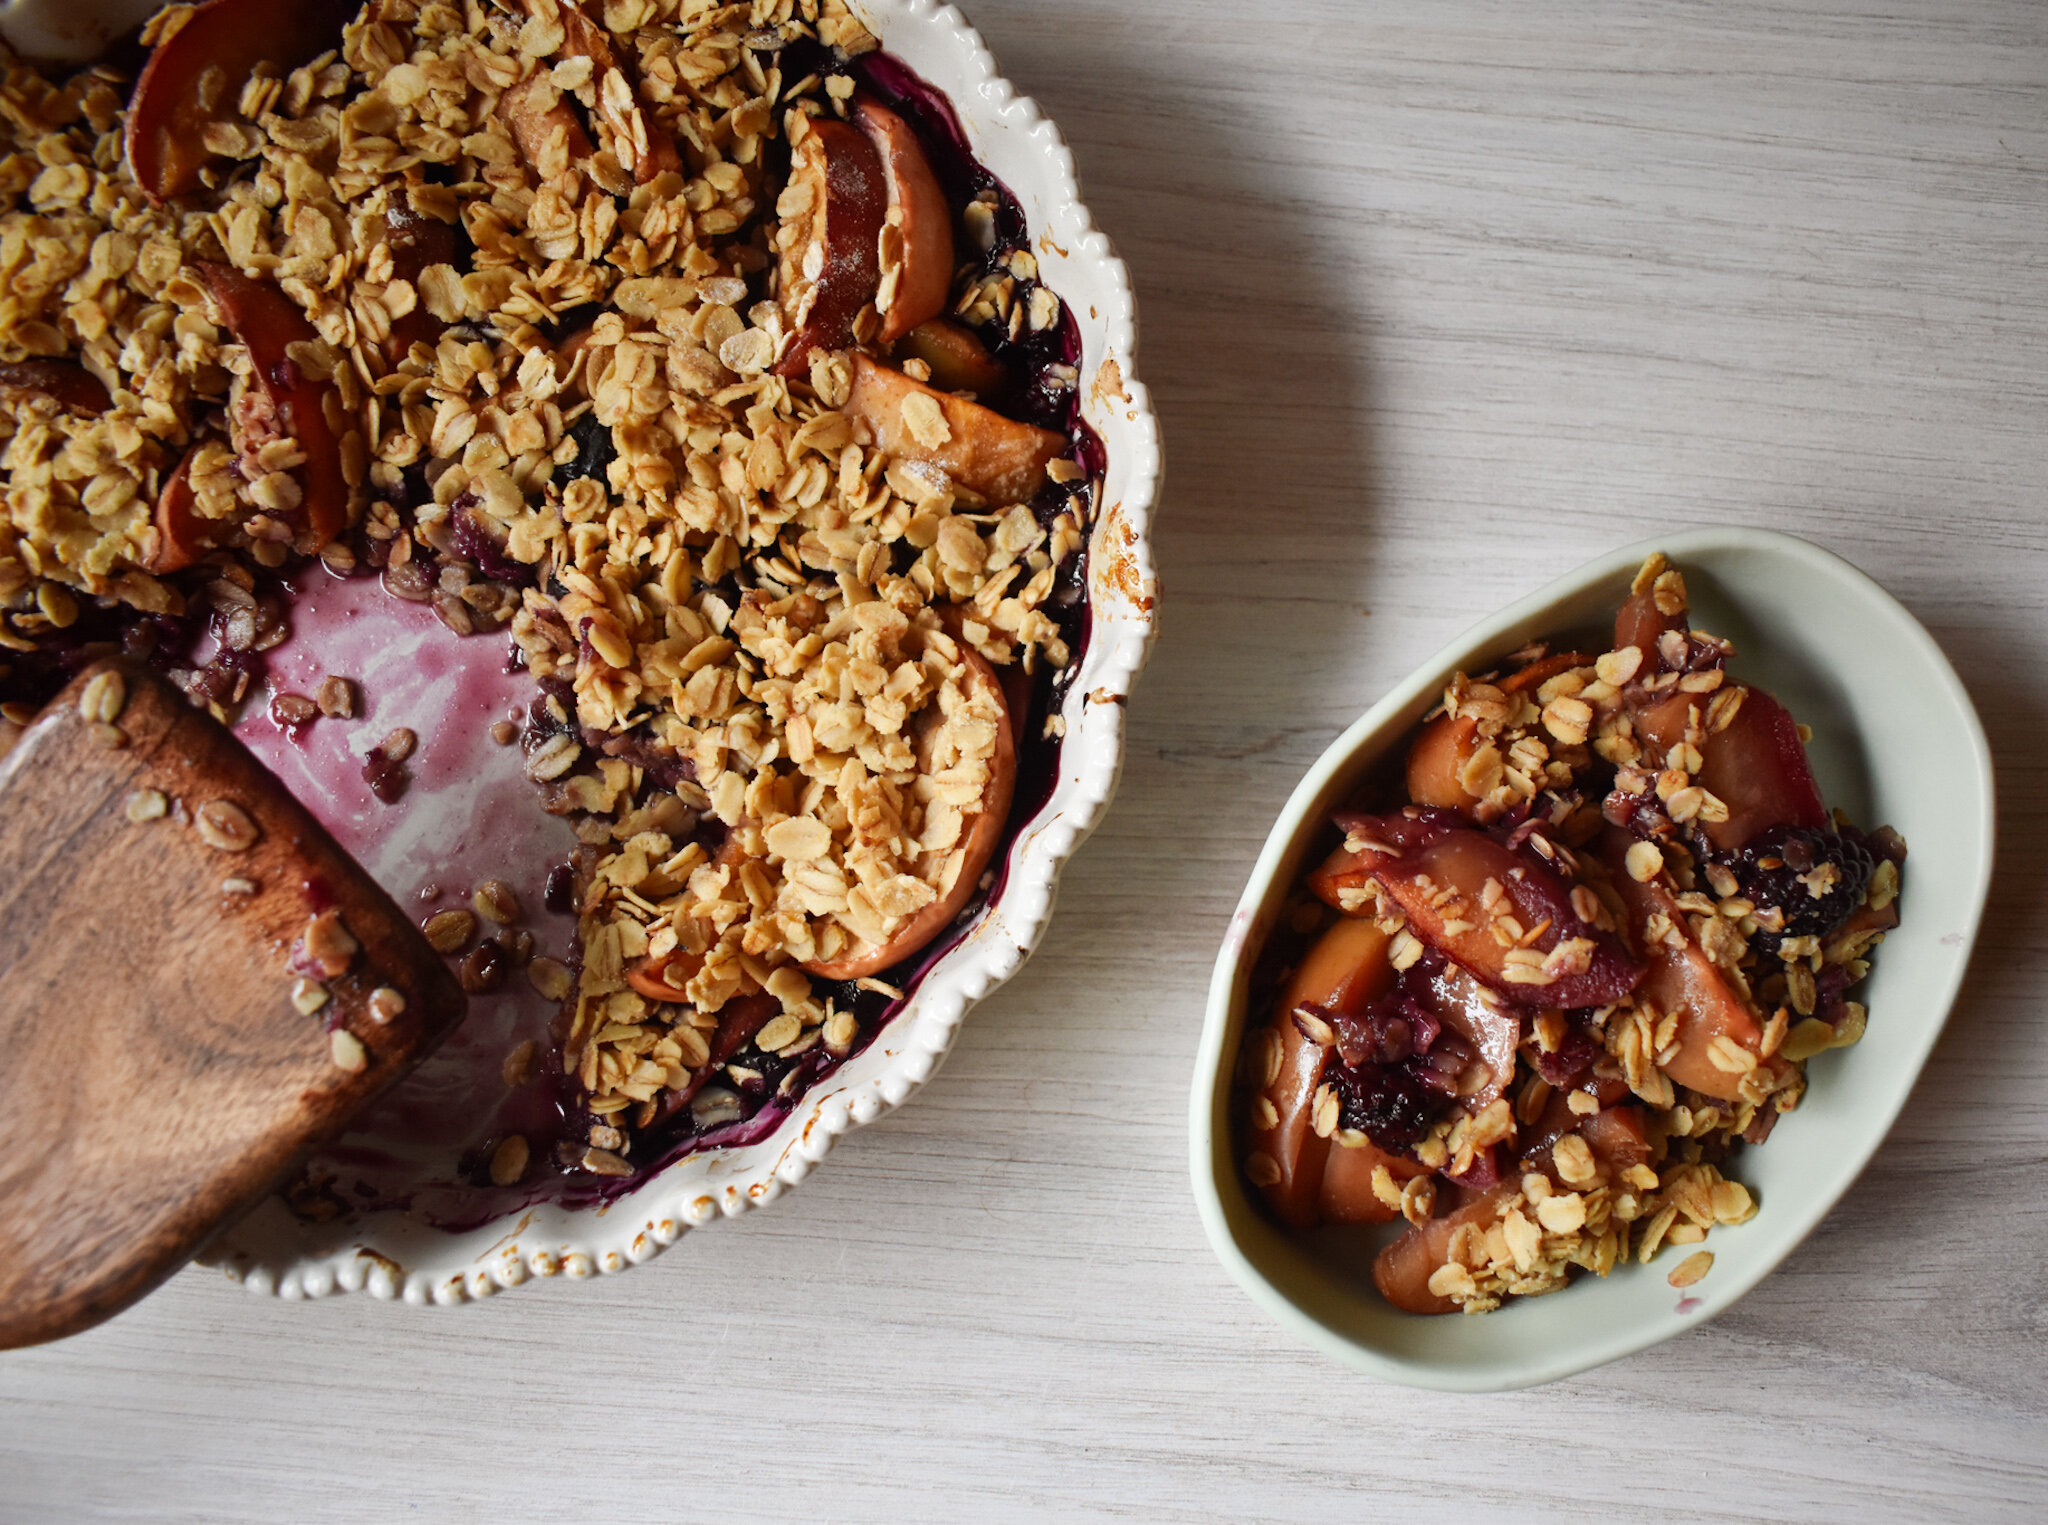
This dish that I’m using is actually a quiche dish but I like the taller edges so I always use it for pies and other things besides quiche. I also added in a handful of blueberries and blackberries to this for a little variety. Feel free to add your favorite fruits!

For the inside, I sprinkled about 2 tablespoons of brown sugar, the juice of 1 lemon and 1/2 teaspoon of baking soda. I usually use 1/3 a lemon but the lemon I had wasn’t very juicy so I used the whole one. I love tart so the more lemon the better but lessen this if you don’t want it as tart. As for the baking powder, I have made this without it and it was fine.

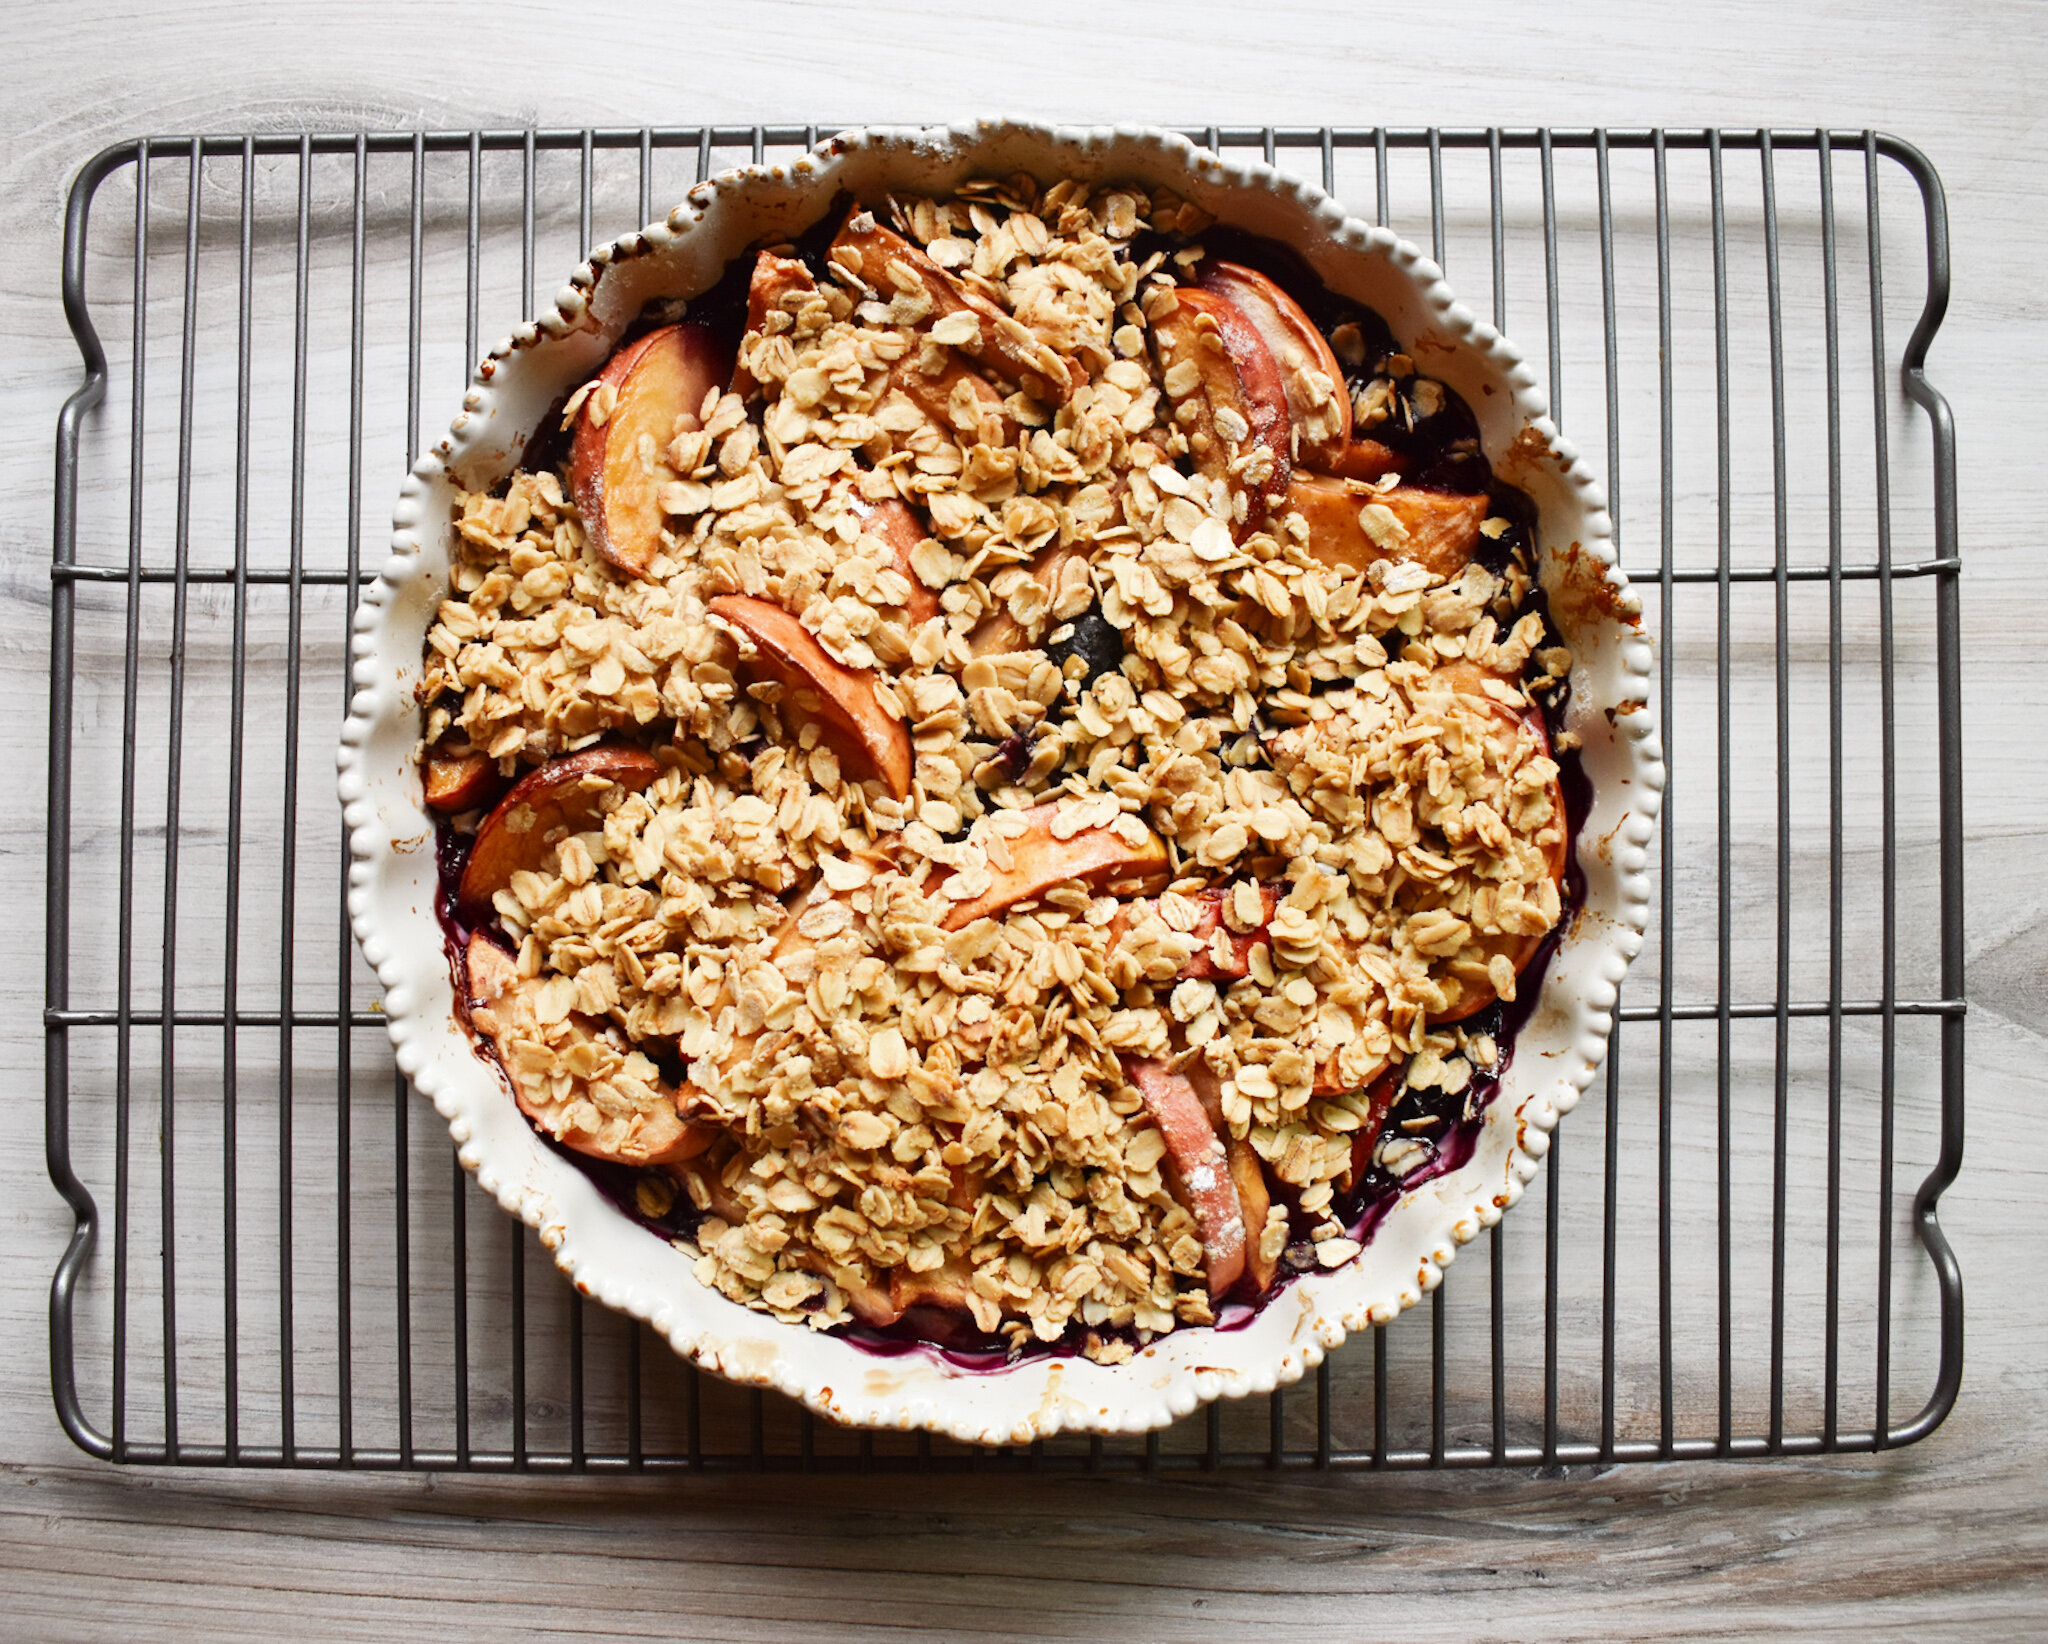
The topping is very simple also. I leave the rolled oats whole because I like the texture but if you want it less crunchy you can put them in a food processor and pulse a few times. I melted 2 tablespoons of butter and mixed it into 1 cup of rolled oats. I then sprinkled some flour over the oats, just a little like a teaspoon to a tablespoon. Sprinkle the topping over the fruit as evenly as you can and place in the oven!

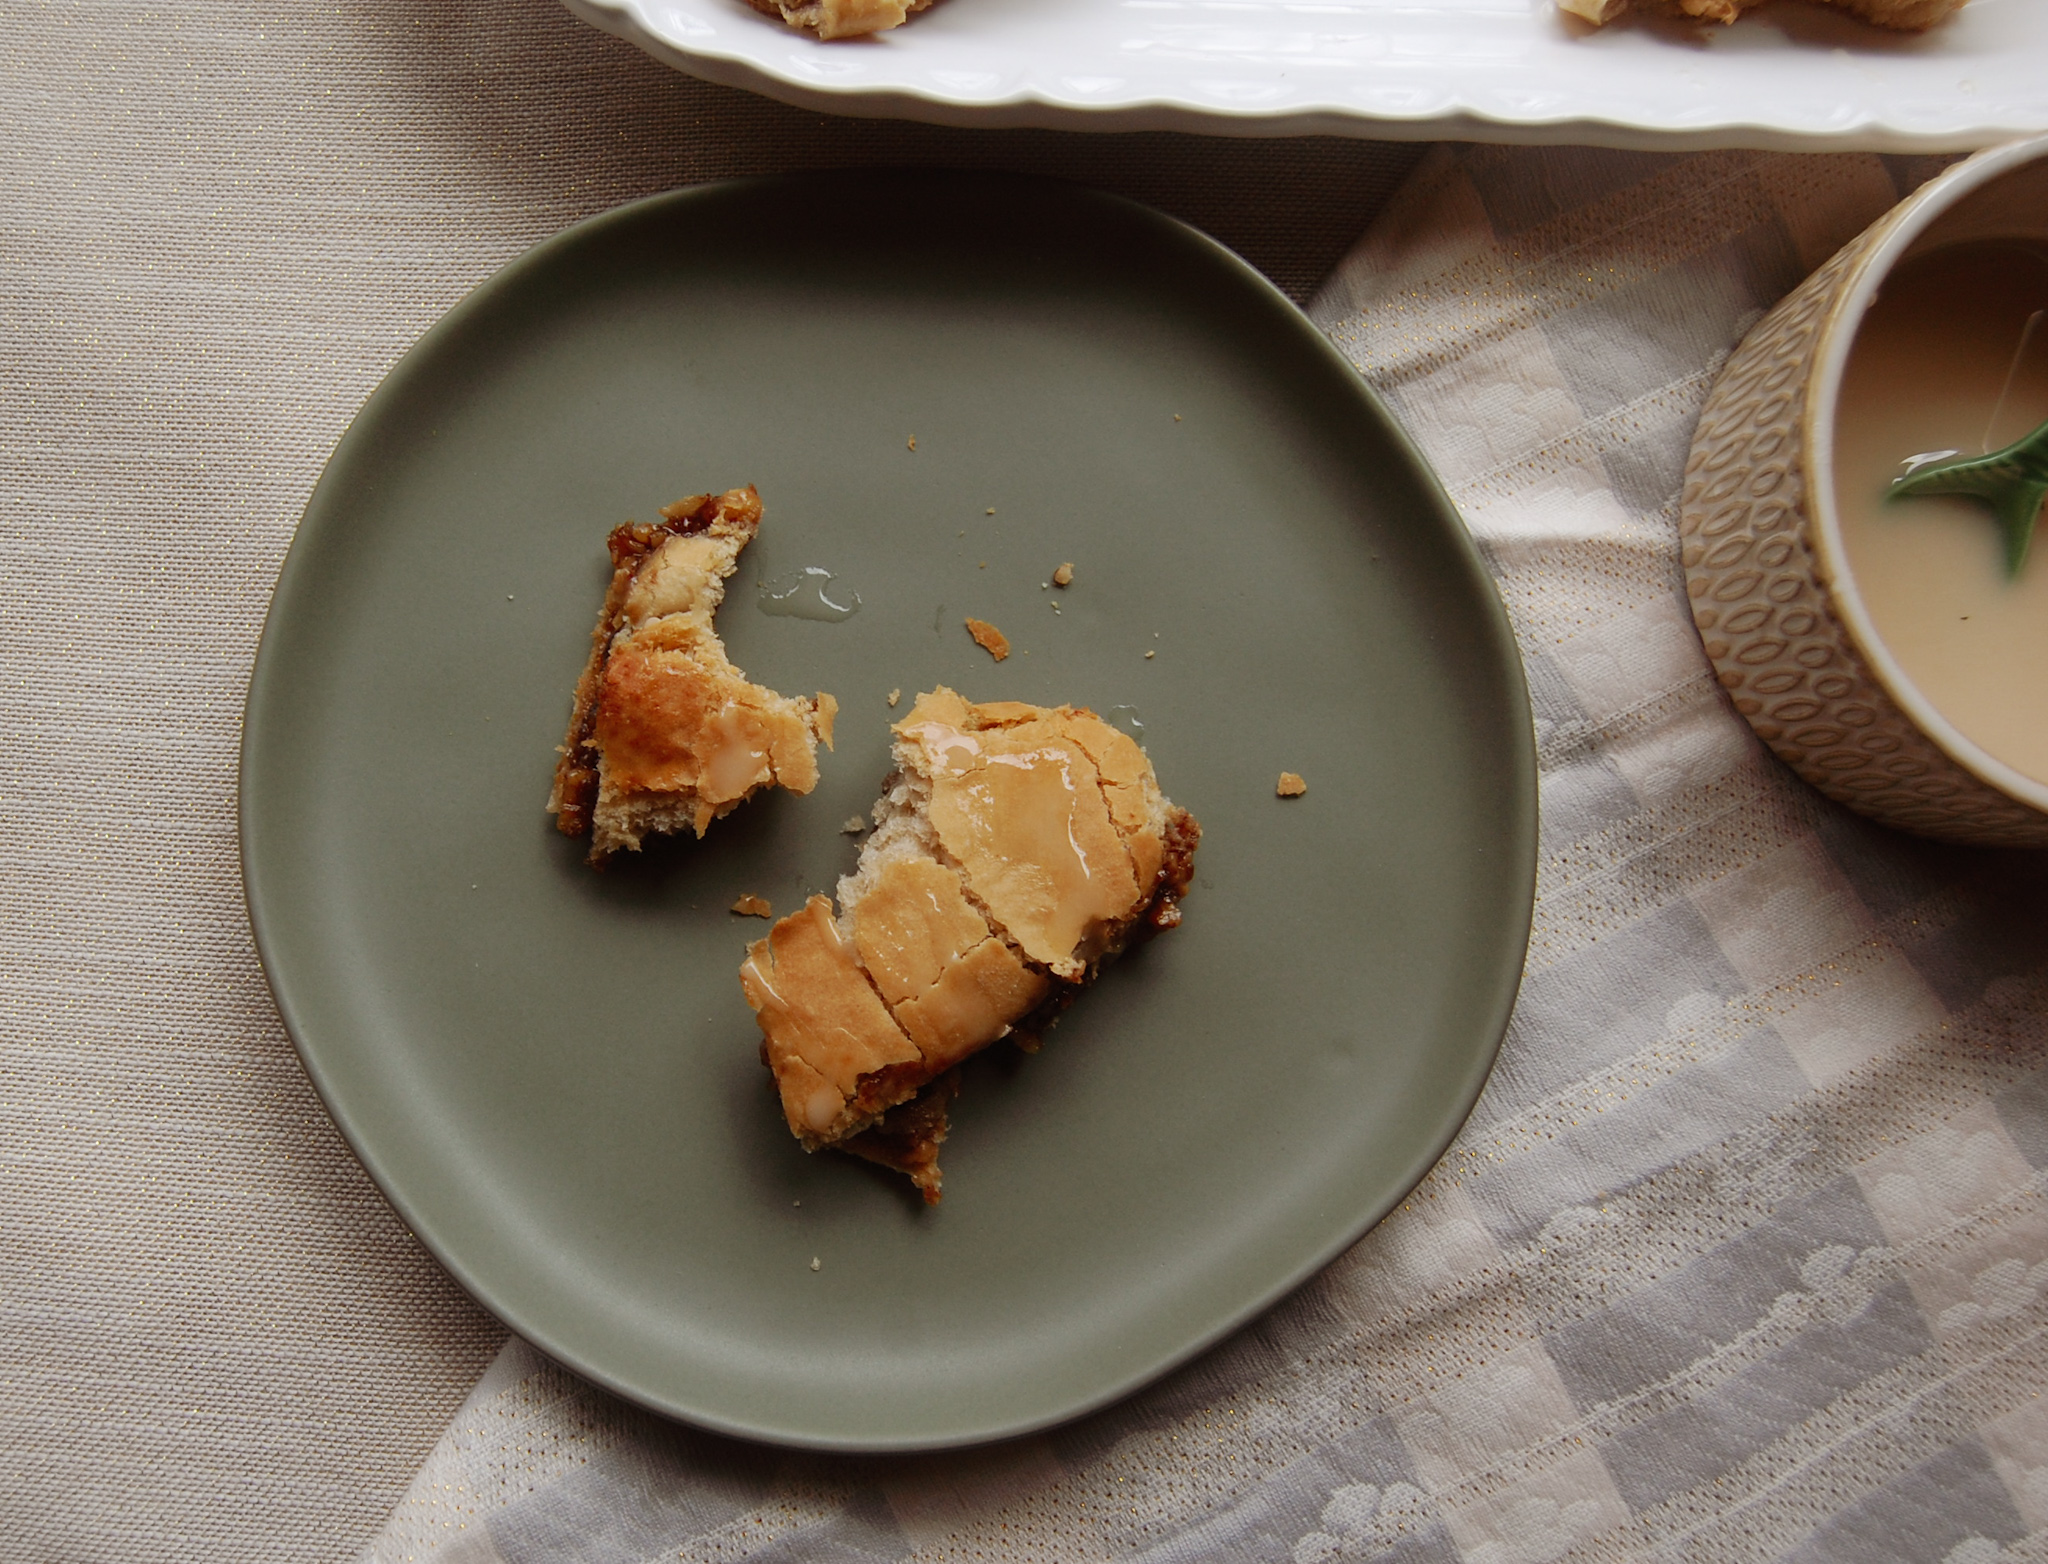
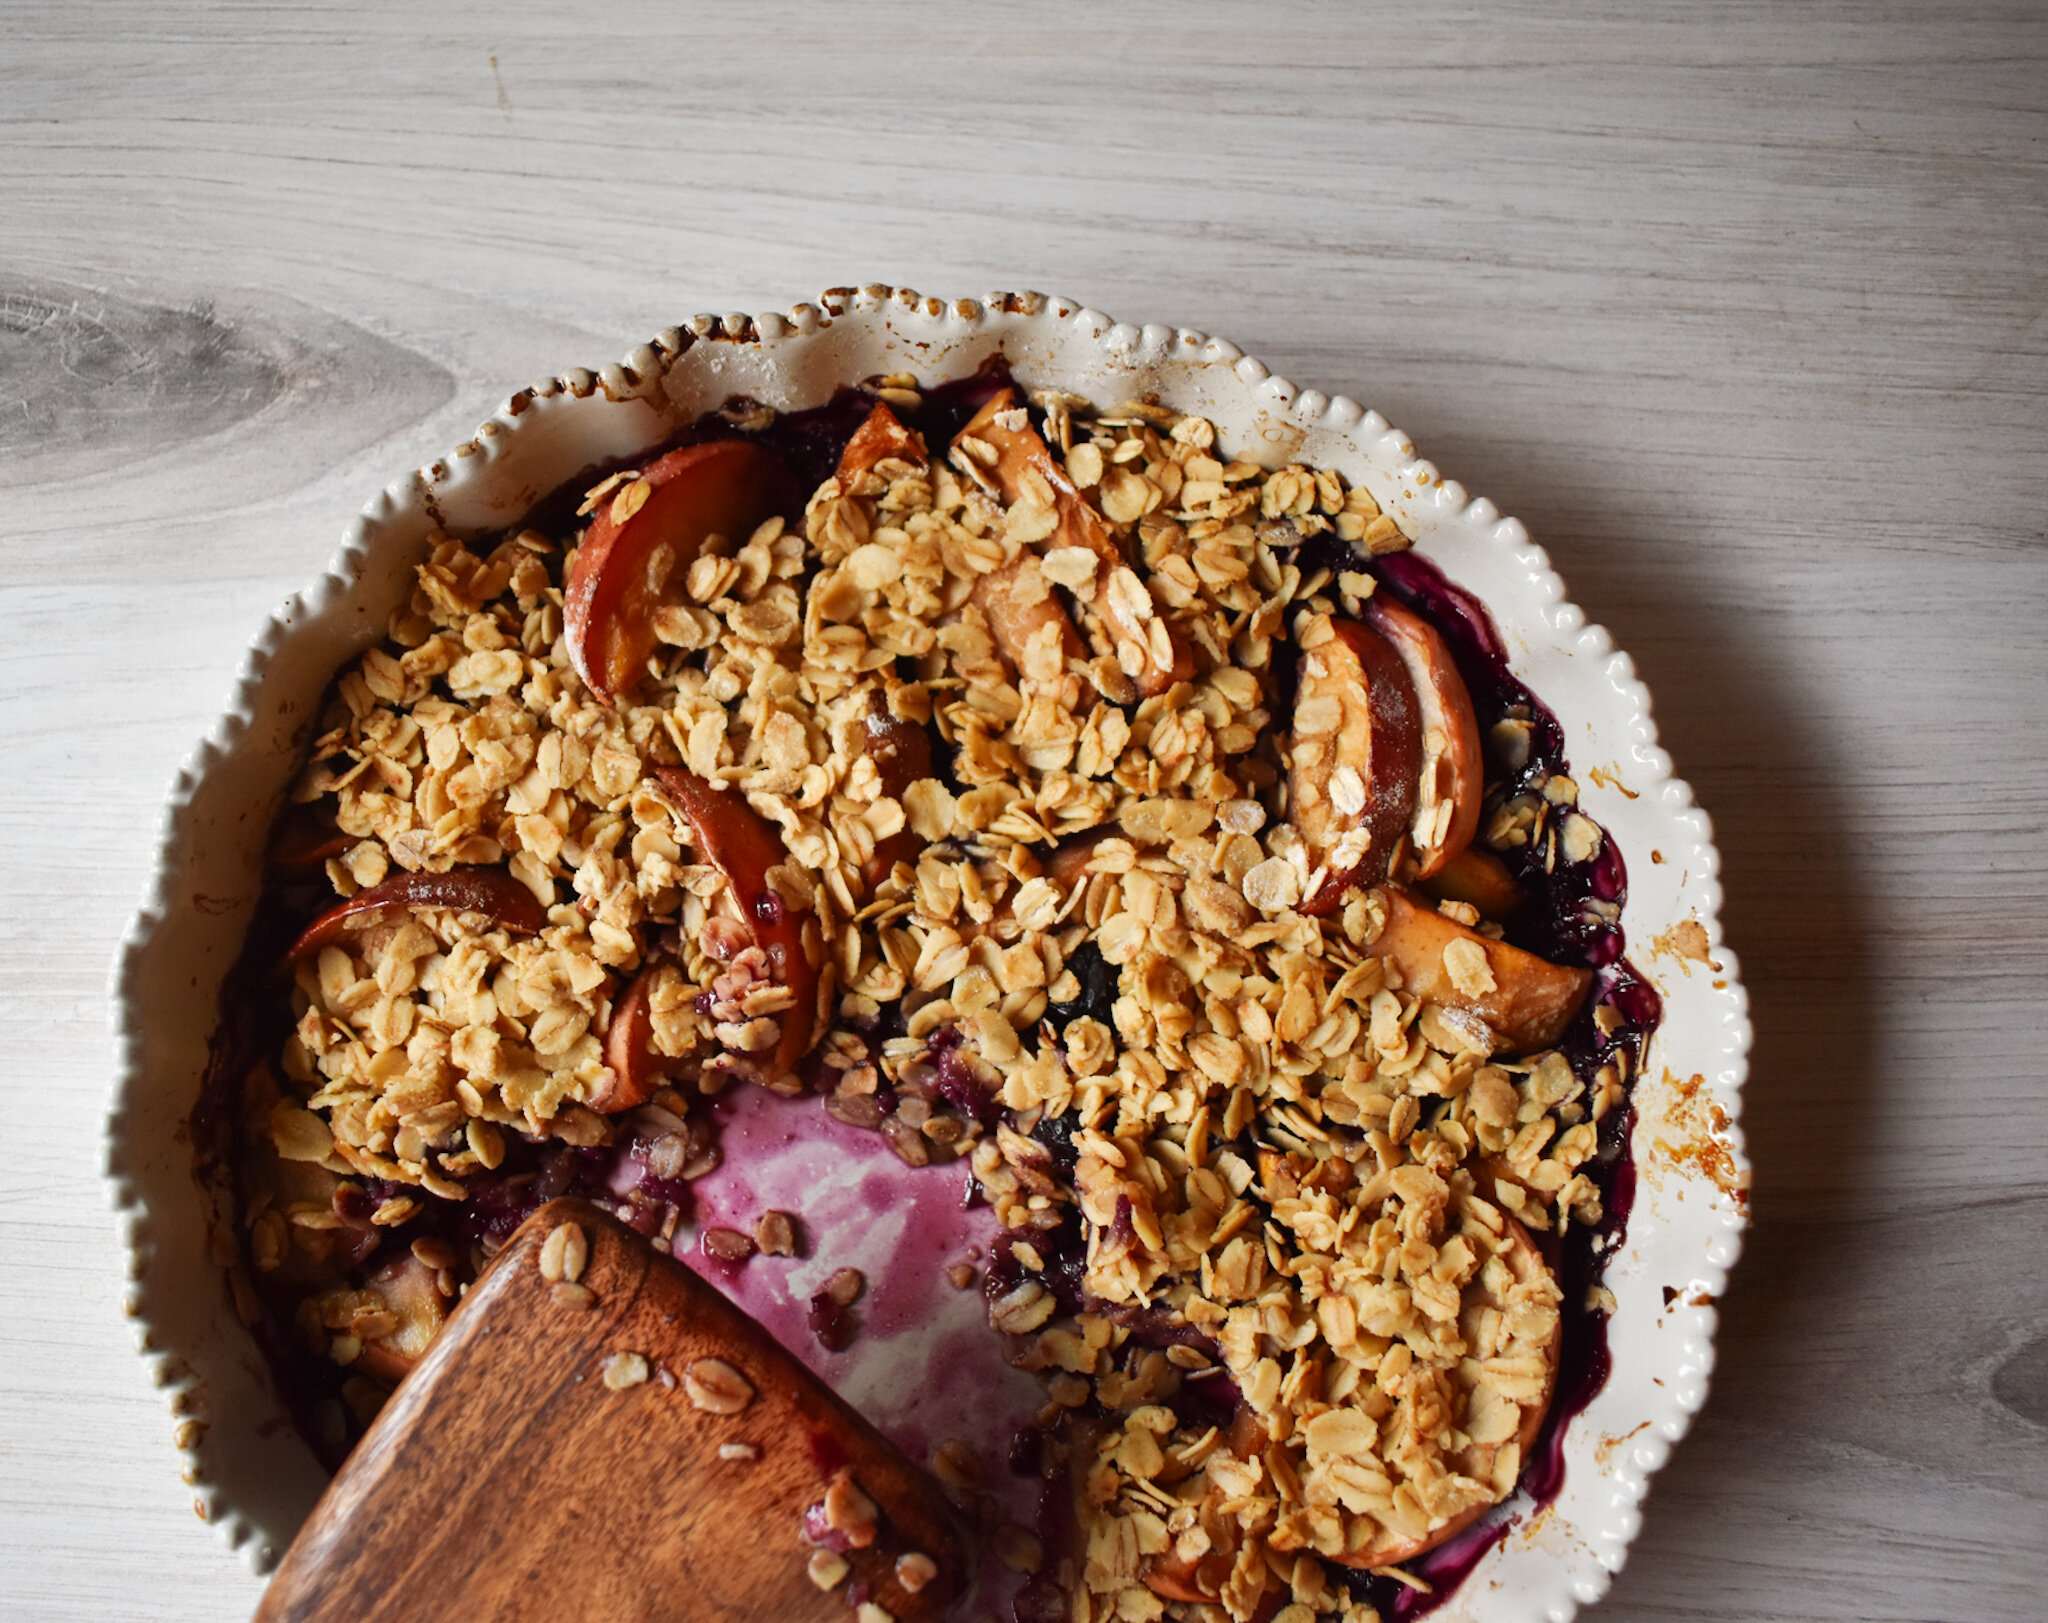
I baked this at 350 for about 50 minutes. I did 30 minutes then checked on it and did 2 intervals of 10 minutes. After the first 30 minutes, I cute up some small cubes of butter and placed them over the topping to add a little golden brown buttery goodness. Let it cool slightly so you don’t burn your mouth and voila!

A simply crumble for you. The topping isn’t stuck together that much which is how I like it but if you would like it to stick together more I would increase the flour and butter when preparing the topping.

I could see this being pretty good with hojicha or roasted oolong apples as well!

I hope you enjoy tea soaked apple crumble :)

Matcha Sugar Cookie Trees!

It’s almost Christmas time and you don’t know what cookies to leave out for Santa! What about some matcha Christmas trees?! They’re festive AND Santa can get a little energy boost from the matcha ;)

There are a few tried and true recipes I’ve found over the years and this rolled sugar cookie recipe is one of them. For these matcha trees I made a few substitutes.

Here is the recipe, I made three simple changes.

1) I halved this recipe because it makes A LOT of cookies. Even halving the recipe still gave me about 2 dozen and even more if I made the trees thinner

2) I used brown sugar instead of white sugar

3) I added in matcha powder gradually until I liked the green color of the dough

An important note about this recipe, it is much easier to roll the dough if you refrigerate the dough for several hours or overnight. Then, a little flour on your work surface makes it so much easier!

And that’s it! Super simple!

DSC_0121.JPG
DSC_0129.JPG
DSC_0132.JPG
DSC_0135.JPG
DSC_0134.JPG

Mini Apple Cider Donuts

Happy November and welcome to a special recipe post! Not only will I be sharing this fun mini apple cider donut recipe, this recipe is part of a virtual tea party I was invited to join in on by Daniela of Tea Cachai!

At the end of this post I will link the rest of the menu from the other tea party chefs so that you can see and create their recipes as well!

If you were around last fall, I made apple cider donuts but I used my large pan! This time, in honor of the tea party I made them mini!

Mini donuts are so awesome because you can eat like 10 of them and it’s as if you only ate one big donut hehe.

For this recipe, I made my own apple cider. It’s super simple. The gist of it is that you cut up a bunch of apples throw them in a pot with enough water and add some spices! I actually had to switch pots after this photo. I have a full post here about how to make your own apple cider.

The changes I made this time were purely out of what I had. I used about 10 tiny honey crisp apples, I added peppercorn, cardamom and cinnamon and didn’t use cheese cloth because I ran out! I also infused this apple cider with oriental beauty oolong instead of green tea.

DSC_0768.JPG

If you’re thinking - ain’t no body got time for that- you can also just buy apple cider from the store and reduce it a bit so that it’s stronger!

Last time, I used this recipe to make the donuts with a few additions. Check out the recipe here and below I’ll tell you about some of the changes I made.

  • 1 and 1/2 cups (360ml) apple cider ——> I made my own tea infused apple cider

  • 1/2 cup (100g) packed light or dark brown sugar —-> This recipe called to use 1 cup of sugar, 1/2 white and 1/2 brown. I used light brown sugar for the entire cup.

  • 1/2 cup (120ml) milk, at room temperature* ——-> I used chasew Milk

  • Bake for 10 -11 minutes ———> while my timing with the smaller pan wasn’t much less, I would suggest baking time of 9-10 minutes

  • I used a mini donut pan instead of a larger one.

DSC_0780.JPG

This recipe is great because it’s super simple. You mix dry ingredients and wet ingredients then combine them and bake!

When pouring the batter into the molds, i suggest something with a spout of a piping bag!

DSC_0786.JPG

My mini donut pan has 12 spaces and this recipe allowed me to make 5 pans! You could probably stretch it to 6 if you make smaller donuts by not filling the pan entirely.

These are perfect for a tea party because they are simple, quick and a perfect size for a bite sized snack. These are great to dip in your tea, especially if you have a smaller cup and wont fill you up after a few.

DSC_0788.JPG

Being Mini, there are also so many fun ways to display them! If you’re an apple lover, this is definitely something that you need to try!

DSC_0790.JPG

But hey, don’t ruin your appetite with only donuts! We have a full menu of delicious treats! Check out all the other recipes that are part of this virtual tea party!


Matcha Cream Cups!

It’s Monday. Let’s face it, sometimes Monday’s aren’t that bad. It really comes down to your attitude about it but even on a good Monday there can be a sense of laziness. It’s Monday, the week is starting and your to do list is 3 miles long but you want a treat. You don’t want to work too hard for that treat though right?

I have the perfect treat for you!

I’m going to write this post in a really laid back, Monday way as well.

Think peanut butter cups, but instead of the peanut butter filling, you have matcha filling! My Mom’s birthday was earlier this month and she is obsessed with Matcha. Matcha to drink but also matcha in every form I can make it.

I wanted to make her a simple treat for her birthday so I decided to create these. They require only a few ingredients, no baking and not a lot of time either!

Here’s what you’ll need:

-Bittersweet or semi-sweet melting wafers

-Culinary grade matcha powder

-Heavy Whipping cream - You can probably substitute this for coconut cream as well for a non dairy solution

-Candied ginger

-Sugar to taste

-Small or large cupcake papers

** Please note that while these are the actual ingredients I used, these are affiliate links and if you purchase through them I will make a small commission. **

A few notes:

-When choosing bittersweet or semi-sweet, gauge your bitterness limits. I tried these cups with both and if you need sweet, go with the semi-sweet chips. While the bittersweet was still good, it is very strong. The Semi-sweet was my preferred because it still wasn’t super sweet but I think it complimented the cream better. If you do use bittersweet, I would choose larger cups so that you can put more filling!

-Choosing small or large cups. I created these cups both ways. Directly below you will see small matcha cups. The last photo on this post is a large matcha cup. The difference is that you’re going to have more room for the cream in the larger cups. The smaller cups are more chocolate than cream. Both are good but it depends on your preference!

-Heavy whipping cream. I used an entire pint which created SO.MUCH.CREAM. I just kept making these cups until it ran out but unless you plan on making a lot of these, I would start with a smaller amount of heavy cream.

Matcha Cream

-Start off by putting the heavy cream into your stand up mixer and turn it on low. While it mixes, chop up the crystallized ginger and sift your matcha powder.

-Increase the mixer to medium and then high as the cream starts to thicken. Add in your matcha, ginger and sugar to taste. I basically kept adding matcha until it was a satisfying green color.

-Once you get your desired mixture, set aside the cream.

Chocolate

-Use a double boiler or two pots stacked on top of each other to melt your chocolate. I always put a little bit of coconut oil in my chocolate wafers to help the consistency.

-I like to keep mixing the chocolate as it melts to make sure it stays smooth.

-Once chocolate is melted, keep the heat on low and get ready to assemble.

Make the Cups

-Put your desired cupcake paper size in a cupcake tin. The tin will help keep a little bit of structure when completing the cups.

-Pour 1/2 tbsp to 1 tablespoon chocolate into each cup, or enough to just cover the bottom well. Stick these in the freezer.

-Once the chocolate has hardened (should only take a few minutes), take the desired amount of matcha cream and put it in each cup.

-Cover the cups with chocolate

-Optionally - take a toothpick and make a little swirl with the matcha cream and chocolate.

-Put in the freezer to harden. Can be kept in the fridge afterwards.

-Once served, eat immediately for this delicious and melty goodness!

Below you will see the larger cups that are mostly matcha cream. These are so fluffy and soft. You can see the pieces of candied ginger that give these a bit of a kick among all the sweetness!

matcha cream cups 9

Make it Fancy - Oatmeal Cream Pies

One of my favorite Tasty segments is “Make It Fancy” ! Rie is one of my favs and she does this fun challenge where she is given something not fancy and tried to make it fancy! I saw her do this with twinkies and I did my own version of it with oatmeal cream pies!

Confession: I’ve never had a twinkie so I didn’t want to use them. I wasn’t allowed snacks like this when I was a child but sometimes we got by with grabbing oatmeal cream pies from the shelf! I wanted to make this childhood treat a little fancier.

Confession #2: When I tried the Oatmeal Cream Pie, it wasn’t as delicious as I remember it!

oolongoatmealcreampie.jpeg

This is an entire box of oatmeal cream pies (12). I just smashed them up and to make them stick together I used 2 tablespoons of brewed hojicha.

Oatmelcreampiemakeitfancy.jpeg

Once you make the balls whatever size you’d like, place them on a baking sheet and keep them in the freezer for 30 minutes to an hour until they are not sticky anymore.

oatmealcreampiechocolatebiteswithmilk.jpeg

You can make these into cake pops like Rie did but I just wanted to make messy bite sized shapes. The chocolate I used was bittersweet melting wafers. The reason I used bittersweet chocolate was to counteract the sweetness of the oatmeal cream pies.

oatmealcreampiemakeitfancycloseup.jpeg

You might notice some bumps on this chocolate and that’s because I added in chopped walnuts. I think walnuts go really well with both the small amount of hojicha in these as well as the bittersweet chocolate. It also gives these a little bit of crunch!

oatmealcreampiemakeitfancy.jpeg

Dipping these into the chocolate was a bit messy, as you can see there were small puddles created around them. While I like the extra chocolate you can totally use a cake pop stick to dip these like Rie did!

The combination of the very sweet oatmeal cream pies with the hojicha is offset by the bittersweet chocolate and walnuts. You get the right amount of sweet instead of sickly sweet!

oatmealcreampiebite.jpeg

Dip in your favorite type of milk for that extra childhood effect! :)

dippingoatmealcreampieinmilk.jpeg

What do you think? Did I succeed in making oatmeal cream pies fancy?!

Matcha Marshmallow S'mores!

I was watching a feed feed video about making s’mores in the oven. I know, I know, it goes against everything that is wonderful about s’mores. Finding the perfect stick, getting your marshmallow too close to the coals so that is catches on fire by accident, and of course trying to find the perfect way to melt your chocolate slightly.

BUT, I don’t have access to a nice fire whenever I want but I do sometimes want s’mores so making them in the oven would be awesome. I then thought, how about matcha s’mores!

DSC_0460.JPG

The most important thing is finding the right chocolate to go with the matcha marshamallow. I decided on this taza chocolate toffee with almond and sea salt because those flavors sound AMAZING with matcha.

DSC_0411.JPG

My recipe below is for making the marshmallows but you will also need chocolate and graham crackers. Basically you want to put one side of the graham cracker on a baking sheet in the oven with a piece of chocolate and the marshmallow on top. Put the oven on high heat or use the broiler and dont walk away, make sure the marshmallow is soft enough to finish the sandwich !

ezgif.com-crop (1).gif

A few notes about the recipe. You can certainly use corn syrup instead of cane sugar syrup and I have also seen recipes with honey but you’d need a few other ingredients to make that work. When mixing in the matcha, I put a range because I added little by little while it was mixing until I got the color I wanted. The color also darkens a bit after they dry out.

You might be thinking why put more sugar on top of something that is basically just made of sugar. I didn’t say this was the healthiest snack! The confectioner’s sugar on the bottom and top of the mixture make it so much easier to cut out squares. Without it, I think you just get a sticky mess.

I also wanted to mention that while I left these out uncovered for several hours, I covered them and put them in the fridge overnight and they were ok!

Here is the recipe I worked from!

DSC_0433.JPG

If you like to order supplies online as I do sometimes, I have created a little list of supplies from amazon that you can take a look at here to get for this recipe or to spark ideas.

Amazon List

Culinary Matcha - Get Midori

Please note: if you purchase anything from these two links I will receive a small commission.

Matcha Marshmallows .png

Matcha Waffles

I have a lot of matcha recipes planned for this summer! Mostly because summer is kind of go, go, go and matcha powder makes everything so easy!

I don’t generally eat a lot of starchy carbs except for rice but one of my all time favorite things is waffles!!! I remember back in high school, I requested that my birthday dinner be at eggspectations because they serve waffles all day and night - chocolate chip, of course.

Please note, This post and the photos within it contain affiliate links. If you purchase something through the link, I may receive a commission at no extra charge to you.

0907-2019-12429761170293024703482.jpeg

I was browsing waffle recipes and saw this one that was simply blended and used oats. I based my recipe off of this one! I don’t have a large blender but a small ninja smoothie blender. What I did was split all the ingredients into two batches like shown above and placed my matcha powder in one of them so I get two waffles of each! Feel free to use matcha for all your waffles!

My batter felt a little thick even for waffles so I added a little bit more cashew milk (the milk I used) for each batch. I have one of those waffle irons that flips and has a timer. I put a range of time on my recipe because people like their waffles differently. I cooked mine for about 4 minutes and that made a softer waffle with a touch of crisp. If you like crispy, I would go for 5-6 minutes. Here is the waffle maker I have, we got it a few years ago at Christmas time :) p.s. Christmas is almost here. Yes, I’m linking my fav countdown for you!!!

0907-2019-12487431170298791406813.jpeg

The top waffle is the matcha one and at first you may not see the green due to the golden crust but just bust these babies open and you will reveal that beautiful green! I really like the way the matcha and oats compliment each other in this recipe. I chose not to use any additional sweetener, but note that because a banana is used, these aren’t totally savory. There is a hint of sweet.

0907-2019-12247311170274779281458.jpeg

If you don’t know which matcha to use, I suggest Midori by Matchaeologist. It is a great quality matcha for culinary purposes!

0907-2019-12401841170290232806504.jpeg

Top these waffles with whatever treats you like! I usually love to either have just butter or some butter and fruit on my waffles!

Do you have a favorite waffle topping?!

Matcha Waffles.png

Matcha Miso Cookies!

Green Cookies?!

I often talk to people about matcha and many people want to consume matcha in other ways besides drinking it. I love the ceremony around whisking a warm bowl of matcha. But, there is also a place for matcha in our food. Many recipes include infusing which is pretty simple, but nothing is simpler than putting matcha in food and drinks because all the work has been done for you. Matcha being in powder form allows you to be able to incorporate it in everything more easily!

If you’ve read this blog and the recipes in it you probably can tell I’m a bit of a fan girl of Adriana over at A Cozy Kitchen. I one time made these cookies from her blog that were miso white chocolate chip cookies. They are amazing! When I was looking for a simple recipe to get me back into blogging and I thought that matcha would be such a delicious flavor with the miso!

2502-2019-063730513479991151309.jpeg

I want you to check out her original recipe because this is such a cool concept for a cookie and she deserves all the credit! While you’re there make sure to check out some of her other delicious recipes!

Miso White Chocolate Chip Cookies Recipe (since changed to chocolate chips)

I only changed a few things to get these cookies to be green!

-I used all brown sugar instead of white and brown

-I used bittersweet chocolate chips, only because I personally am not a fan of white chocolate. White chocolate chips do have a nice flavor though with the miso and matcha

-I added about 2 tablespoons of culinary grade matcha

One more note about these, Make sure to check them because the bottoms get browned very quickly, adding another layer of parchment paper helped too!

2502-2019-063465713477343009435.jpeg

These cookies marry the delicious taste of miso and matcha but with a sweet harmony. You get the bite of matcha but you still feel like you’re having dessert! I think that if drinking matcha isn’t your favorite and you still want to have matcha in your life, this might be the recipe for you ;)

2502-2019-063604913478735245685.jpeg

Tea Infused Kringle Hearts

Hello!

Small Announcement: I’ve missed you all! I have to admit some sad circumstances have stopped my blogging for most of December and all of January. In December, my stepdad passed away suddenly and it affected me more than I could ever have imagined. I wanted to keep going everyday which I did to a certain point but creating recipes and blogging is such an involved process and I wasn’t up for it. I appreciate your patience during my little break and I’m back in time for the holiday of love!

I have mixed feeling about valentine’s day but I always try to be positive about it AND it’s an excuse to bake and cook things with hearts!

Have you ever tried Kringle?? I bought one from trader joe’s around the holidays and OMG SO GOOD! After I bought that one I couldn’t find them again :( I found out that you can order them online but they are a little pricey.

I was sure I could find a recipe on the internet, and I did! I used this recipe for these kringle hearts and will let you know the changes I made and how I added tea!

2901-2019-0703534107617564284487.jpeg

For those of you know kringle, you’re probably thinking that this isn’t the right shape! Well, you’re correct. I actually created the kringle then used a heart shaped cookie cutter to cut these out. It was messy but worth it for valentines day! The heart shape doesn’t change the taste in anyway :D

2901-2019-0756500107610530720636.jpeg

You can find the recipe I followed here !

If I am following a recipe and want to infuse tea into it, I will look for either a liquid portion to infuse or butter! In the past I have tried to use tea in place of the warm water for the yeast and for whatever reason they have always failed! This may have nothing to do with tea but to be safe I used the milk in this recipe.

2901-2019-0758588107612618161781.jpeg

The recipe calls for warm milk and so I heated the milk a bit and put 2 tablespoons of tea in the milk. I let it steep for until fragrant and when the milk was warm and not hot then I strained it and included it in the recipe.

Two notes about this, use more milk for the infusion that the recipe calls for and measure the final amount added to the recipe. You will lose some milk when you heat it and strain it. You can add less or more tea depending on how strong you want the tea flavor!

2901-2019-0759643107613673266989.jpeg

This recipe will not give you the thin kringle that you’re probably used to but it is still delicious. The filling is very sweet and is most of the flavor for this recipe. The topping which is a simple glaze makes this a great sweet treat!

2901-2019-0700921107614951817197.jpeg

A note about choosing a tea for this recipe. I would suggest choosing a black tea and if you are choosing a blended black to tea remember that the flavor you choose will be subtle in the bread part of this so make sure it is a blend you like!

For example, the tea I used in the blend was Amaretto Spice from The Jasmine Pearl Tea. This tea is a blend of black tea, cinnamon and amaretto flavoring. This combo was ideal because you have the extra cinnamon and almond flavor from the amaretto but nothing too overwhelming!

2901-2019-0757113107611143225844.jpeg

These turned out really delicious and although they aren’t exactly like the original Kringle they have that lovely flavor!

2901-2019-0701858107615888038134.jpeg

You can definitely create the shapes listed in the recipe but I will say that although the cookie cutter shape was a bit difficult to cut out since I did it after it was baked, it was nice to just give out heart shaped pieces!

I didn’t decide to do the hearts until after it was baked but I think you could probably cut them out before baking and have it turn out well too!

Apple Cider Donuts!

I’ve had trouble finding apple cider donuts this year! Maybe I’m not looking in the right places. I did go to a fall festival which definitely had them but I couldn’t be bothered to wait in the long line. I’ve made matcha donuts, pu’er donuts and apple cider before on my blog so I thought I would give these a shot!.

I based my recipe off this one which is what I think you should follow! I did make some changes which I will note below.

The weather has NOT been cooperating with me so I haven’t been able to get any good photos but will update this post when I do!

Infusing tea into the Apple Cider is very simple. If you buy apple cider, make sure to follow the recipe for the apple cider donuts and boil it down a bit. You could then, while it is hot, fill a tea bag with your desired tea and let it steep for a few minutes. When choosing a tea, do not choose a delicate tea because it will get bitter. Go for a tea that can handle hot temperatures like black tea or rooibos. I used a Lavender spice tea that has rooibos in it for my apple cider.

I’ve also linked a recipe I used for apple cider infused with tea above if you want to make it from scratch! Even if you just boil apples then infuse the tea for a few minutes, it still tastes great! I made my apple cider from scratch for these donuts and it turned out well!

The substitutions I made in the Sally’s Baking Addiction recipe are as follows!

  • 1 and 1/2 cups (360ml) apple cider ——> I made my own tea infused apple cider

  • 1/2 cup (100g) packed light or dark brown sugar —-> I used 1 cup dark brown sugar instead of 1/2 brown, 1/2 white. I also used brown sugar for the coating.

  • 1/2 cup (120ml) milk, at room temperature* ——-> I used Oat Milk

  • 1 teaspoon pure vanilla extract——> I didn’t have this so I didn’t use it and they turned out fine!

Even though these donuts are baked, with the melted butter they almost taste fried!

Enjoy!