
Matcha Cream Cups!
It’s Monday. Let’s face it, sometimes Monday’s aren’t that bad. It really comes down to your attitude about it but even on a good Monday there can be a sense of laziness. It’s Monday, the week is starting and your to do list is 3 miles long but you want a treat. You don’t want to work too hard for that treat though right?
I have the perfect treat for you!
I’m going to write this post in a really laid back, Monday way as well.

Think peanut butter cups, but instead of the peanut butter filling, you have matcha filling! My Mom’s birthday was earlier this month and she is obsessed with Matcha. Matcha to drink but also matcha in every form I can make it.
I wanted to make her a simple treat for her birthday so I decided to create these. They require only a few ingredients, no baking and not a lot of time either!
Here’s what you’ll need:
-Bittersweet or semi-sweet melting wafers
-Heavy Whipping cream - You can probably substitute this for coconut cream as well for a non dairy solution
-Sugar to taste
-Small or large cupcake papers
** Please note that while these are the actual ingredients I used, these are affiliate links and if you purchase through them I will make a small commission. **
A few notes:
-When choosing bittersweet or semi-sweet, gauge your bitterness limits. I tried these cups with both and if you need sweet, go with the semi-sweet chips. While the bittersweet was still good, it is very strong. The Semi-sweet was my preferred because it still wasn’t super sweet but I think it complimented the cream better. If you do use bittersweet, I would choose larger cups so that you can put more filling!
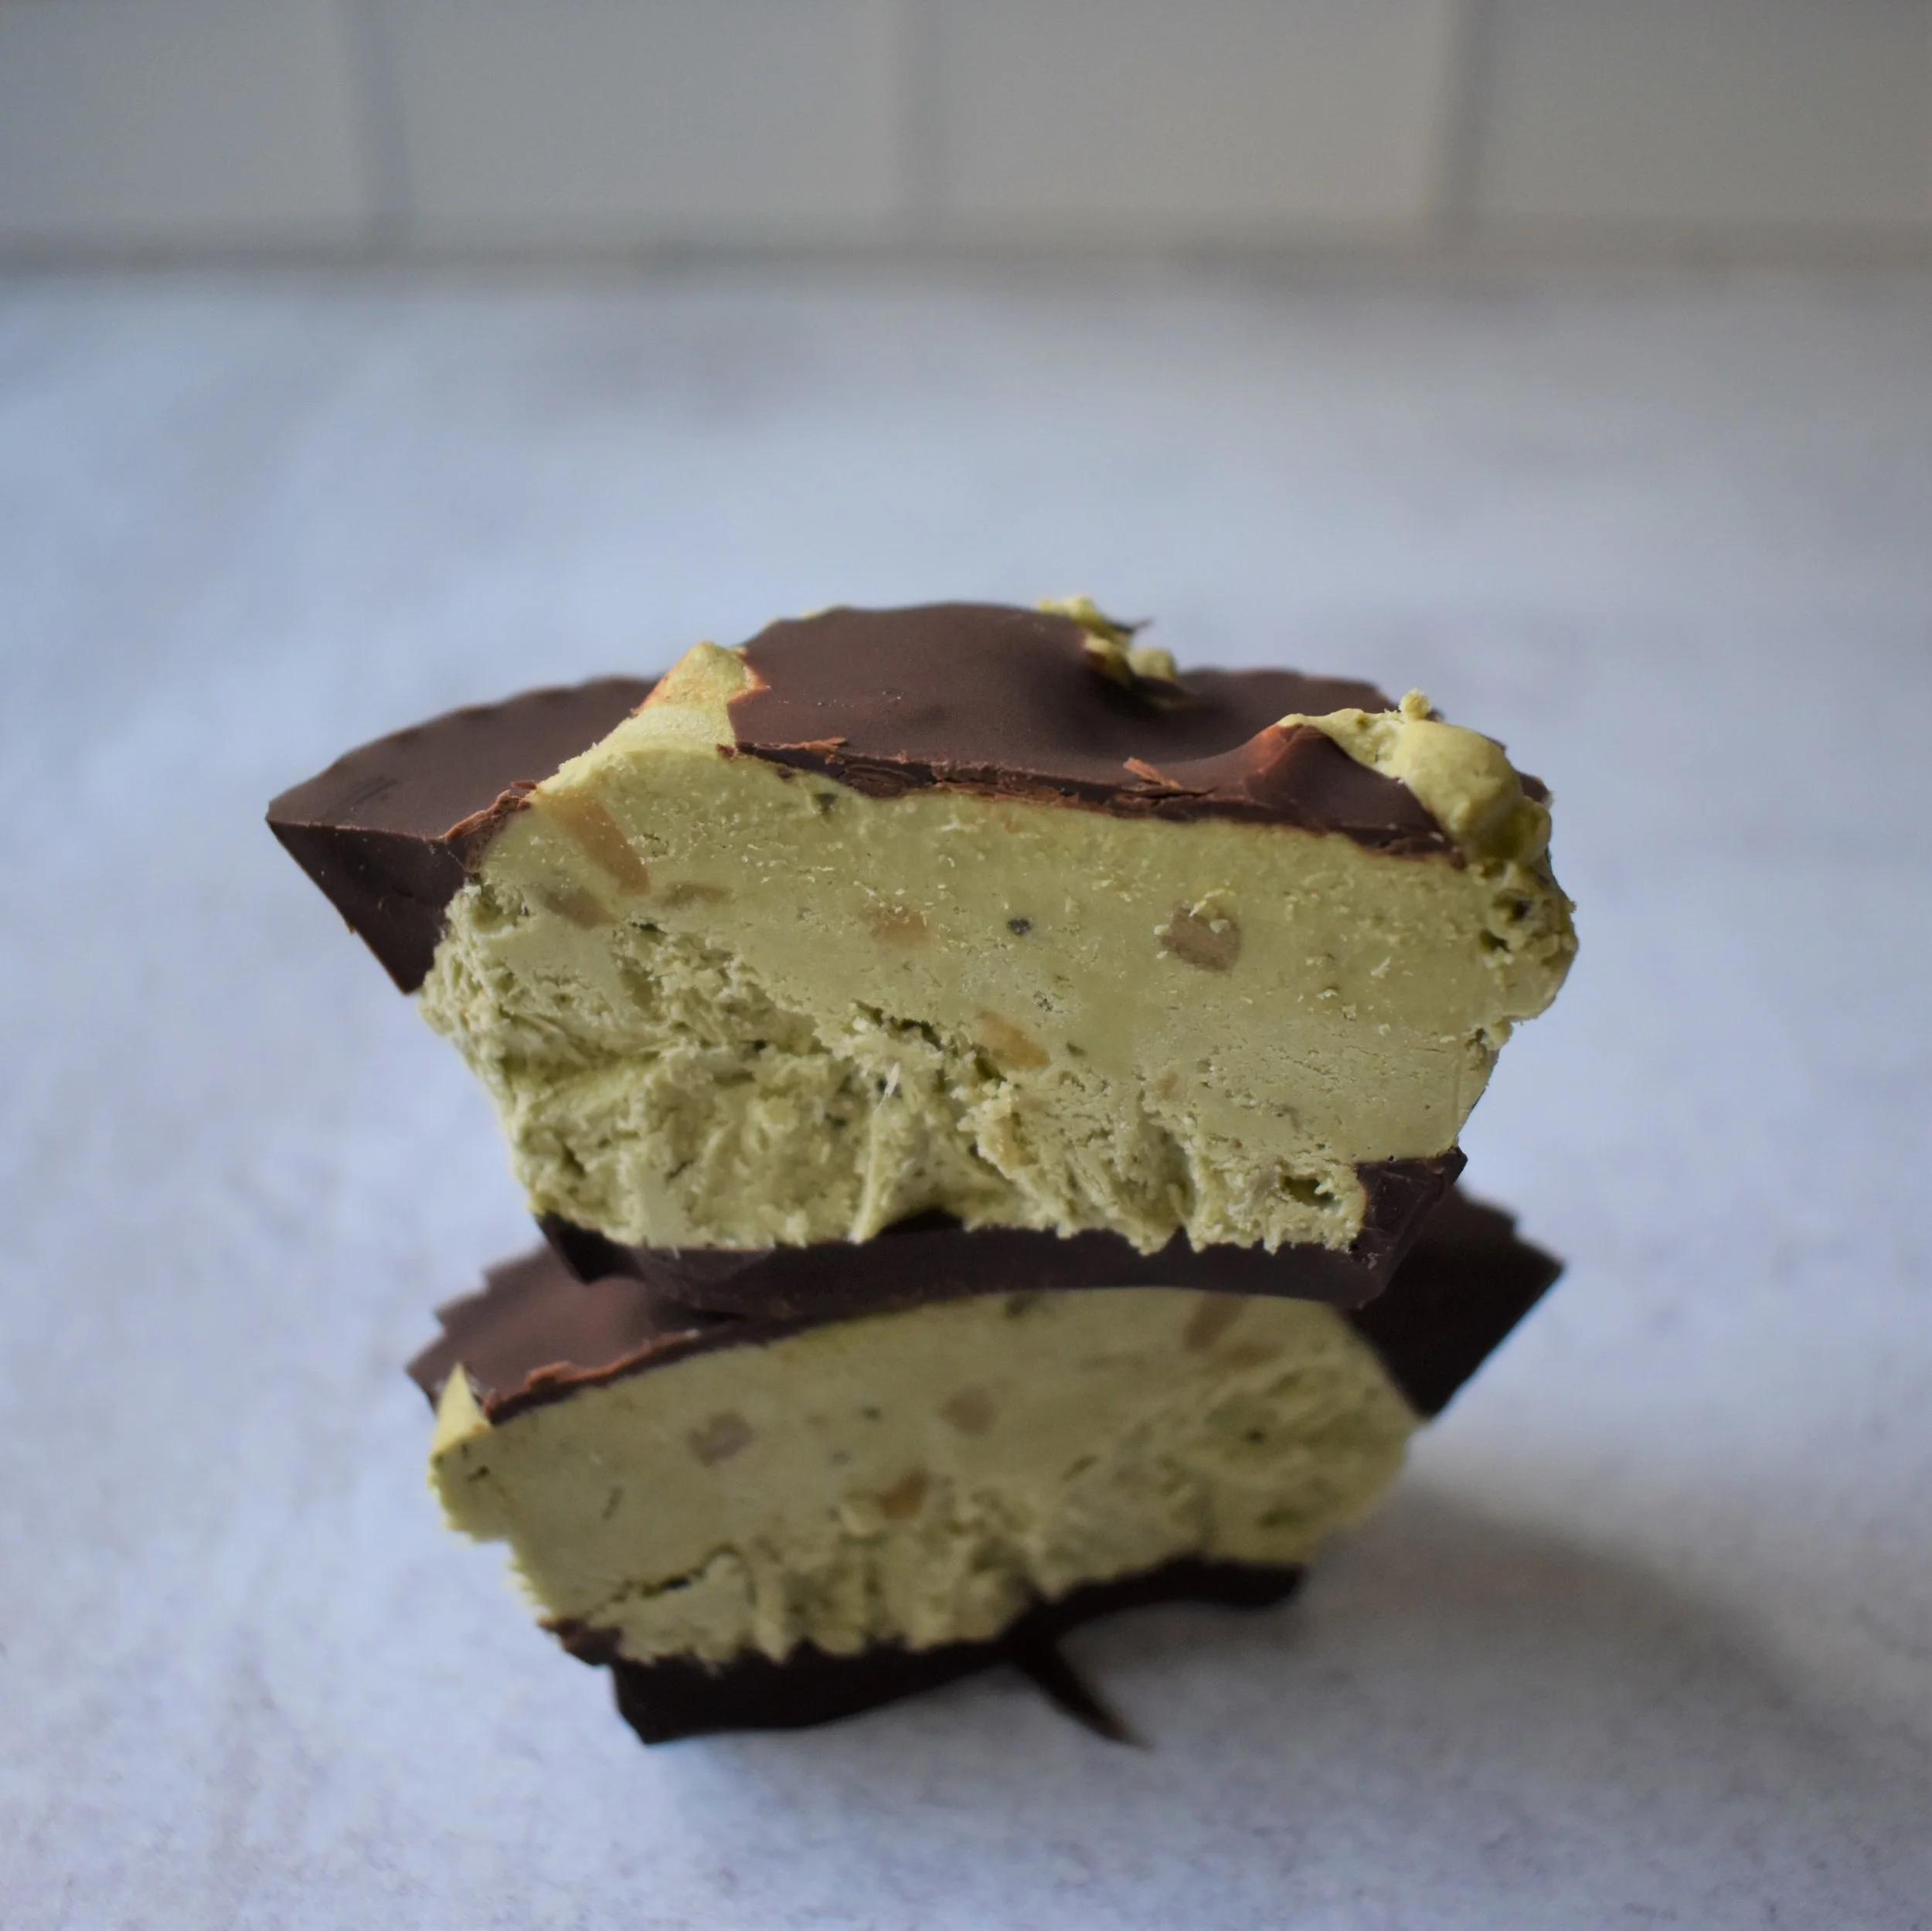
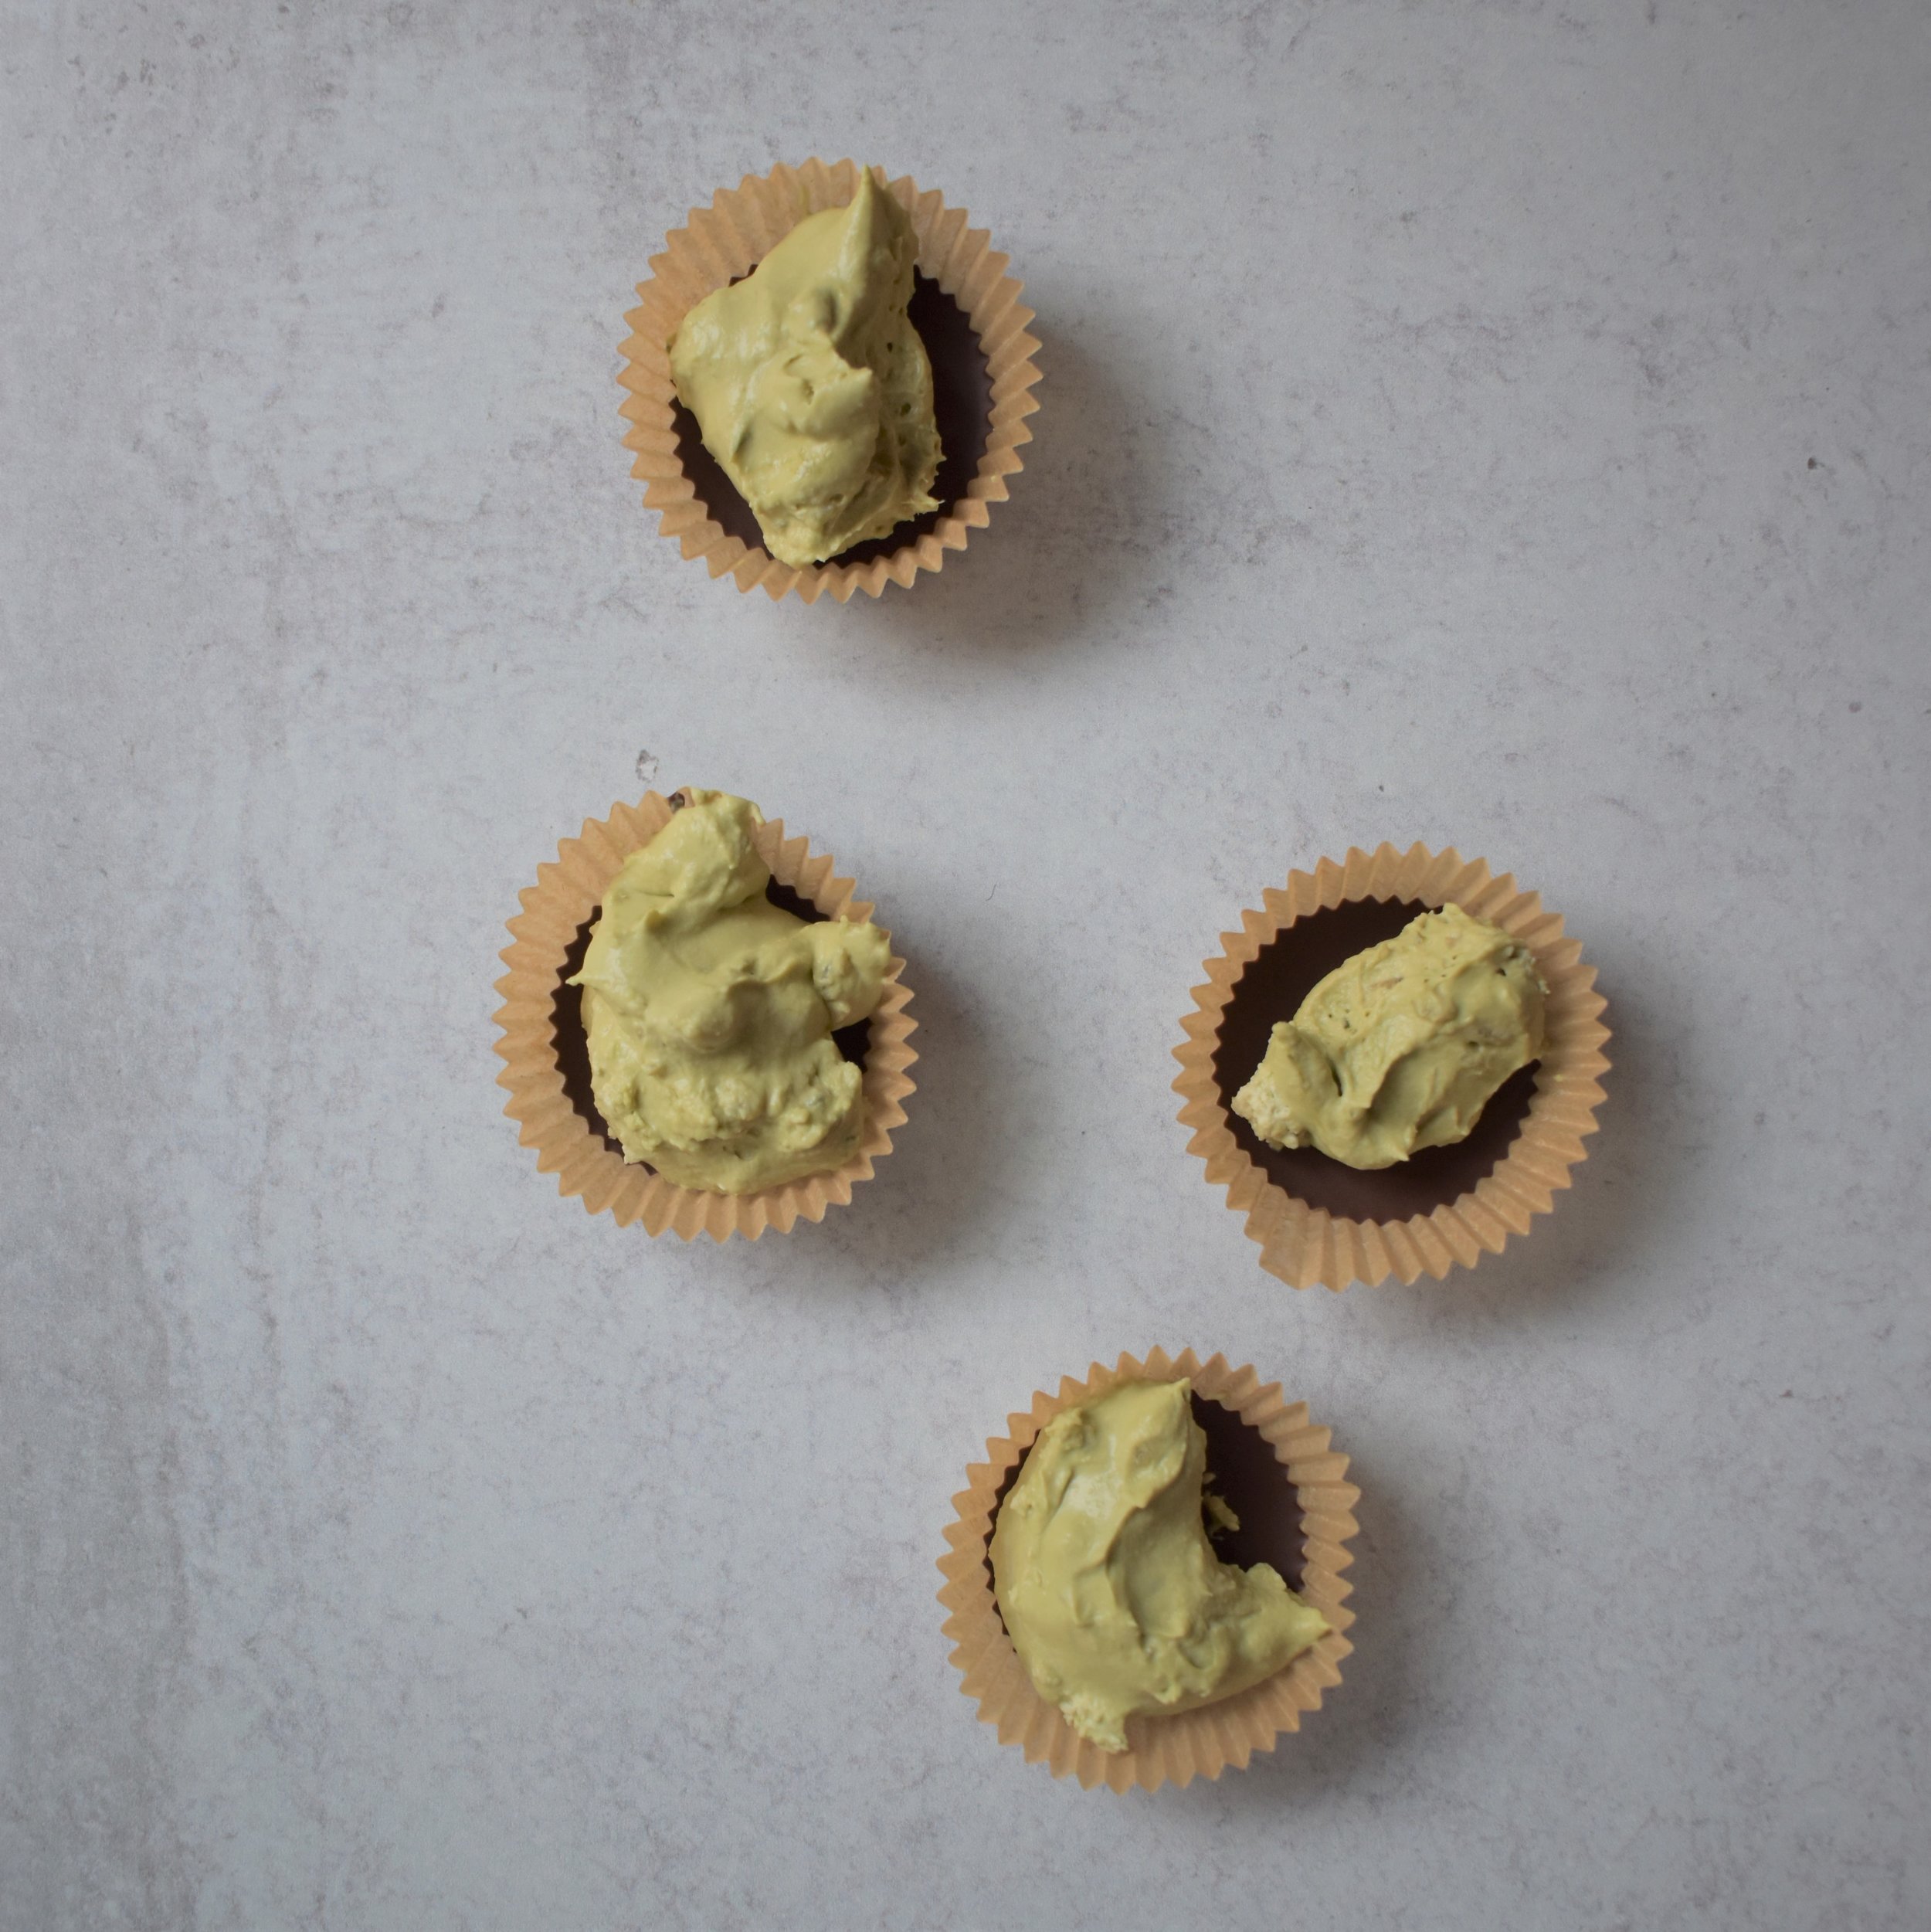
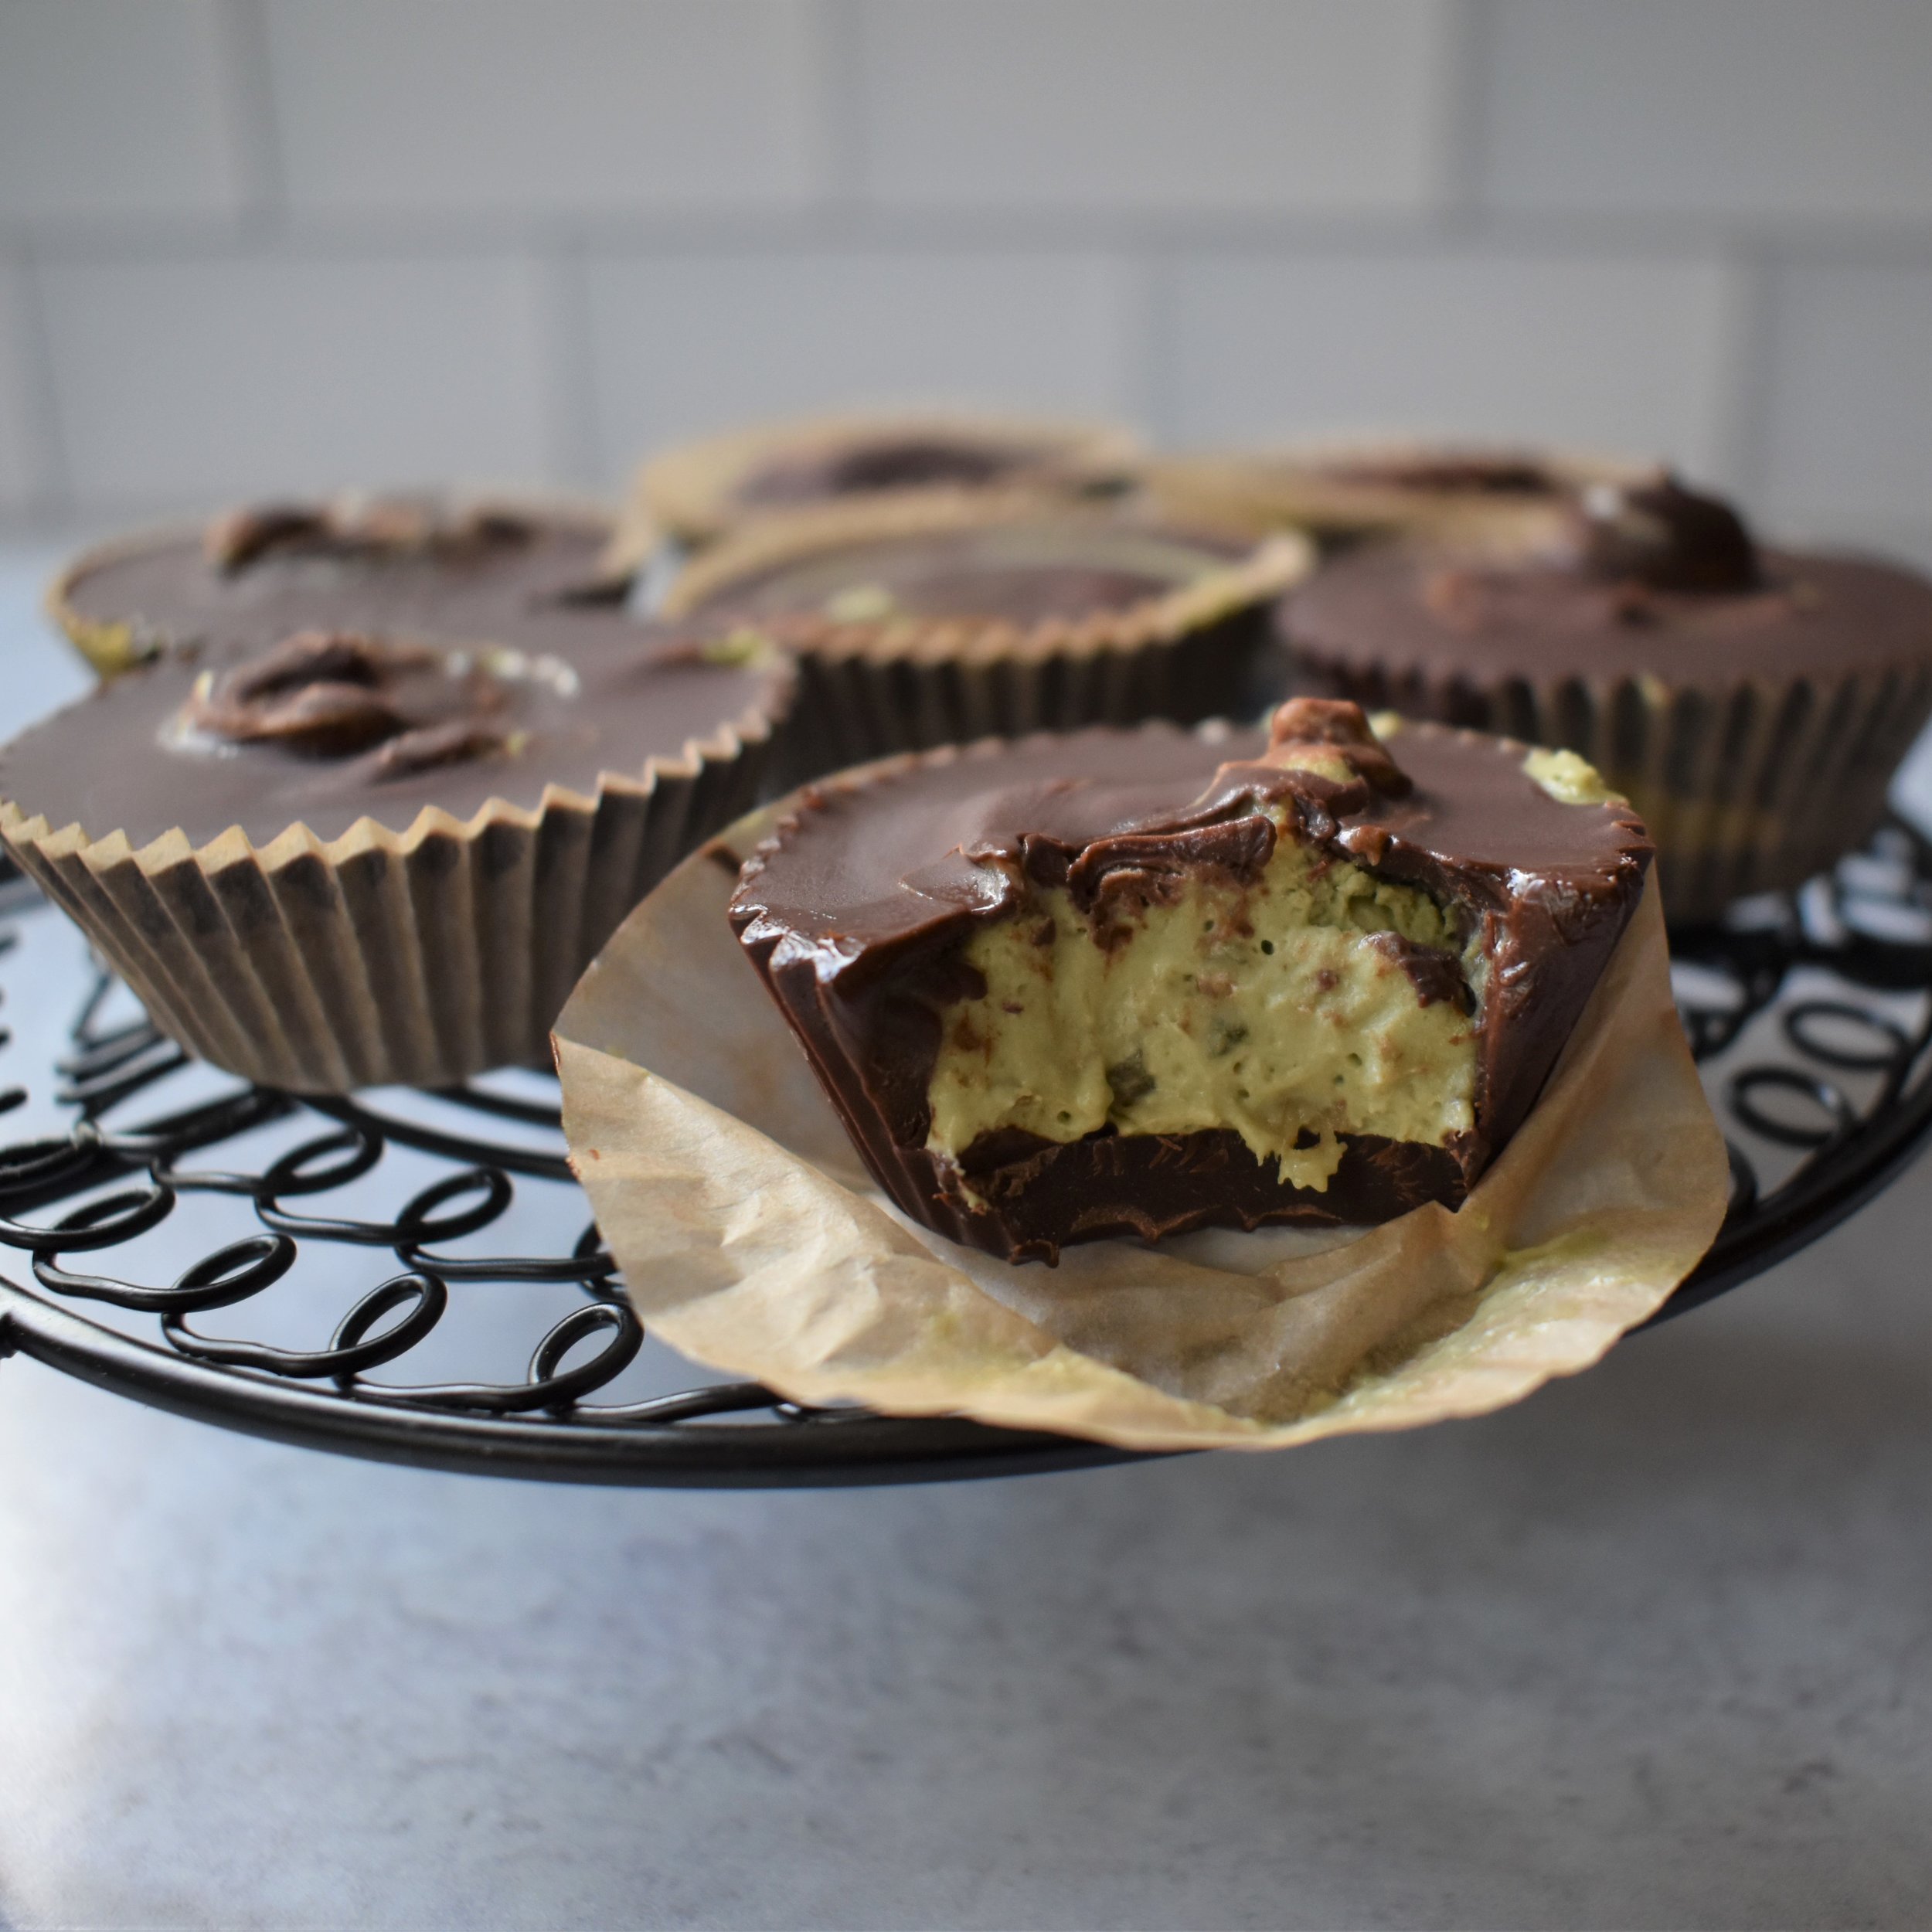
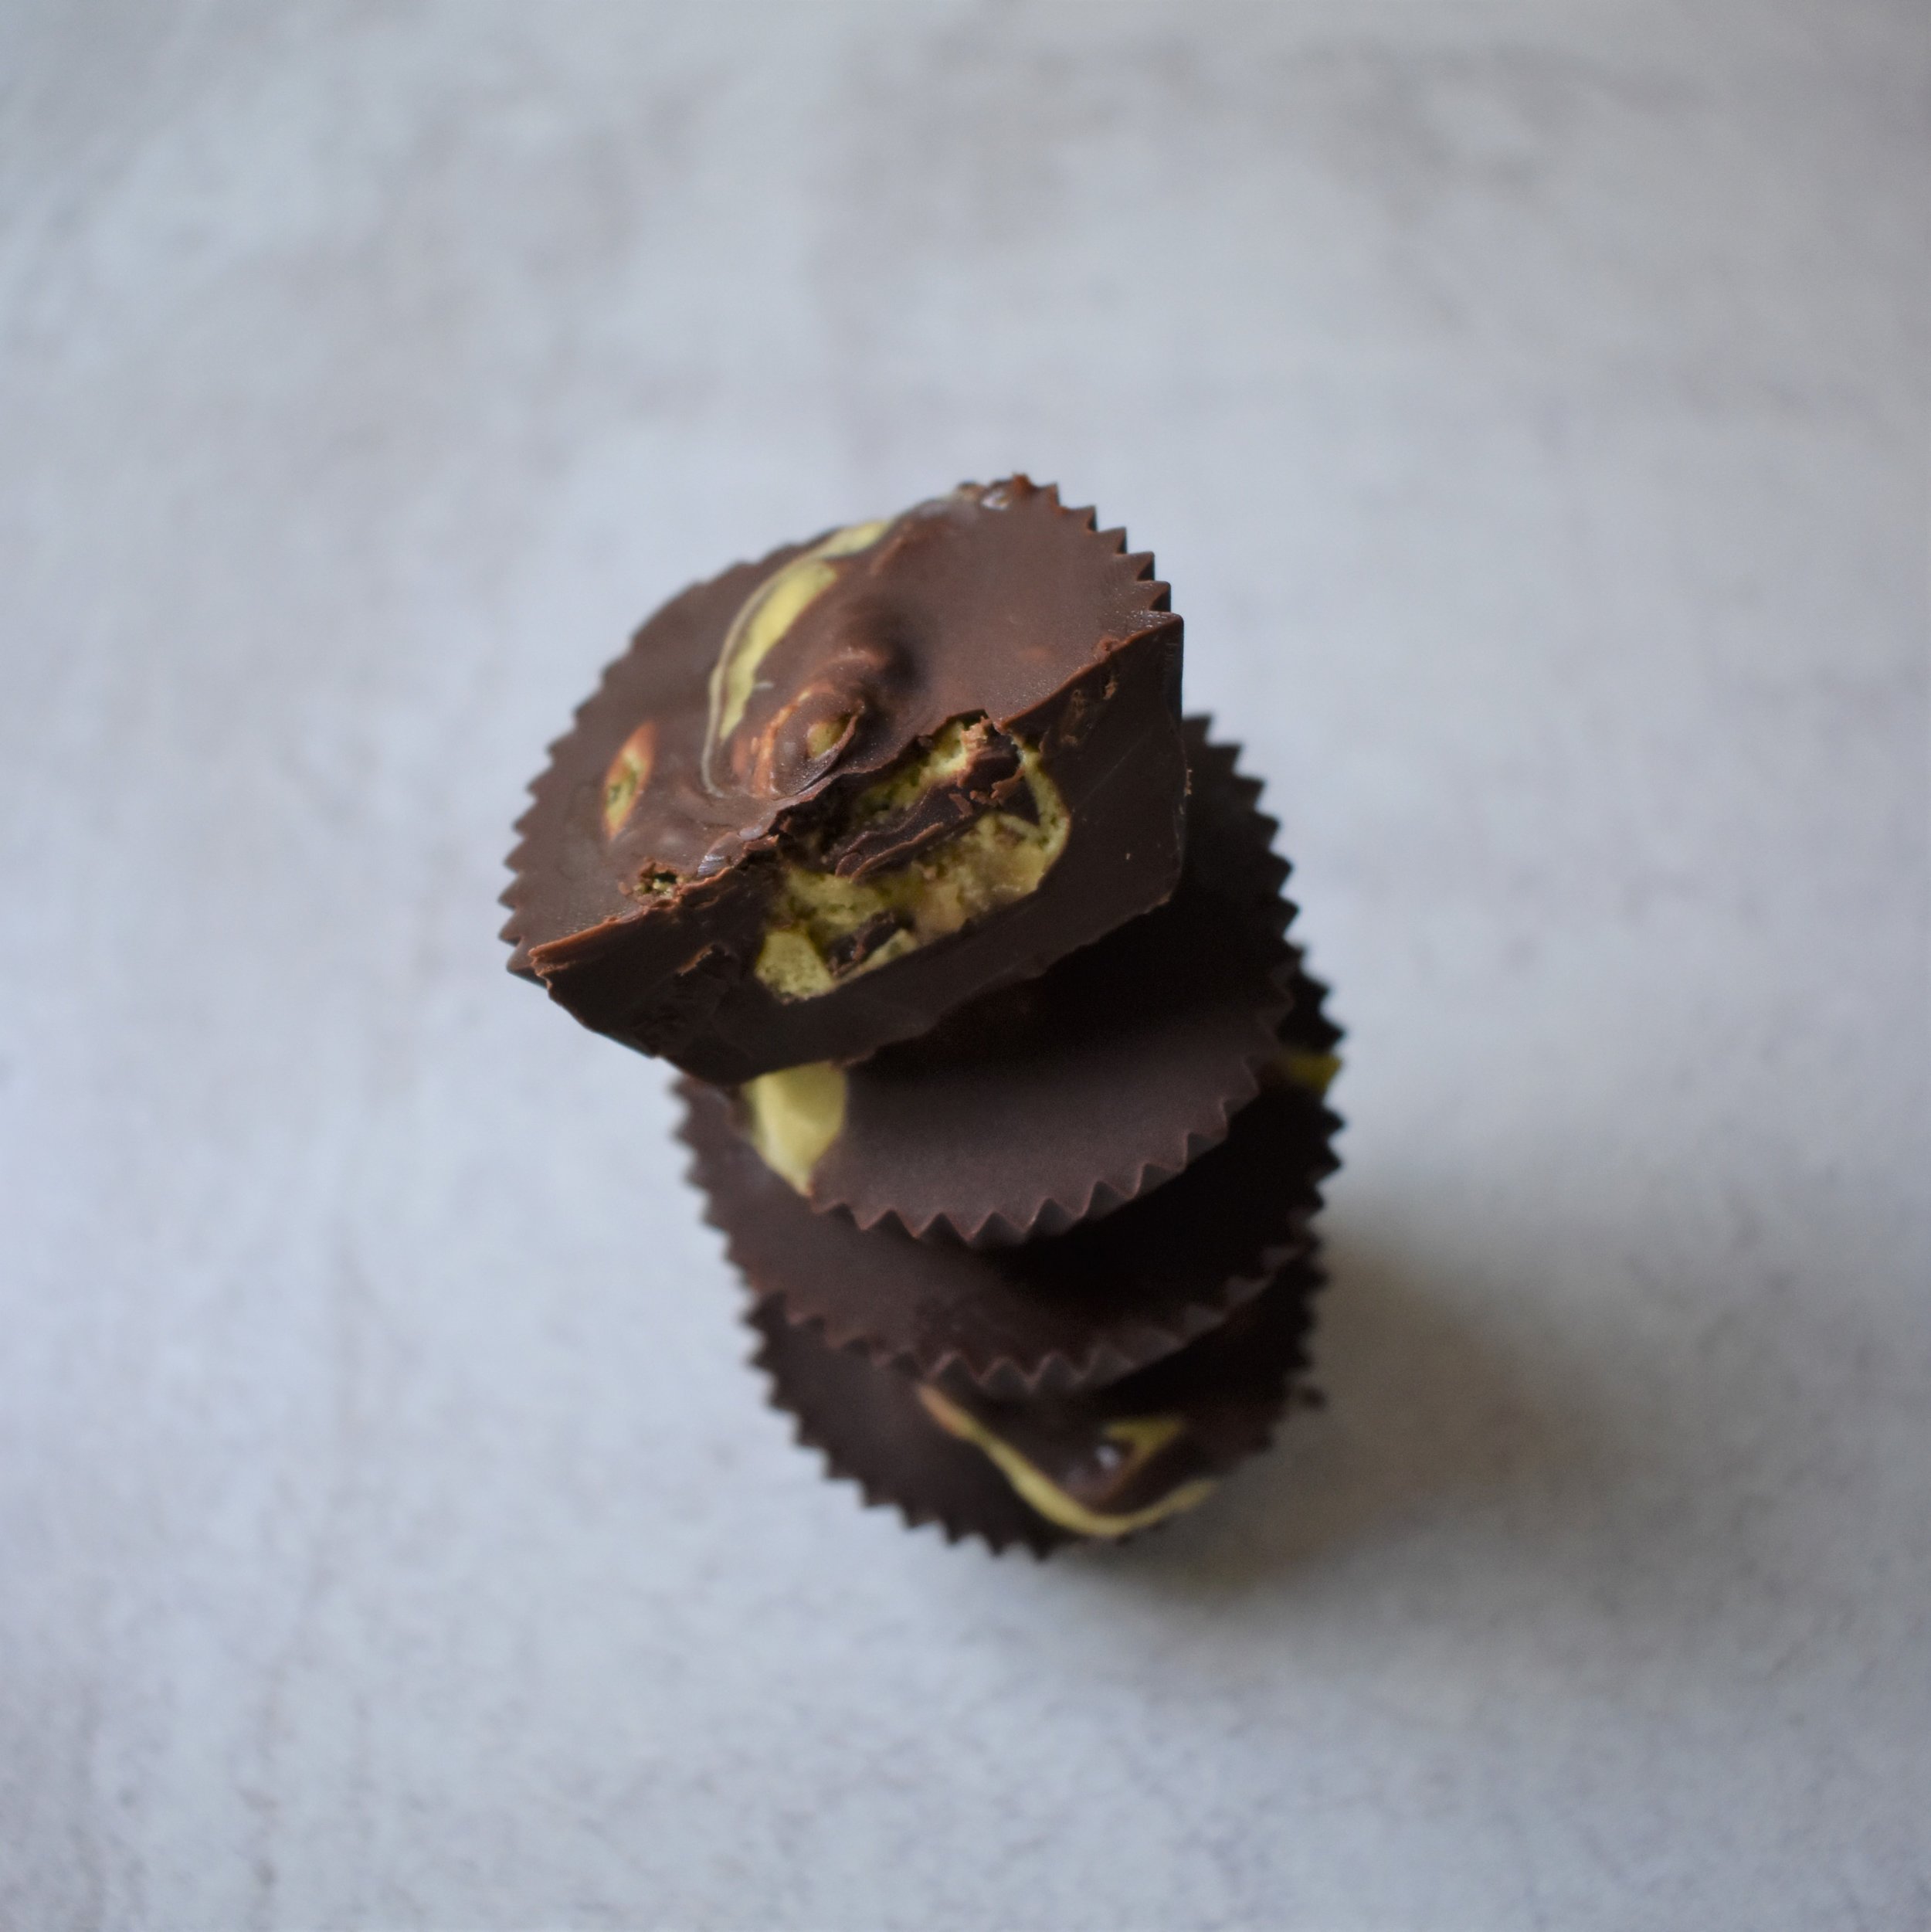
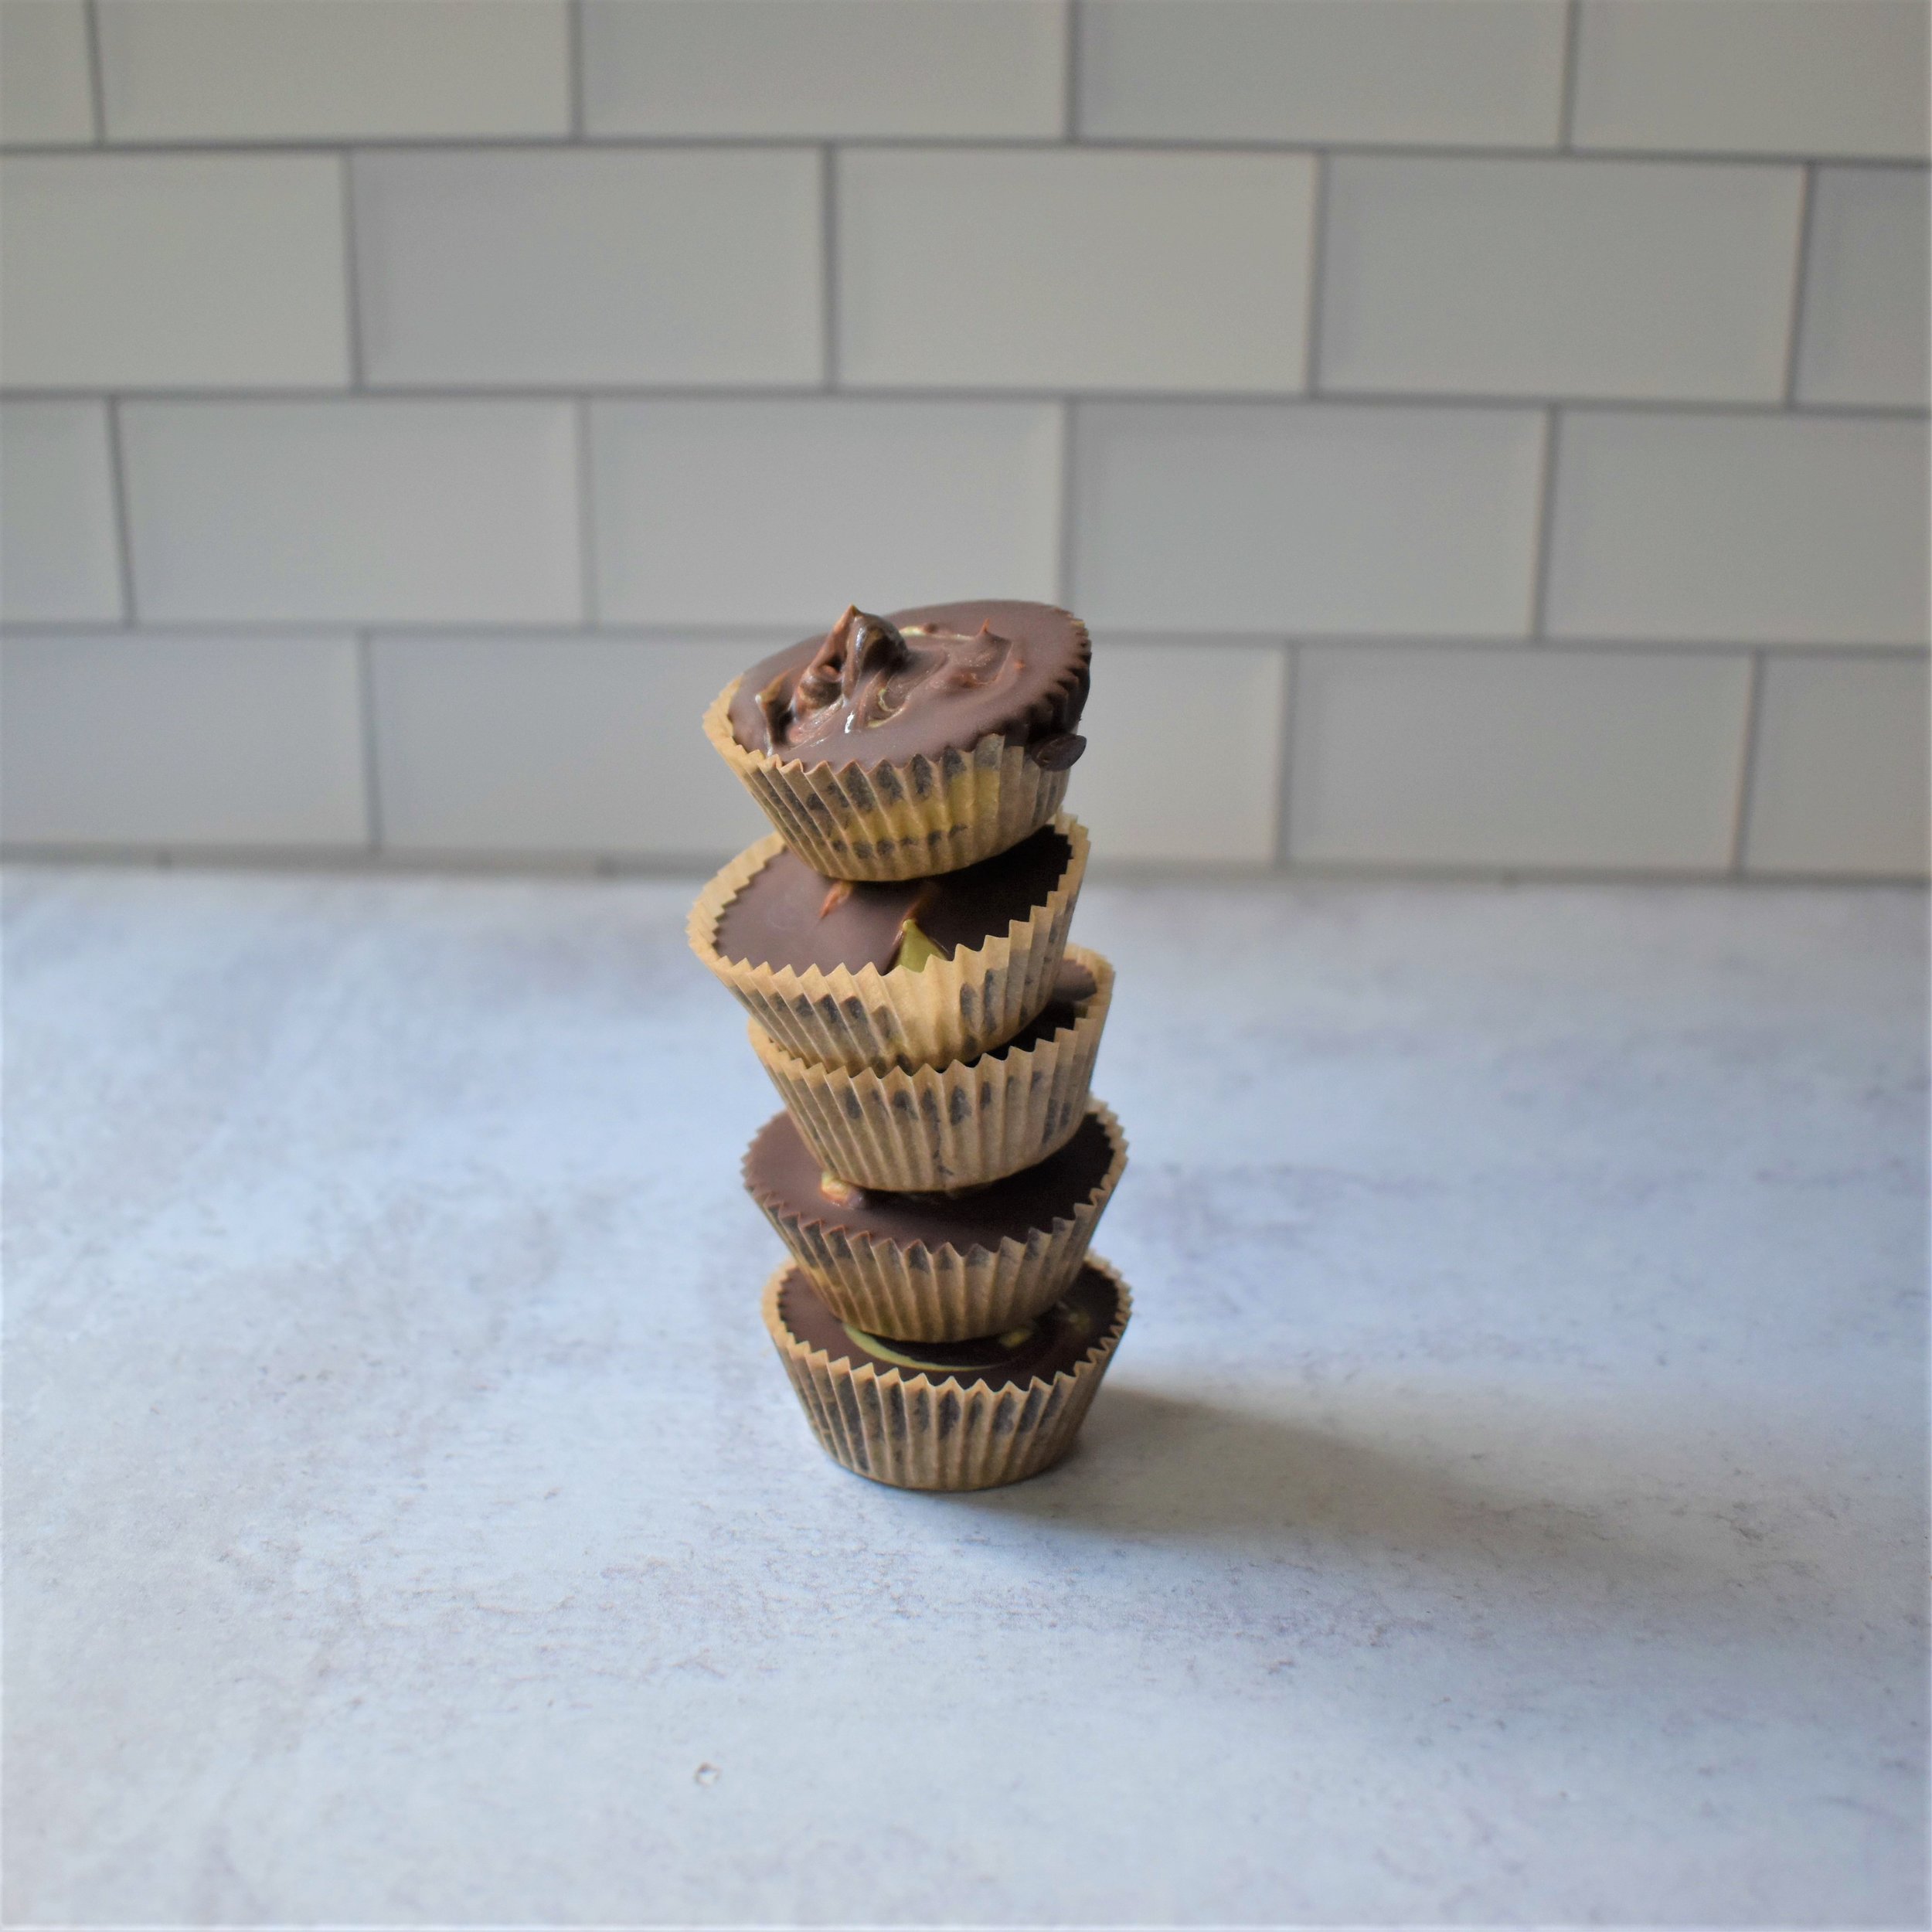
-Choosing small or large cups. I created these cups both ways. Directly below you will see small matcha cups. The last photo on this post is a large matcha cup. The difference is that you’re going to have more room for the cream in the larger cups. The smaller cups are more chocolate than cream. Both are good but it depends on your preference!
-Heavy whipping cream. I used an entire pint which created SO.MUCH.CREAM. I just kept making these cups until it ran out but unless you plan on making a lot of these, I would start with a smaller amount of heavy cream.
Matcha Cream
-Start off by putting the heavy cream into your stand up mixer and turn it on low. While it mixes, chop up the crystallized ginger and sift your matcha powder.
-Increase the mixer to medium and then high as the cream starts to thicken. Add in your matcha, ginger and sugar to taste. I basically kept adding matcha until it was a satisfying green color.
-Once you get your desired mixture, set aside the cream.
Chocolate
-Use a double boiler or two pots stacked on top of each other to melt your chocolate. I always put a little bit of coconut oil in my chocolate wafers to help the consistency.
-I like to keep mixing the chocolate as it melts to make sure it stays smooth.
-Once chocolate is melted, keep the heat on low and get ready to assemble.
Make the Cups
-Put your desired cupcake paper size in a cupcake tin. The tin will help keep a little bit of structure when completing the cups.
-Pour 1/2 tbsp to 1 tablespoon chocolate into each cup, or enough to just cover the bottom well. Stick these in the freezer.
-Once the chocolate has hardened (should only take a few minutes), take the desired amount of matcha cream and put it in each cup.
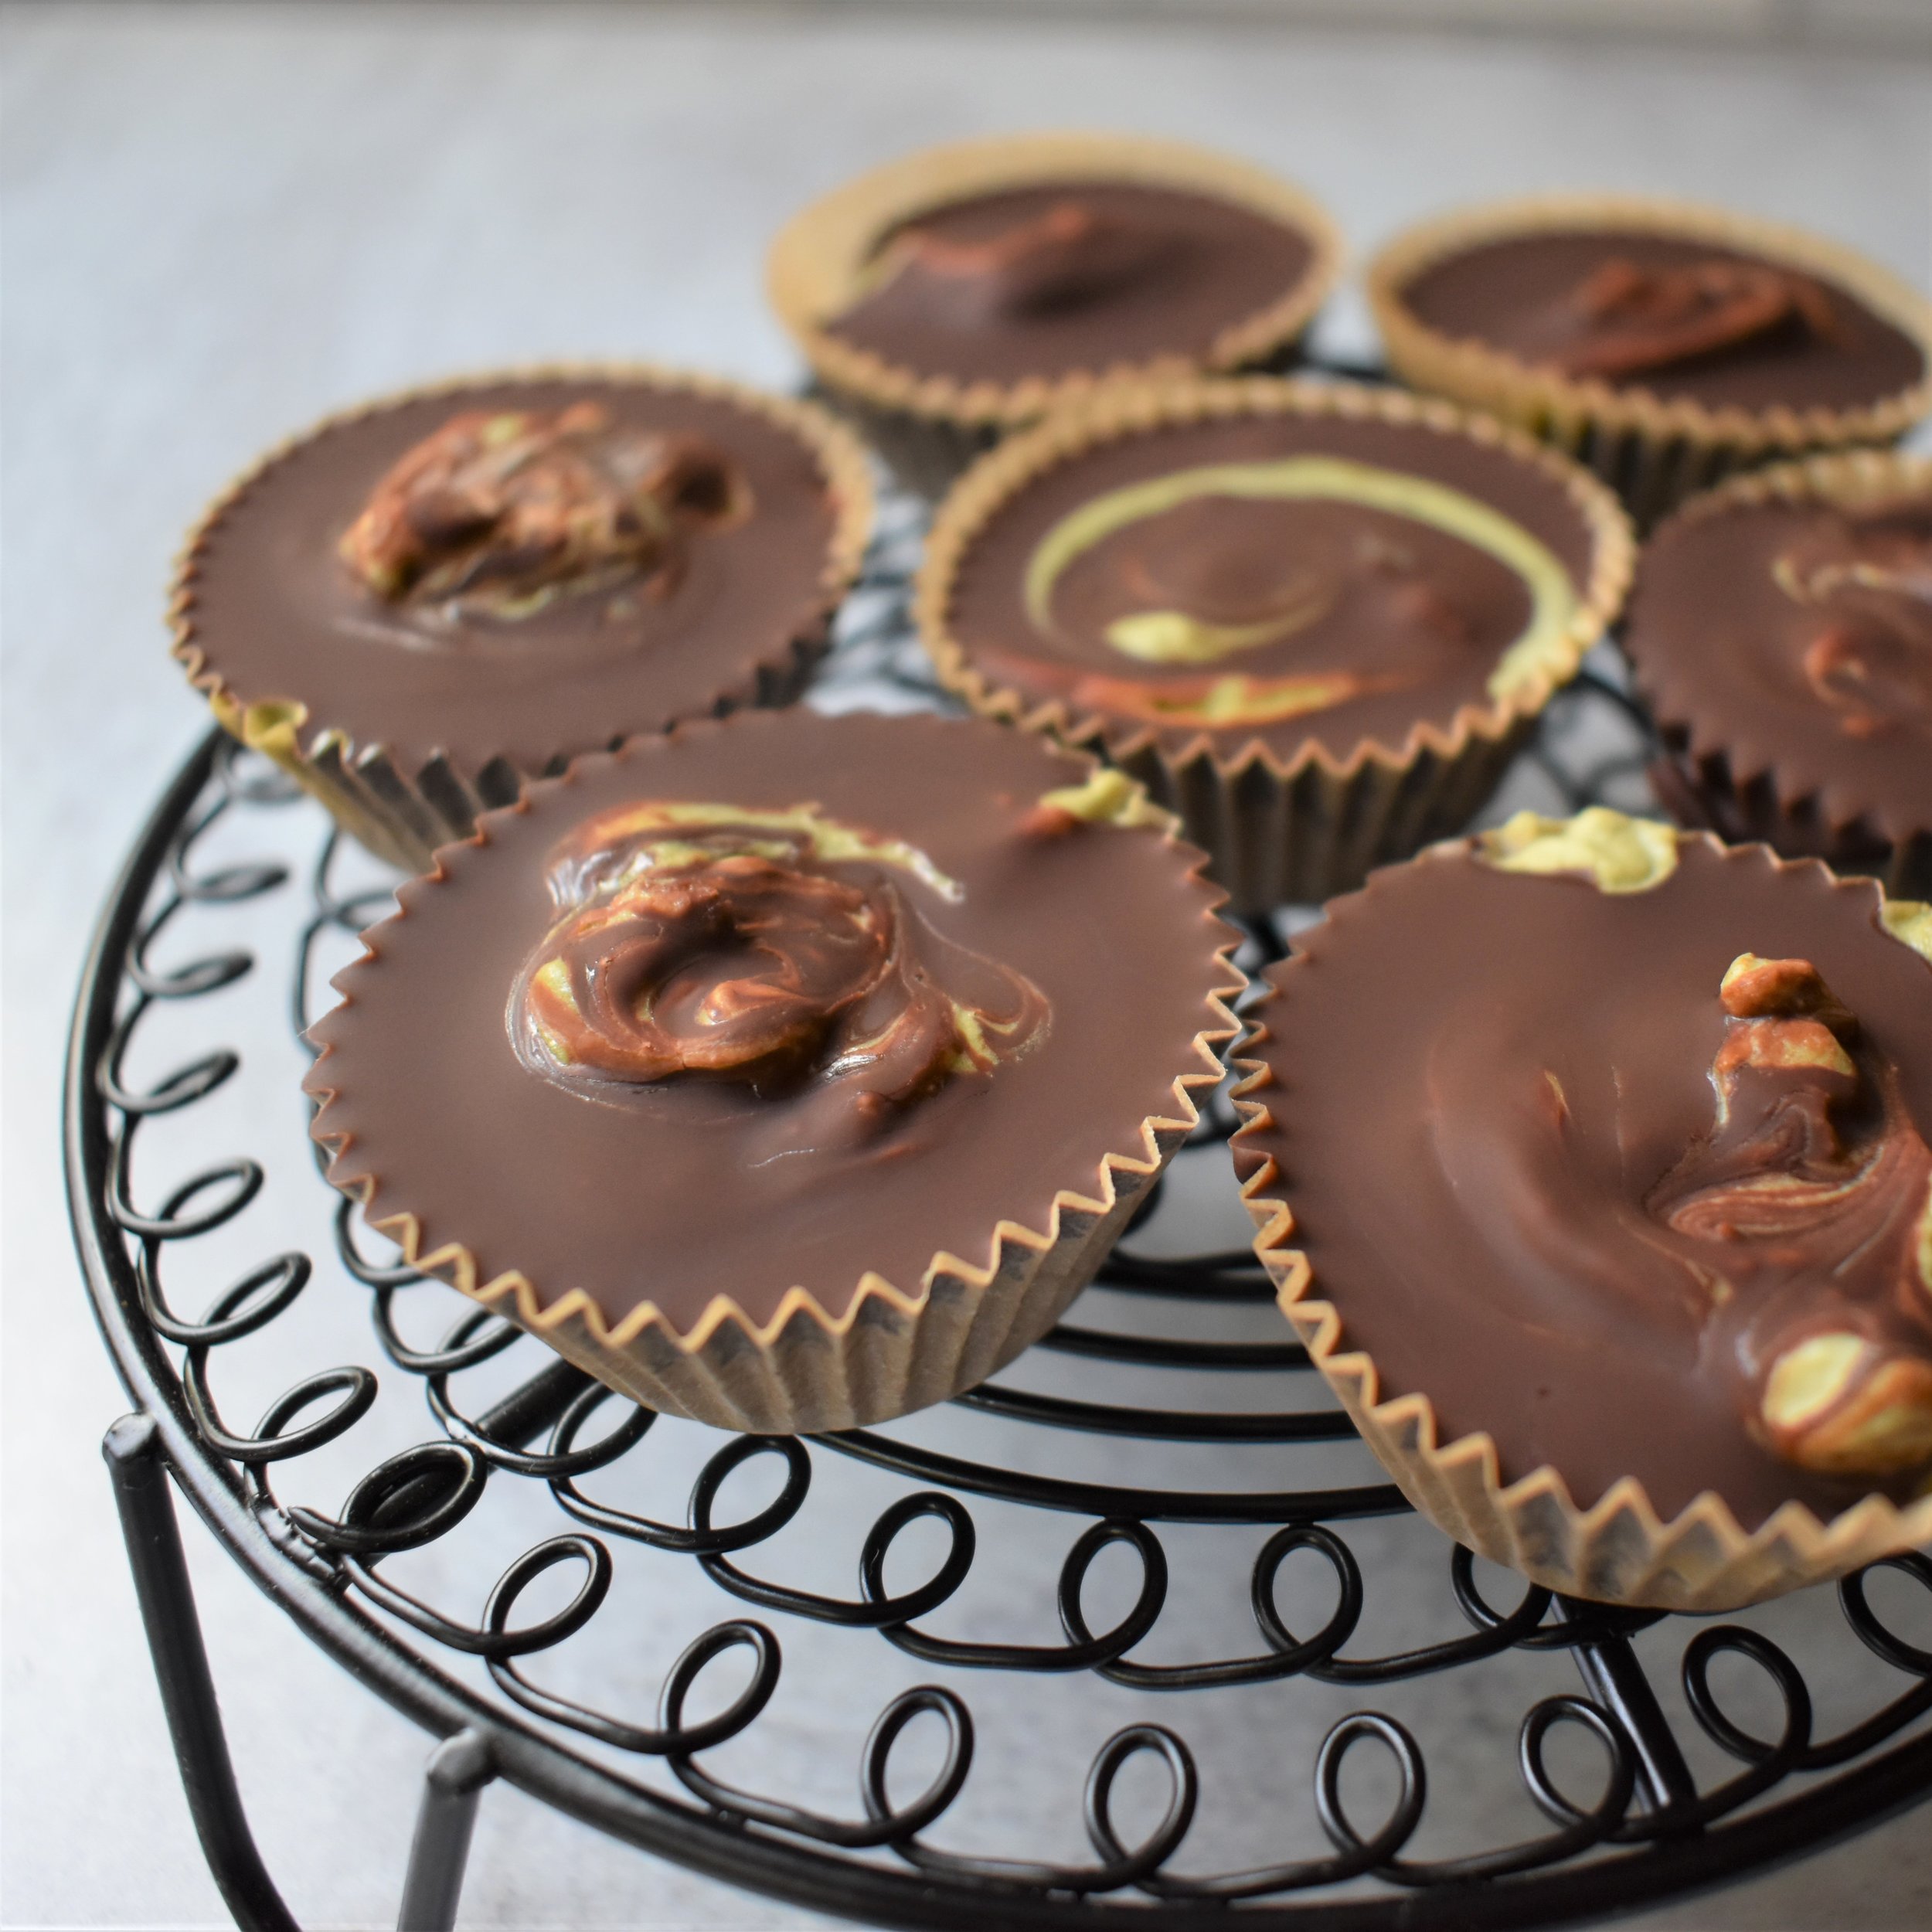
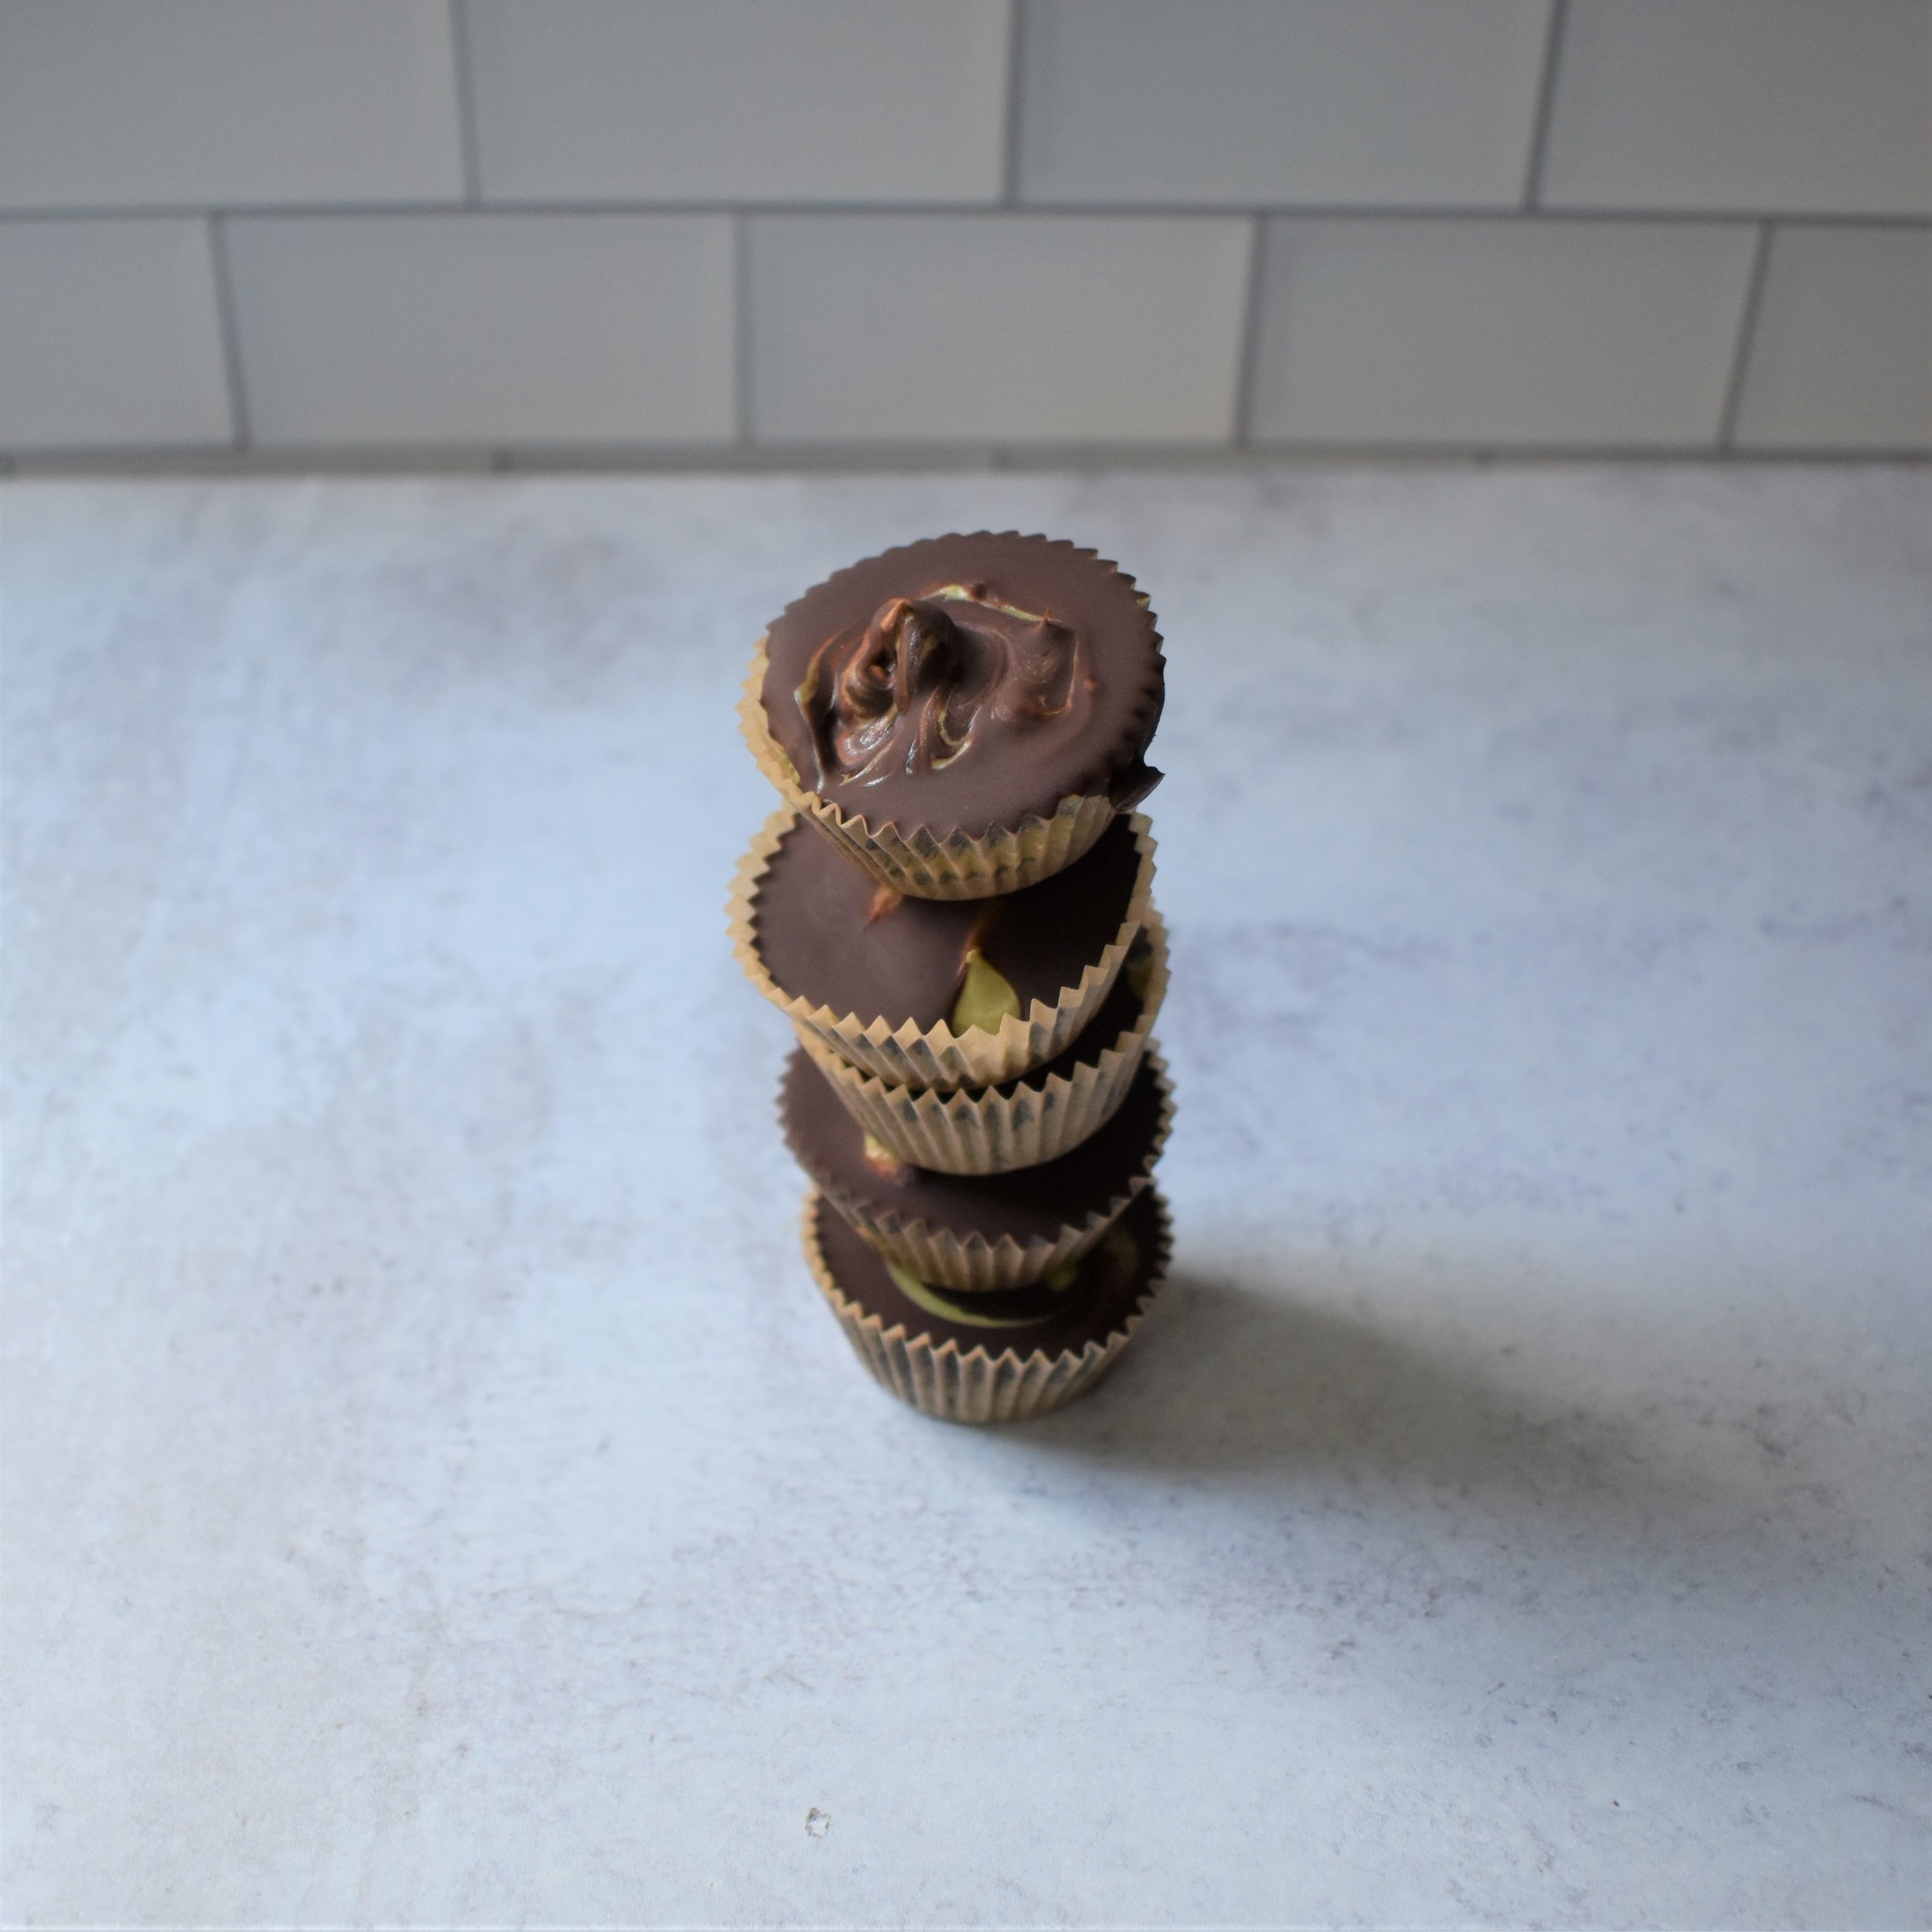
-Cover the cups with chocolate
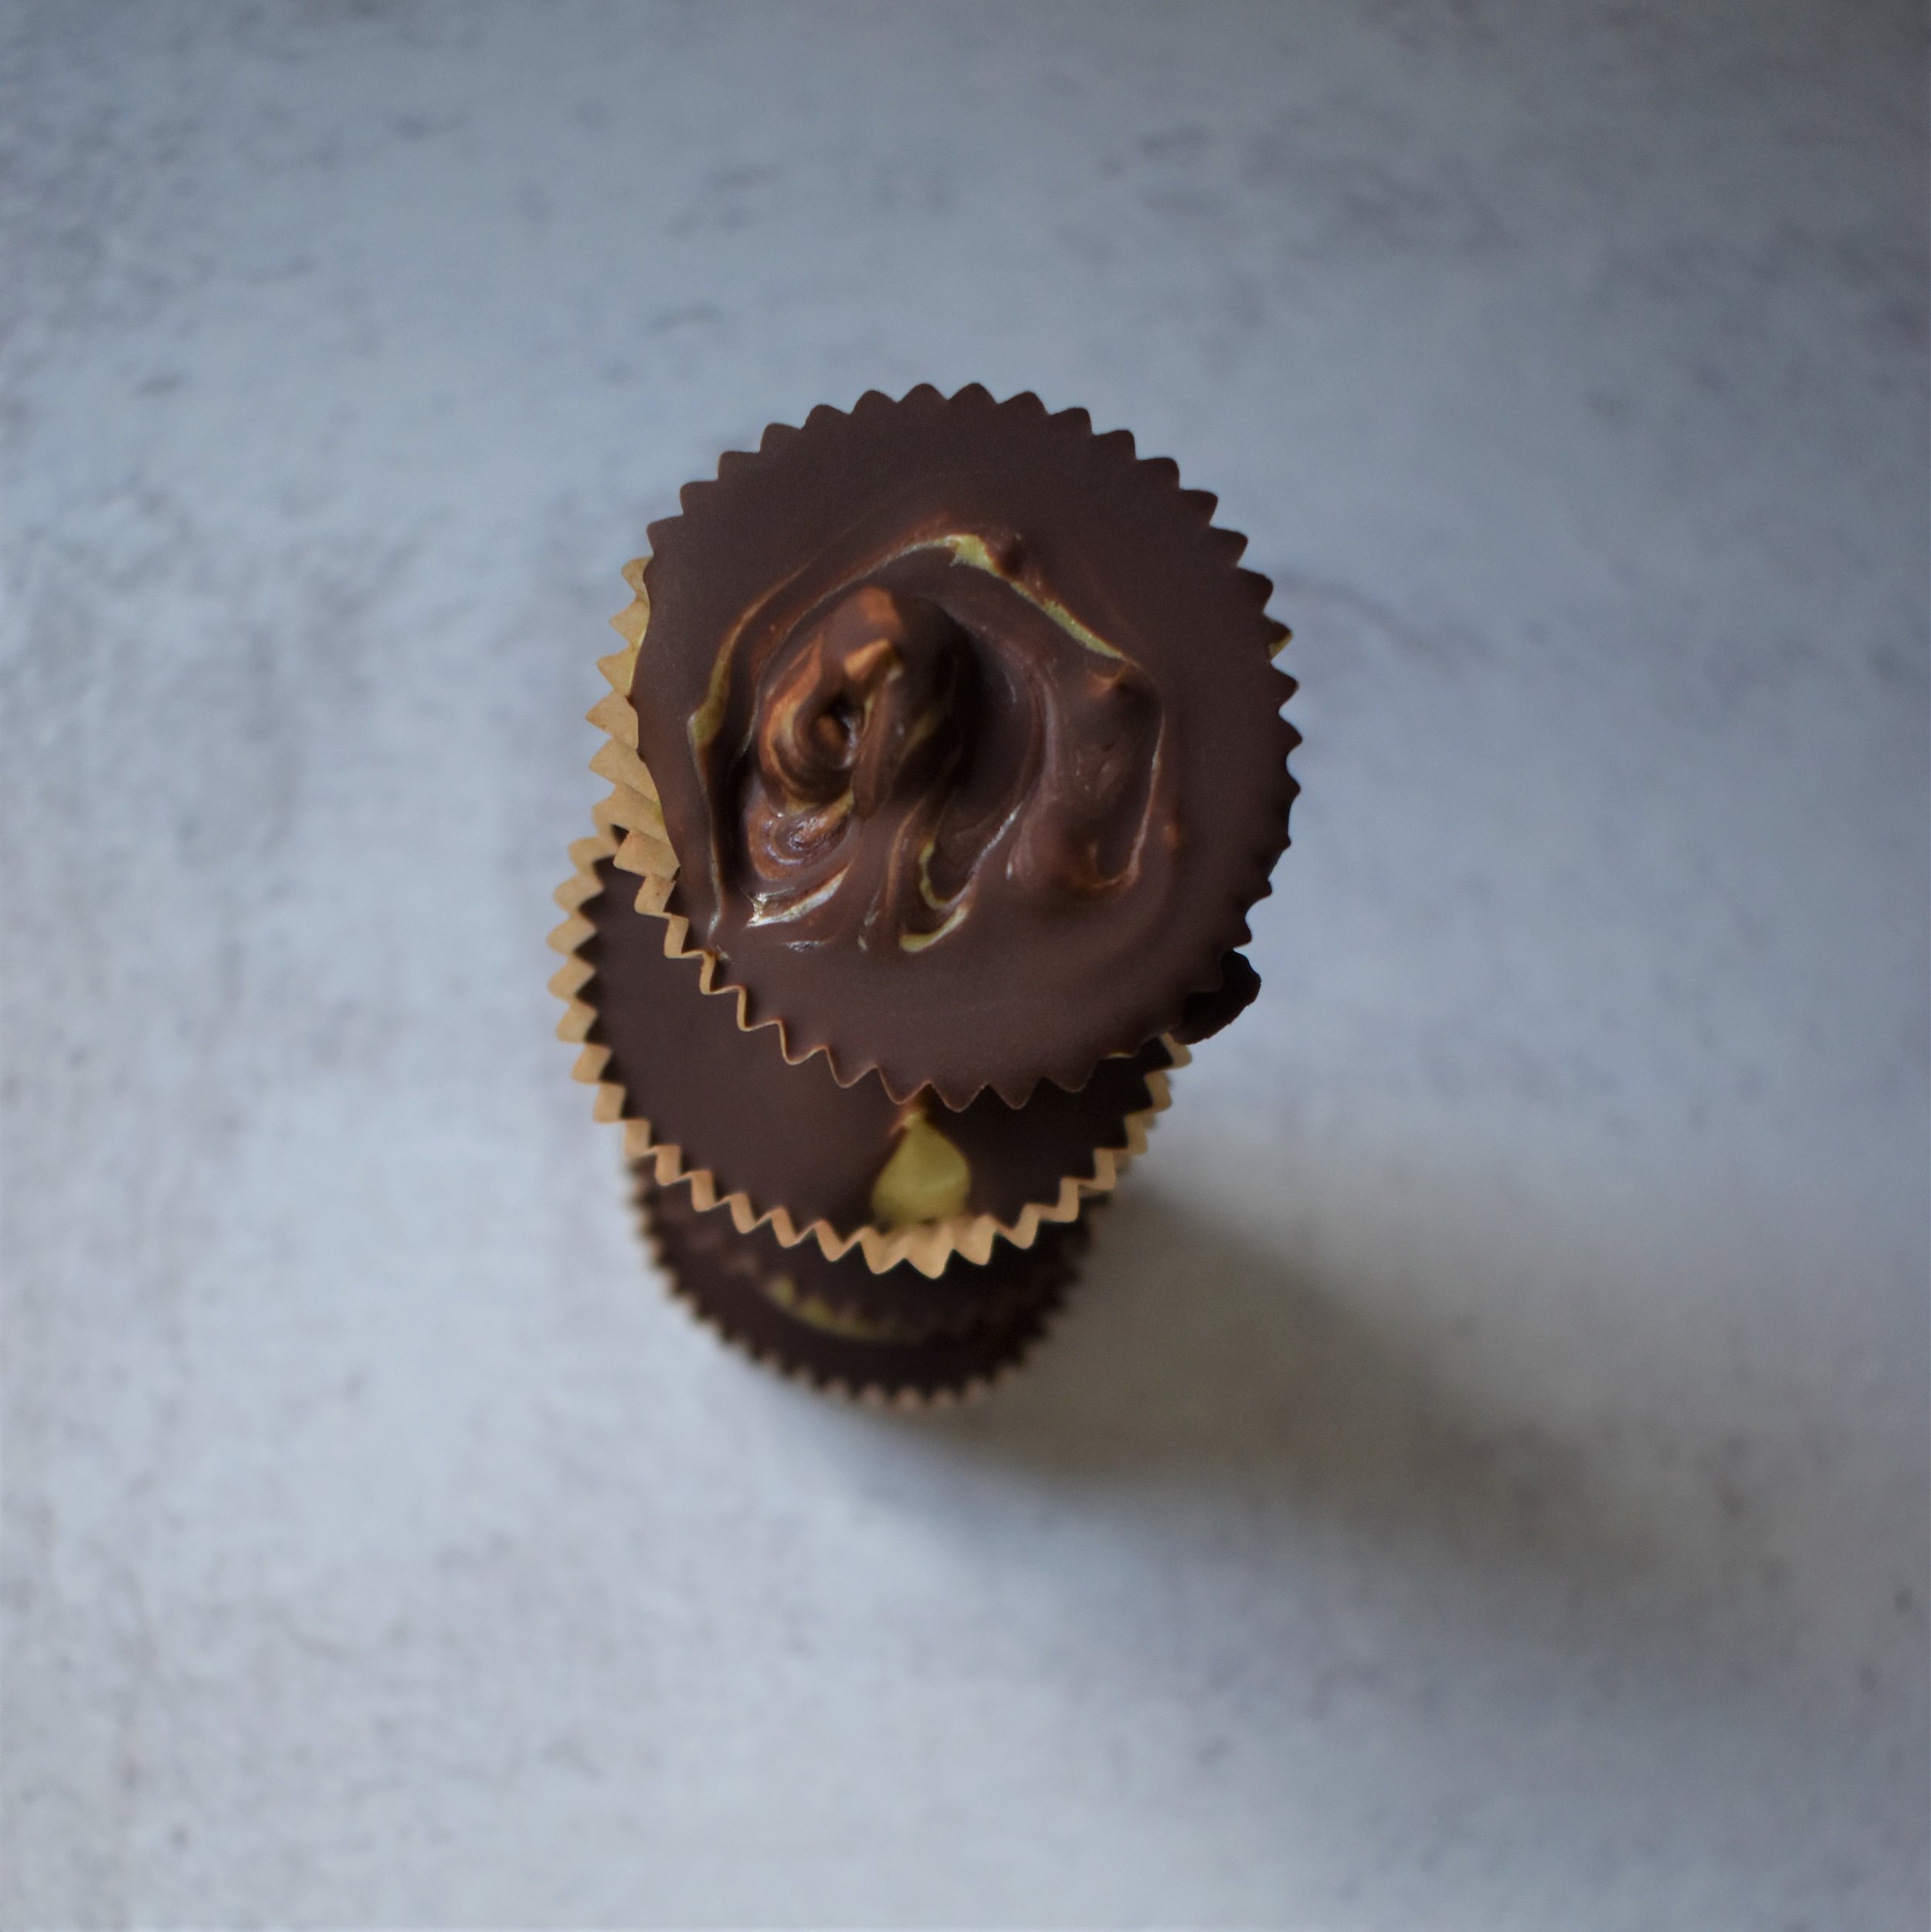
-Optionally - take a toothpick and make a little swirl with the matcha cream and chocolate.
-Put in the freezer to harden. Can be kept in the fridge afterwards.
-Once served, eat immediately for this delicious and melty goodness!
Below you will see the larger cups that are mostly matcha cream. These are so fluffy and soft. You can see the pieces of candied ginger that give these a bit of a kick among all the sweetness!
