Tea Infused Facial Ice Cubes

I want to start this out by saying that I'm not certified in any way to give beauty type advice! I see things and I like to give them a try and I'll share my experiments with yall :) 

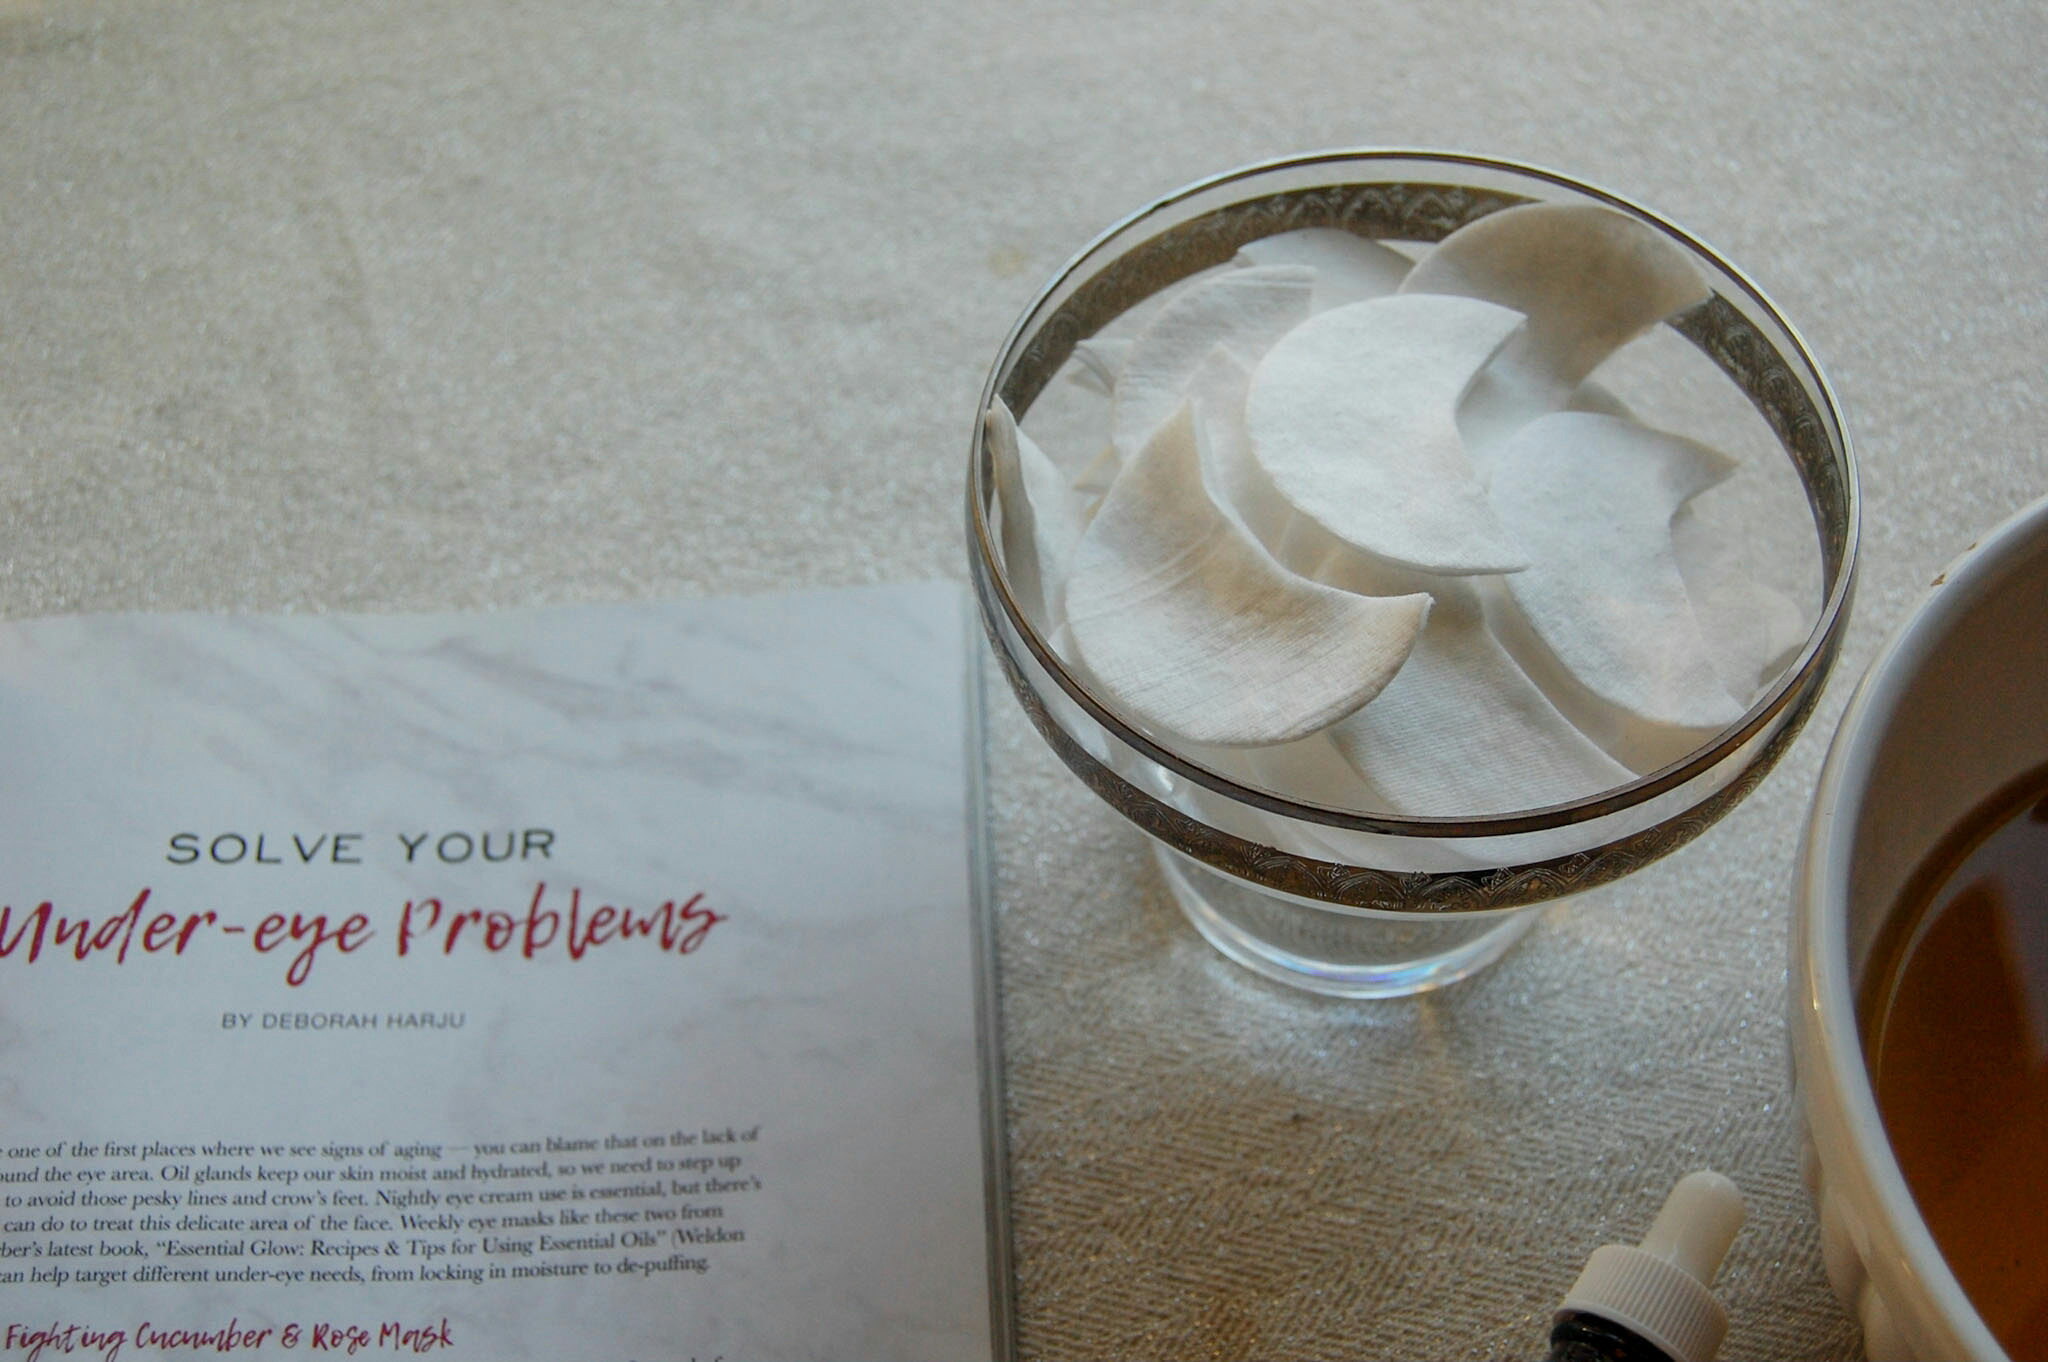
I've always enjoyed cooling pads on my face but then I saw that facial icing is a thing, I wanted to give it a try! 

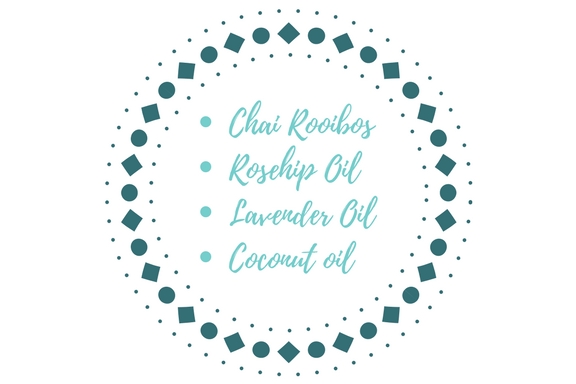
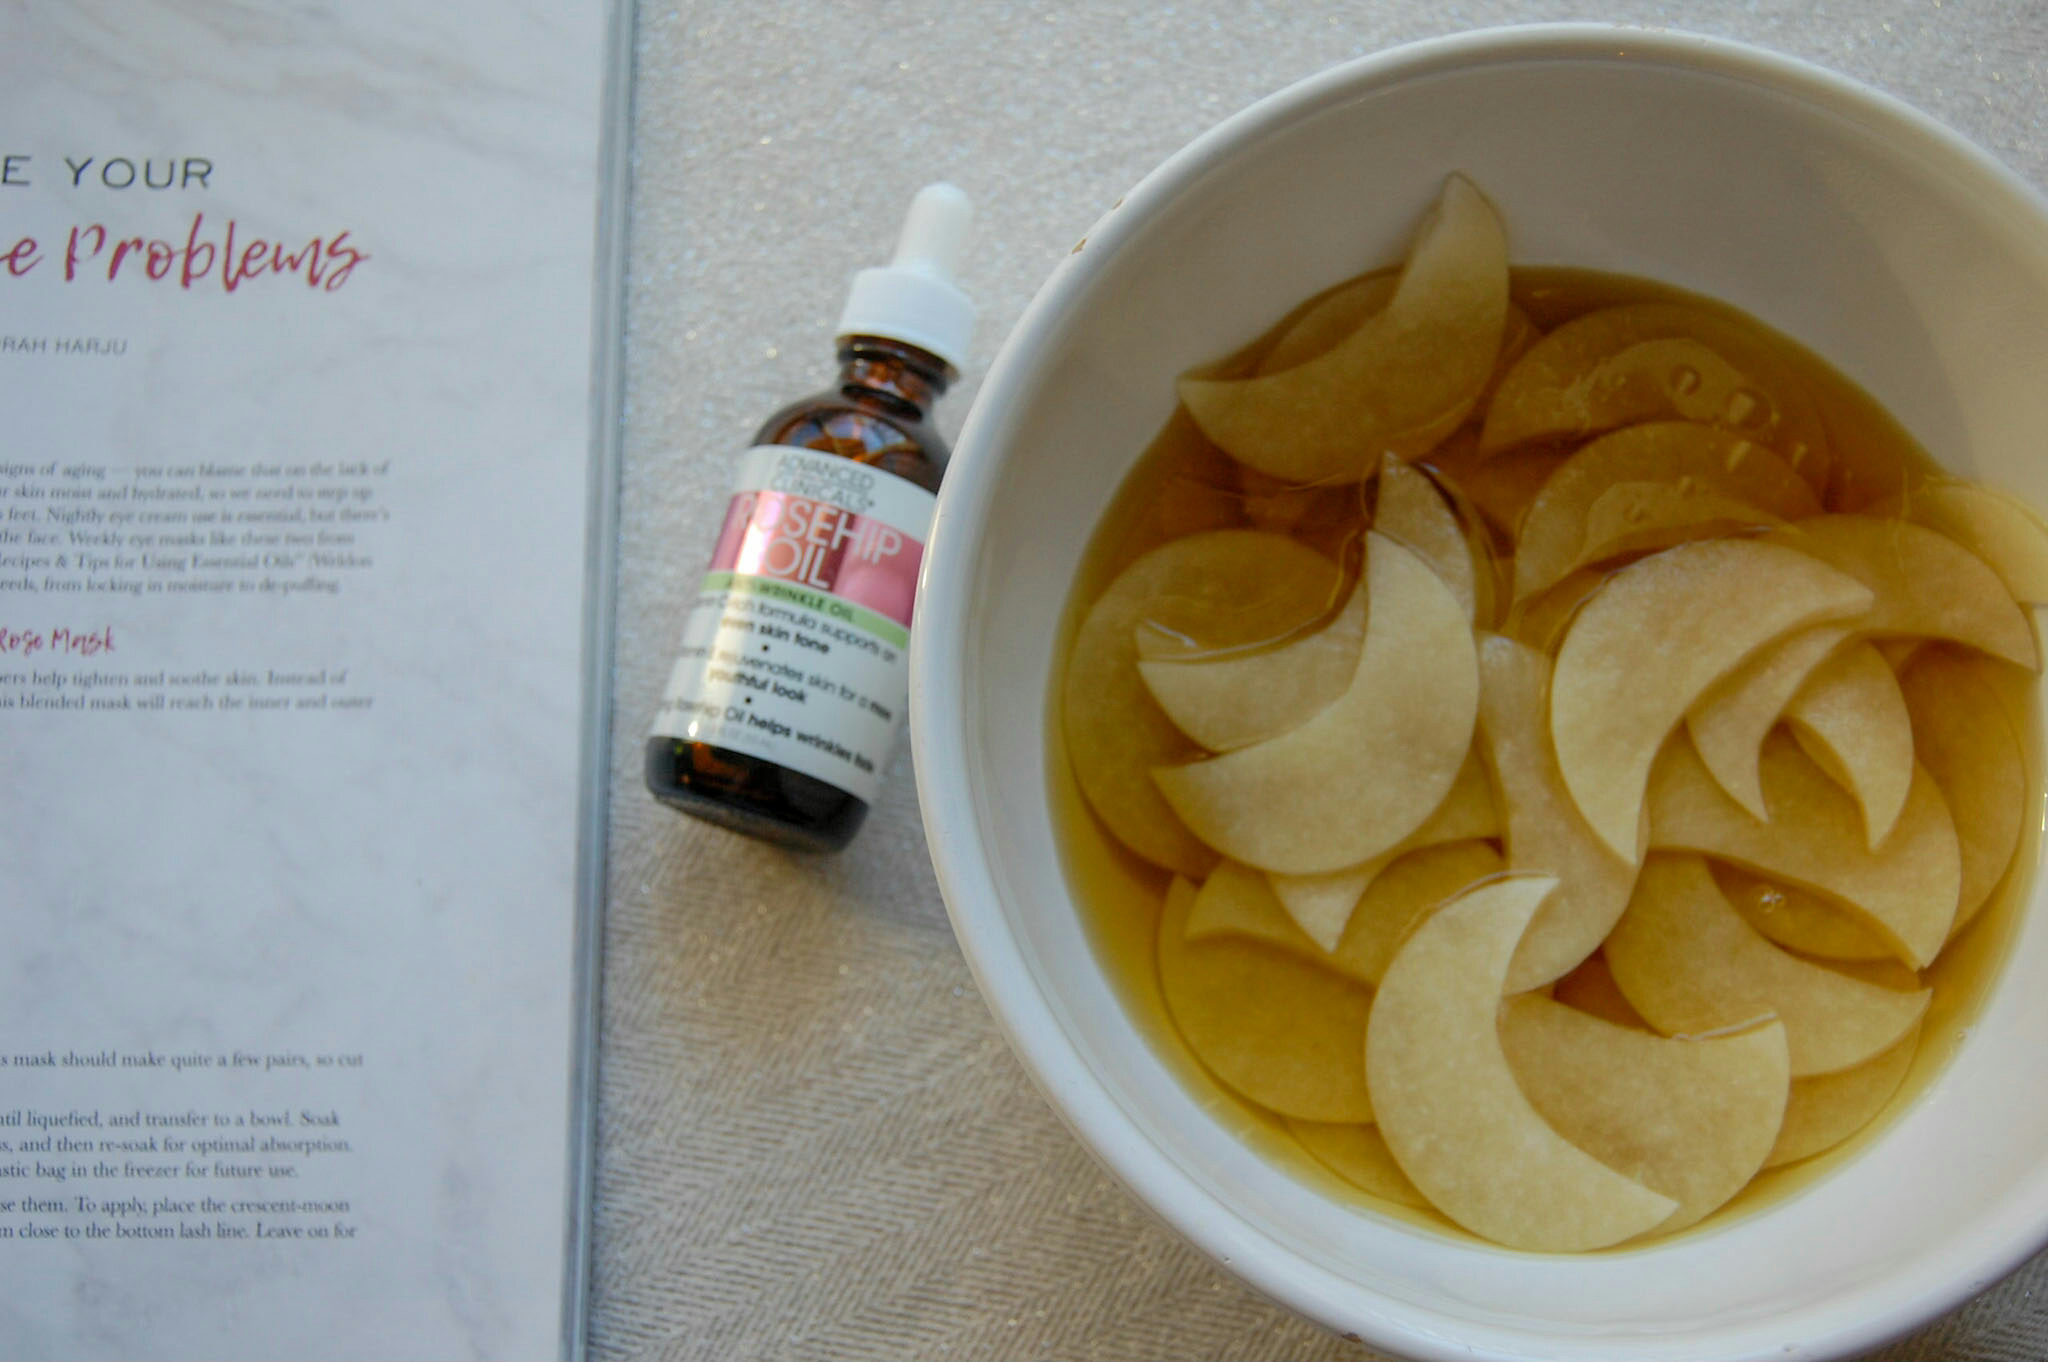
I got this lovely herbal tea in my Sipsby box and knew it would be a perfect base! This Herbal Infusion called Golden Joy by Flower Girl Apothecarie has chamomile, Lemon Balm and rosehips.

2907-2018-070332448794388545.jpeg

A little run down of the ingredients: 

  • Chamomile is said to have anti-inflammatory and antiseptic properties. 

  • Lemon Balm is said to help calm, heal, sooth and tighten skin.

  • Rose Hips are said to aid in the regeneration of skin. 

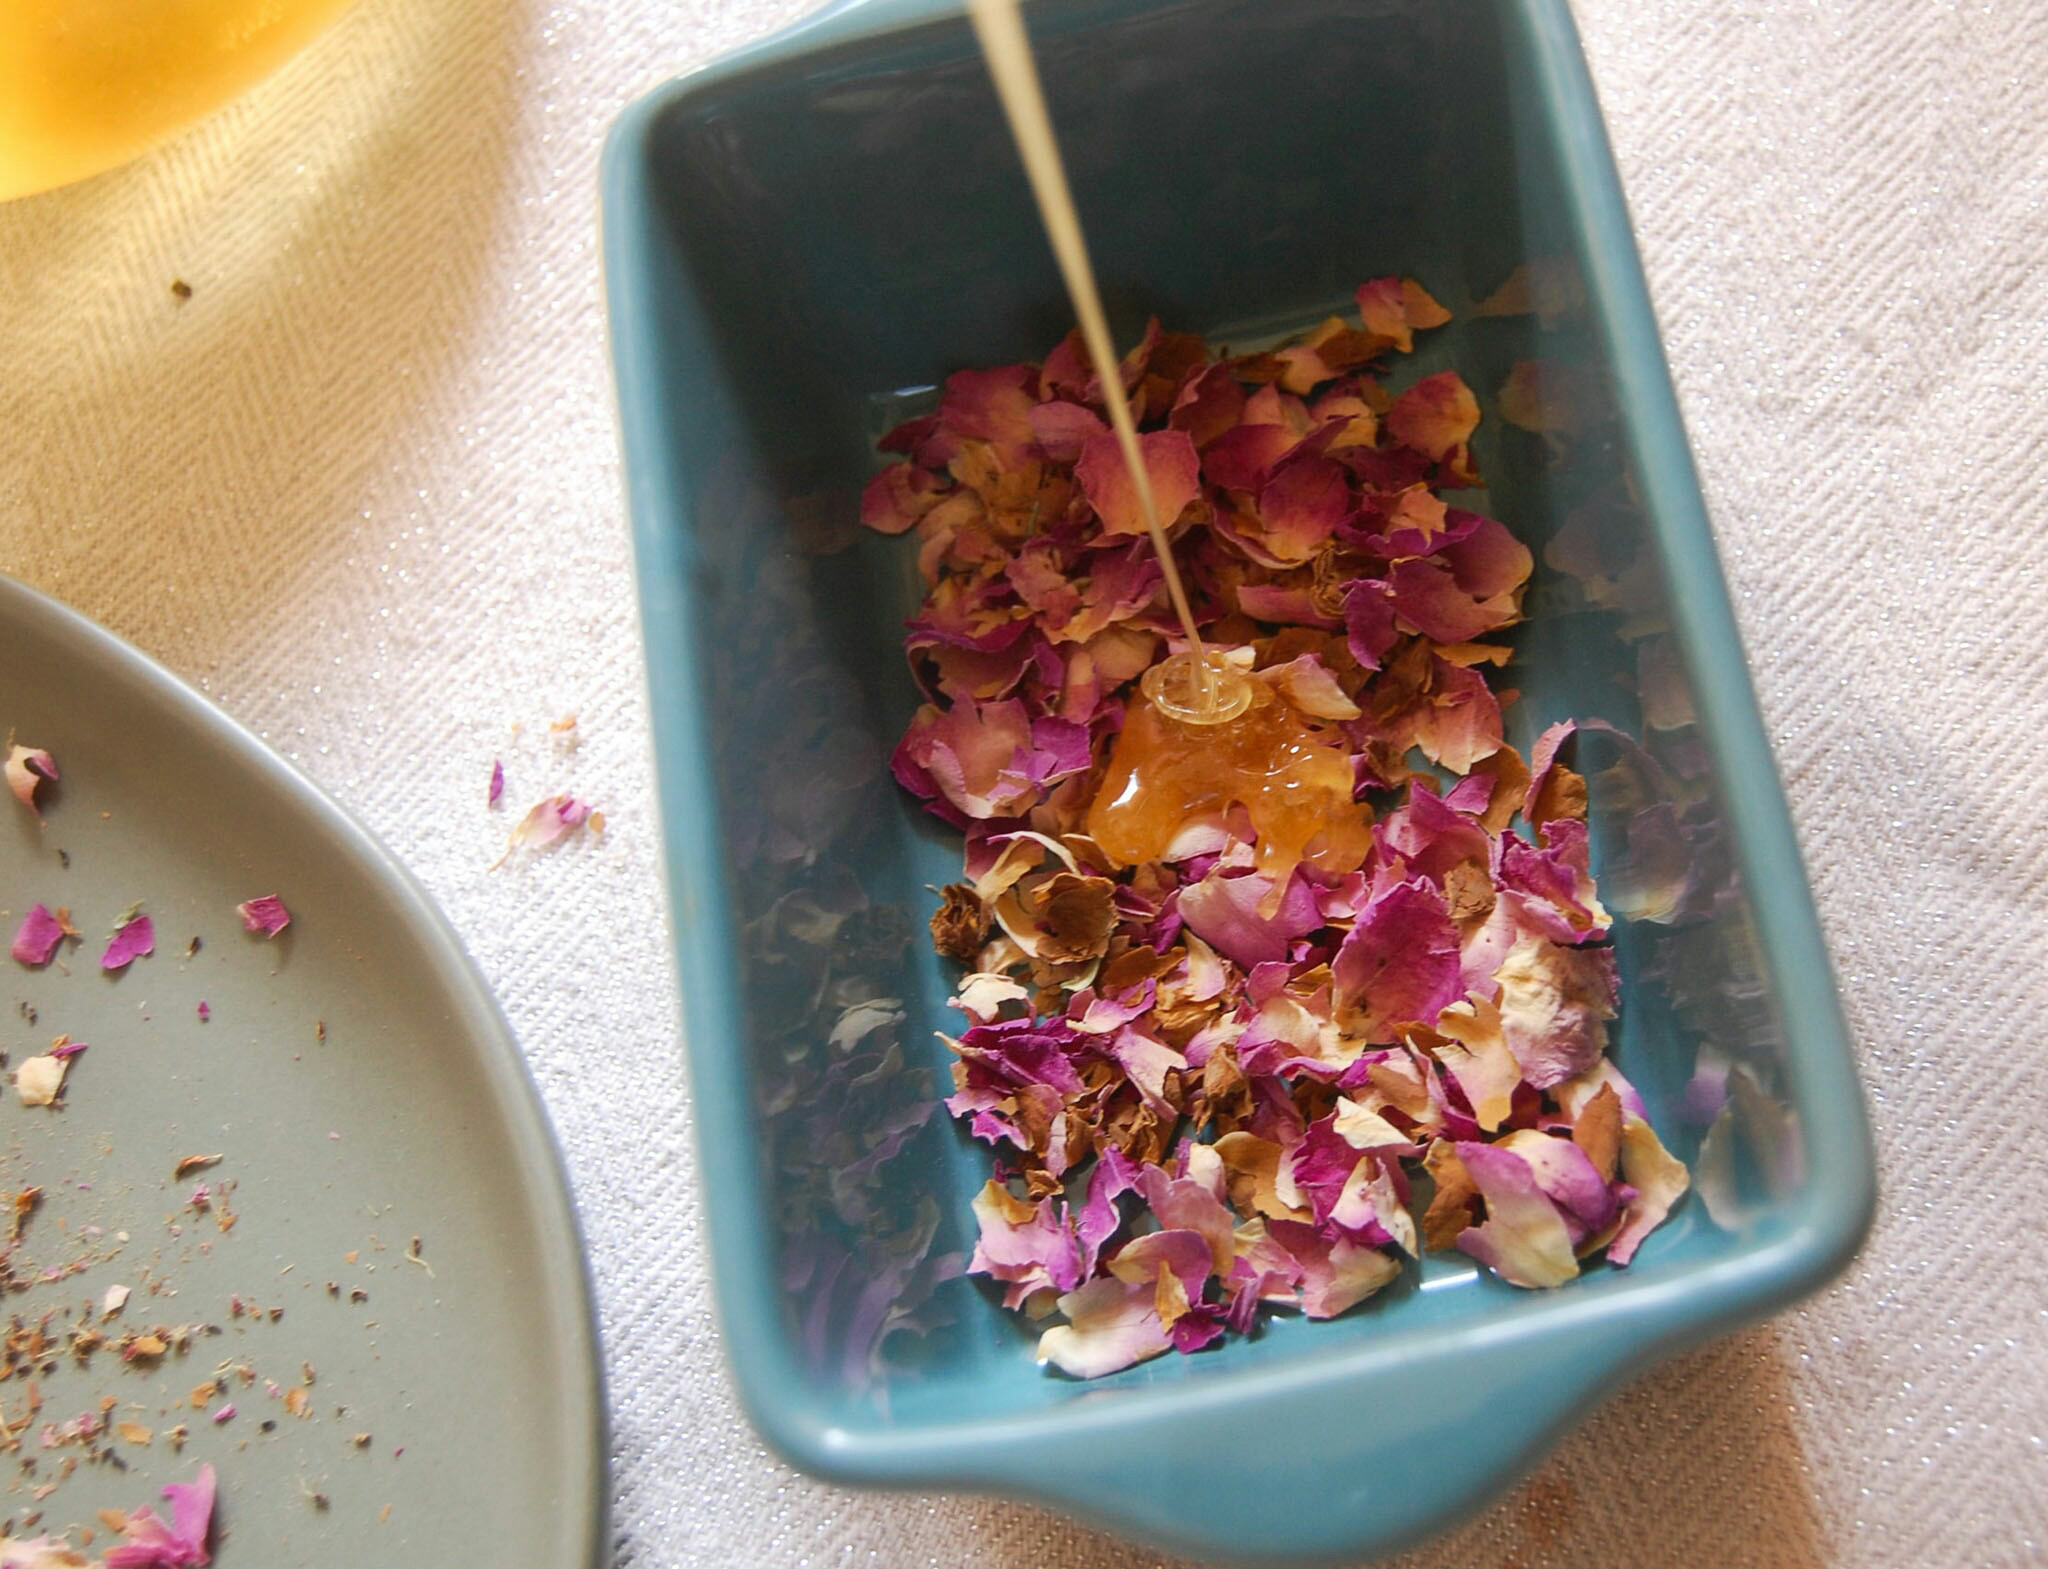
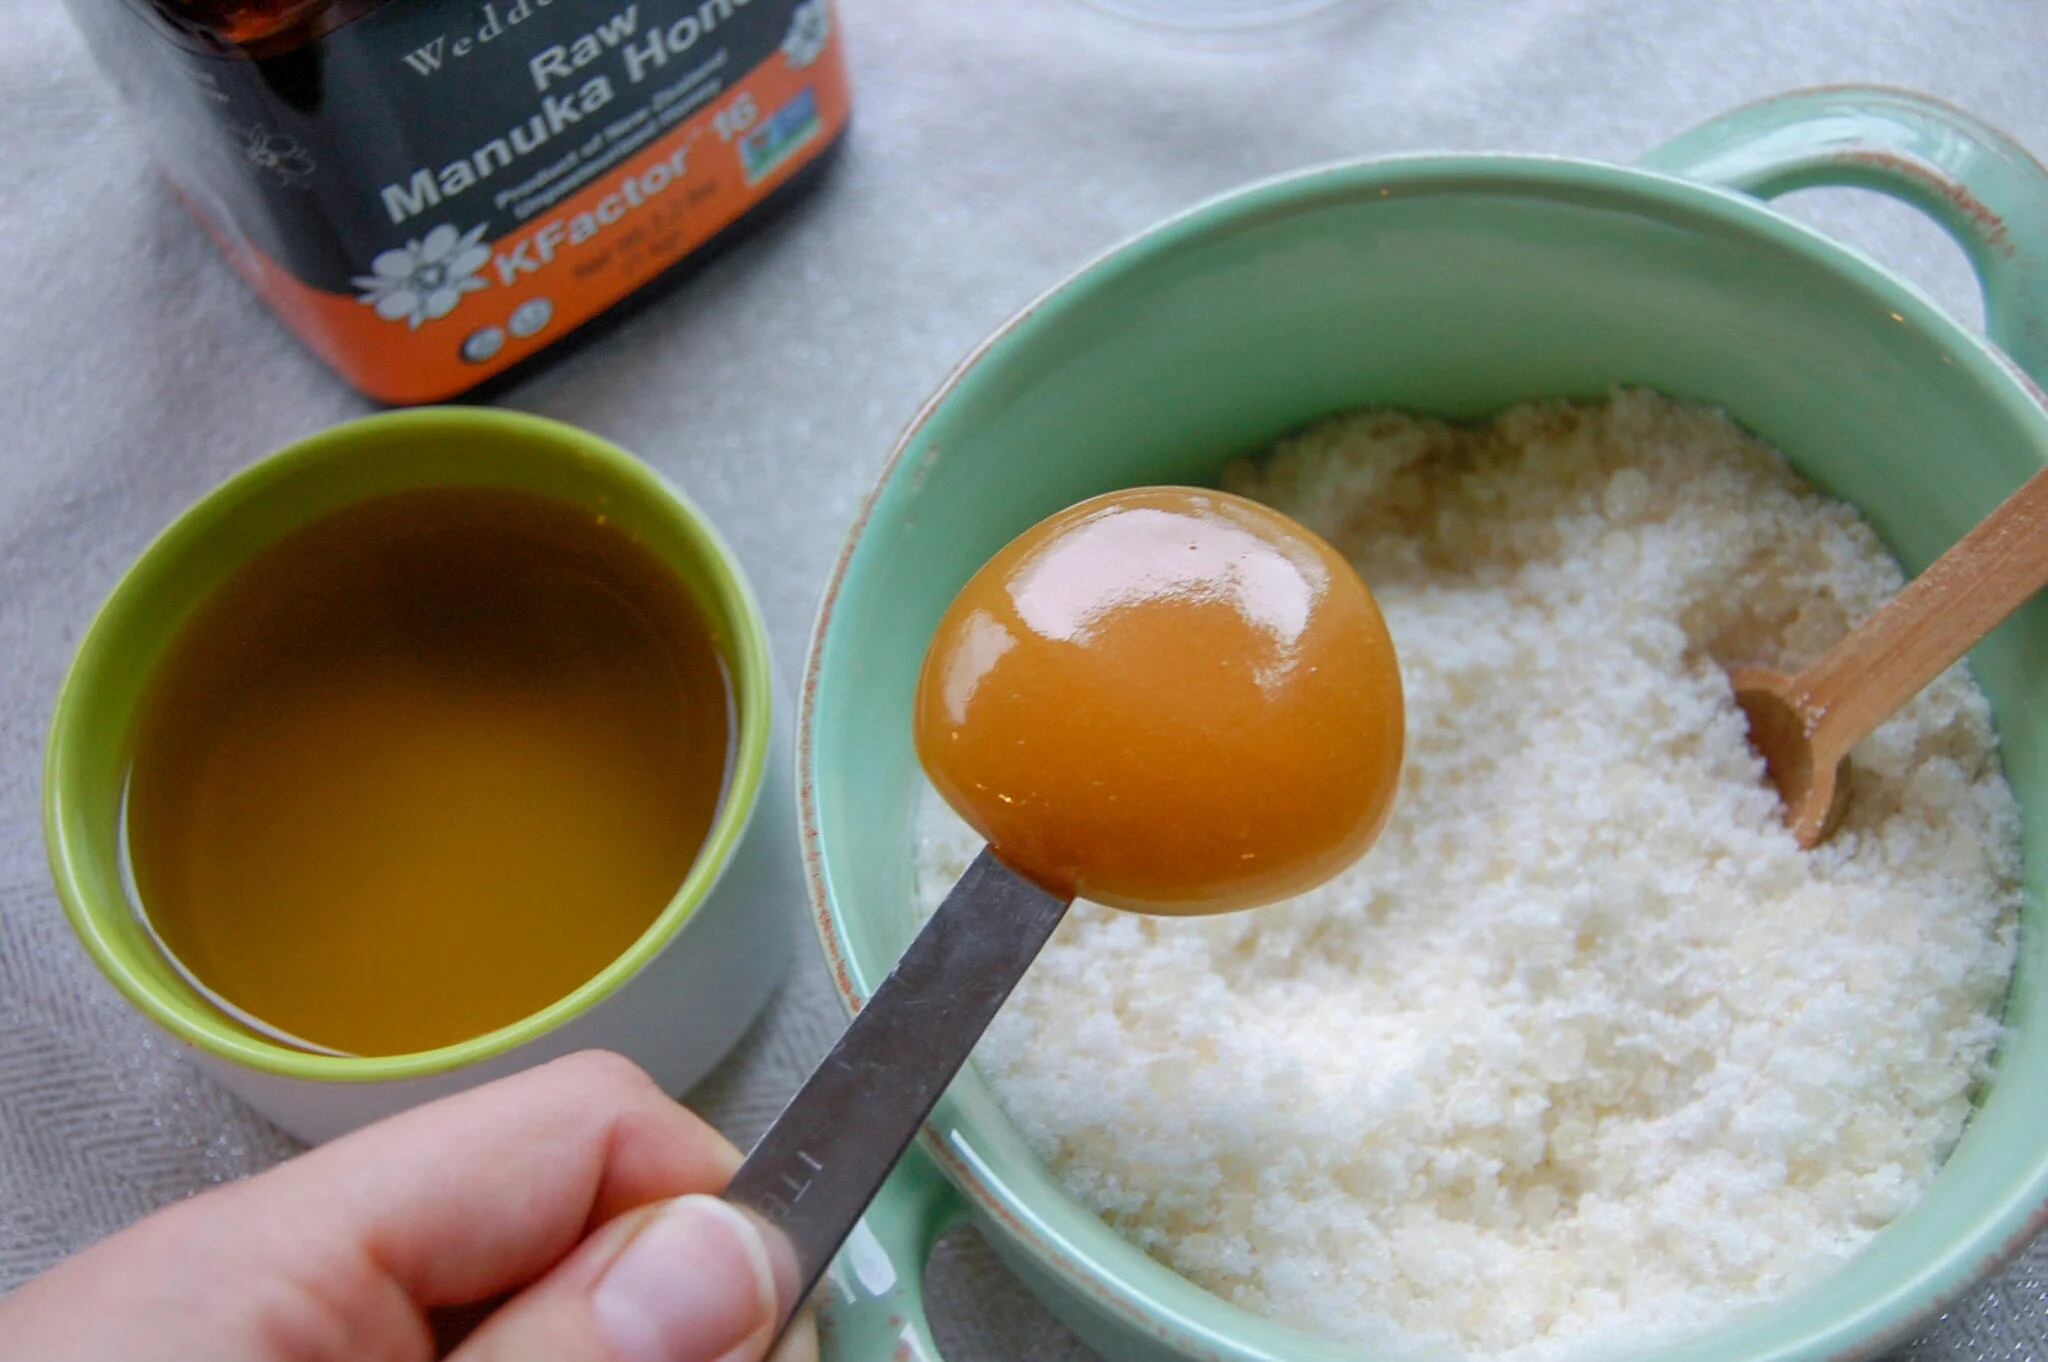
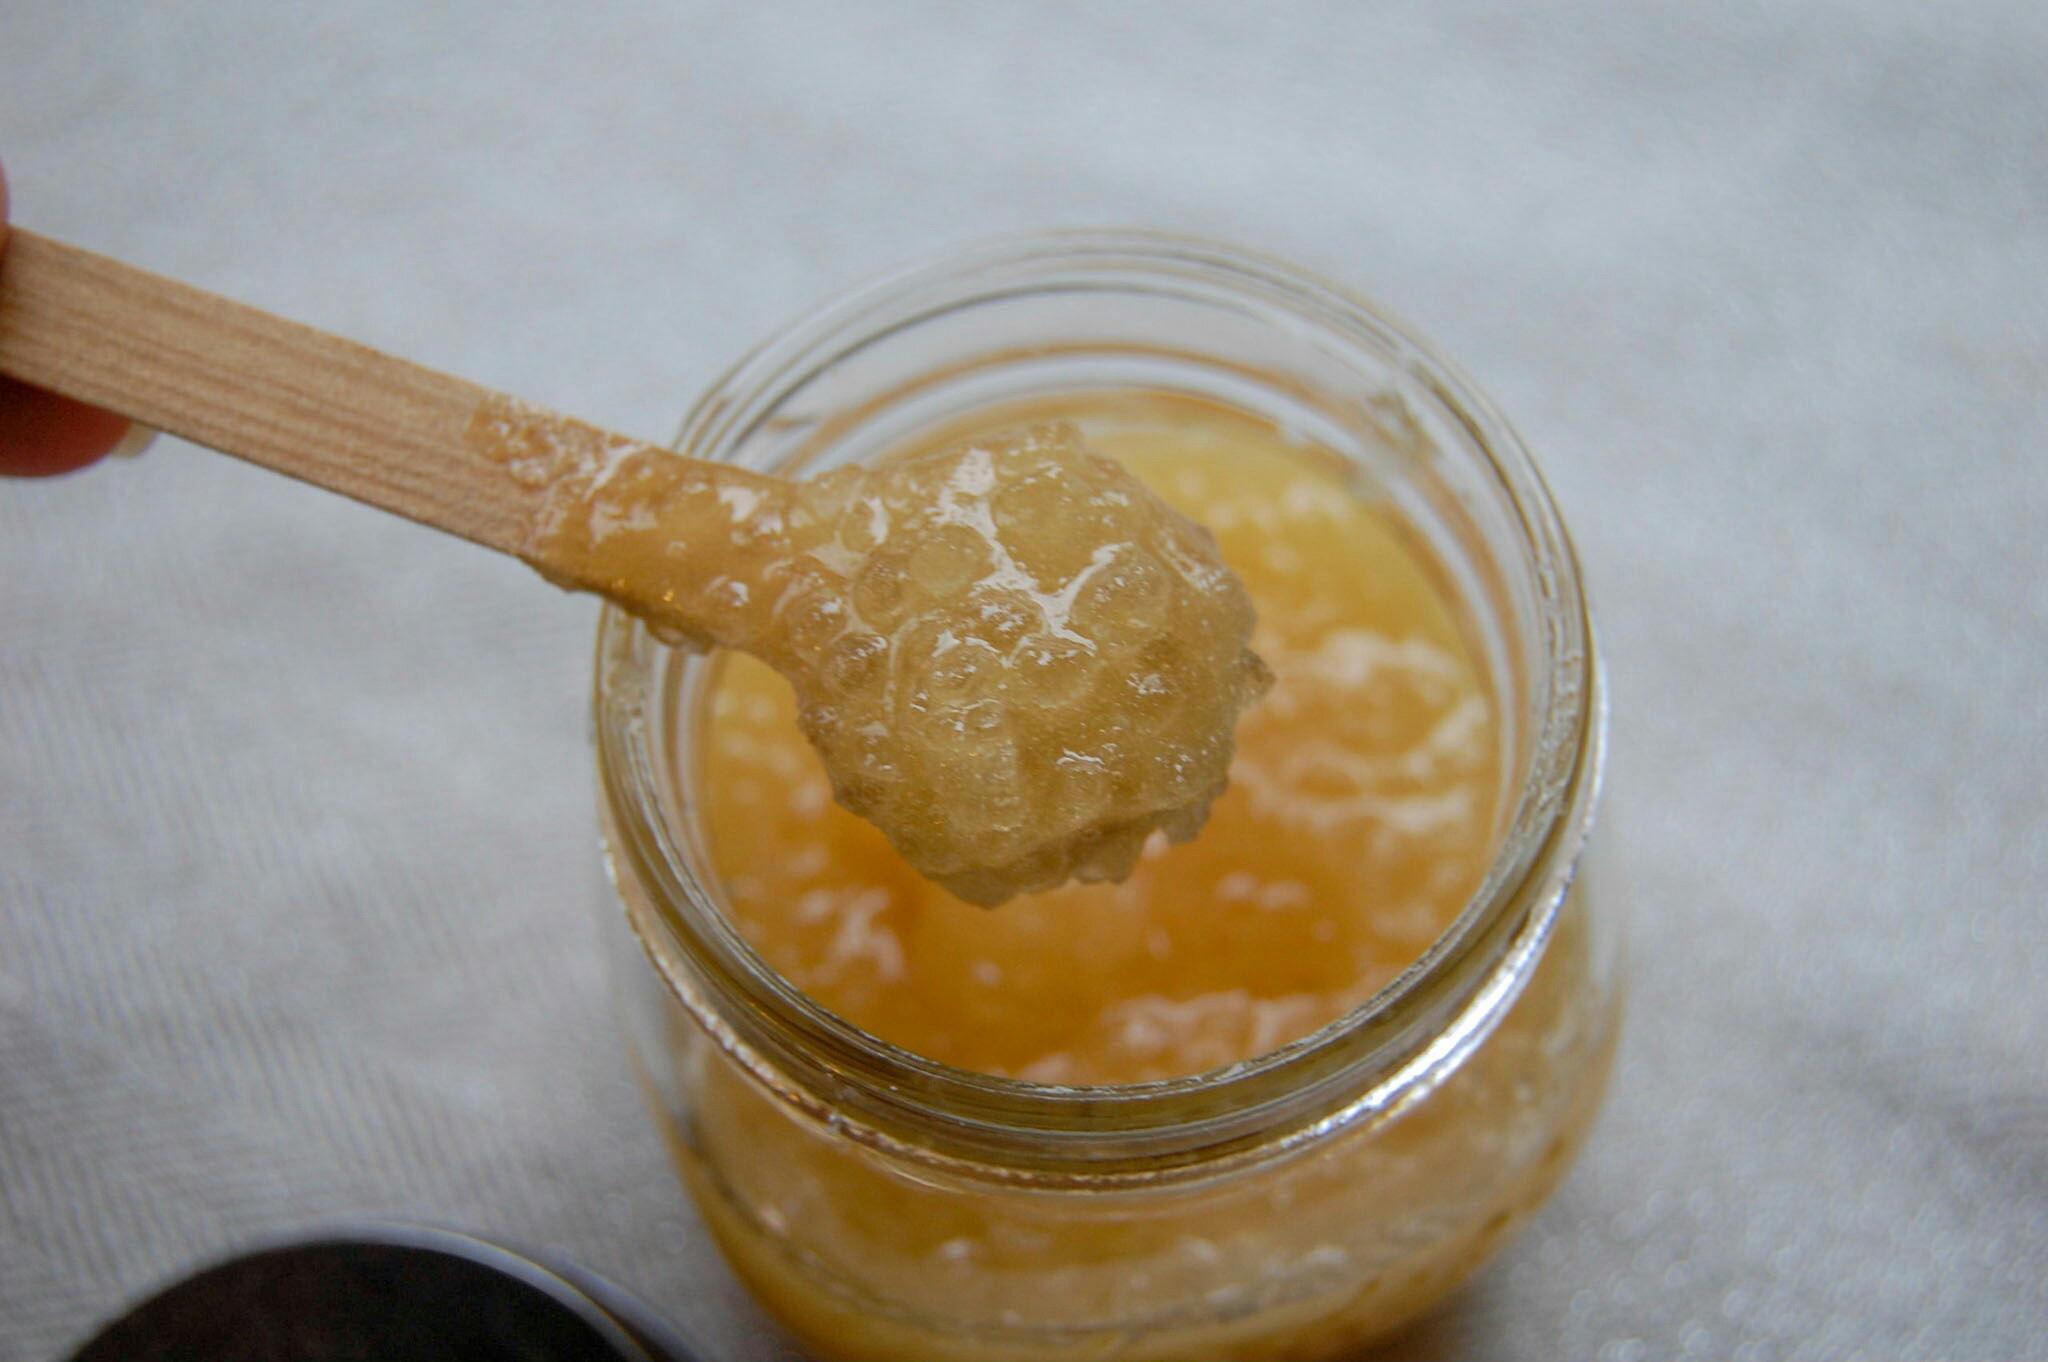
I also decided to add a few other ingredients. Manuka honey is also supposed to have great skin benefits like helping with inflammation and healing skin. I often just smear manuka honey on red areas of my face and it's very helpful!

Lavender is something that I like to include mostly for the lovely aroma but it again, has great anti-inflammatory properties as well!

2907-2018-070532450062458649.jpeg

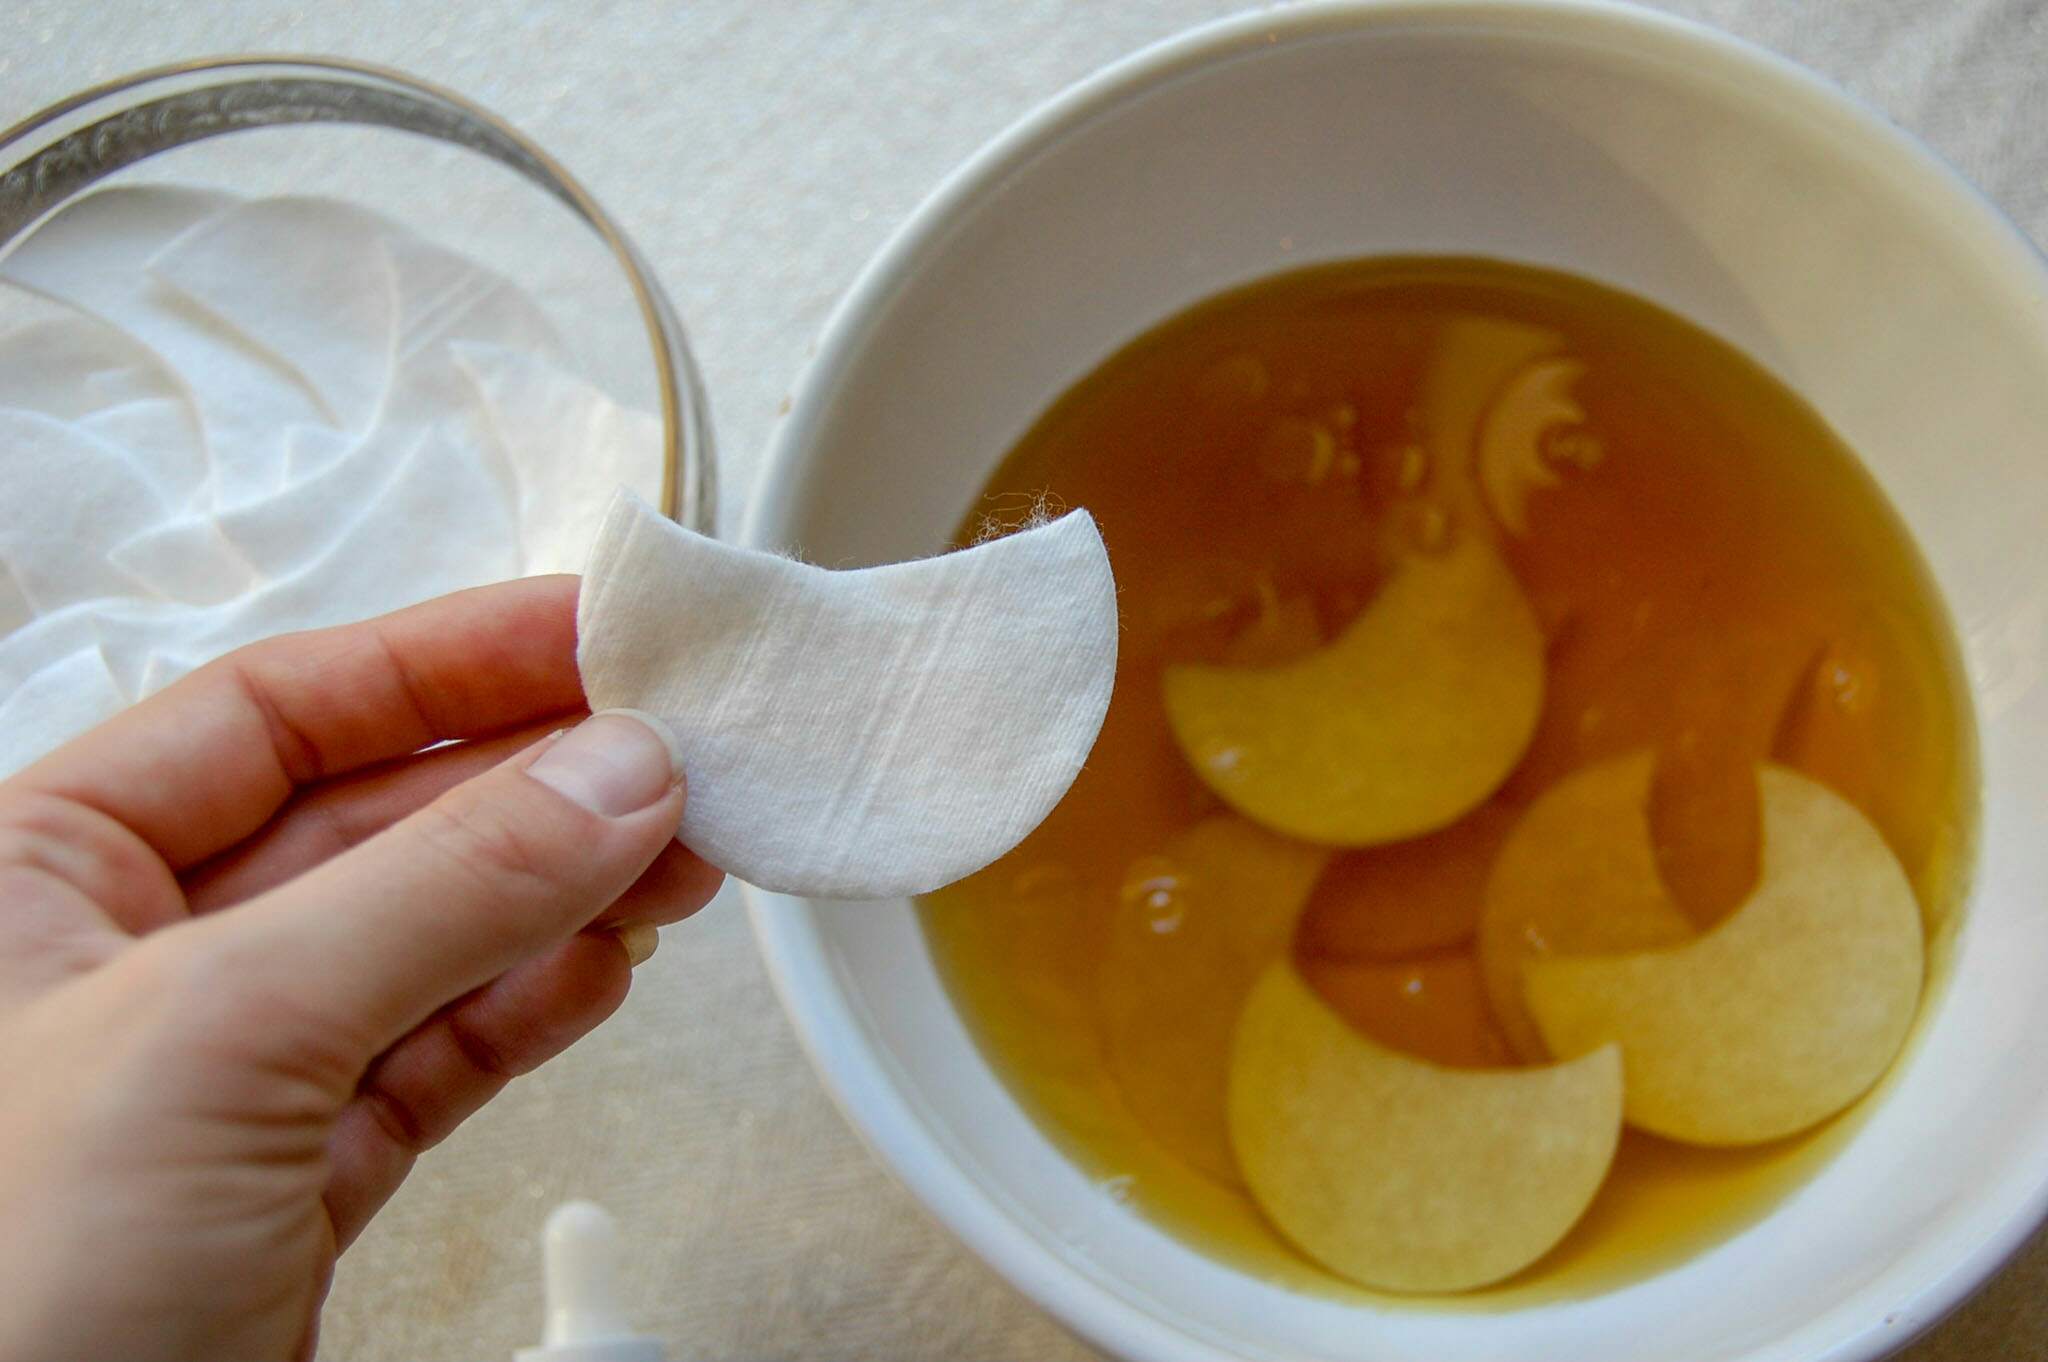
There was already rose hips in the tea but I decided to crush up some rose petals to add them as well to have some physical rose in the cubes. This way, it adds a bit of texture :) 

2907-2018-075632442193335526.jpeg

I've done this before and really liked the larger ice cubes so I make the mixture in one container, freeze it then break up the bigger block into smaller ones. 

2907-2018-075832443493170266.jpeg

When I use these, they melt fast so it's great to hold the ice in a napkin or cloth. The cold really helps cool your face and wakes you up so I enjoy using these in the morning. 

2907-2018-071232457283781042.jpeg
2907-2018-071532460260831614.jpeg

I've read that facial icing not only can help with inflammation and skin tightening but can also possibly help decrease the size of your pores which is awesome! 

2907-2018-070632451556643804.jpeg
Facial Icing.jpg


Chai Rooibos Night Toner

I'm back with more beauTEA DIY for you to try! Keep in mind that mother's day is coming up so you may want to try this and if it works out, then BOOM you have a fun and homemade gift for mom :) 

2104-2018-123629106189311782.jpeg
2104-2018-123829108345254438.jpeg

I'm not the biggest fan of rooibos, I've definitely had blends that I enjoy but it isn't my tea of choice. However, rooibos has so many wonderful health benefits including helping your skin! The anti inflammatory properties in rooibos is seen to have wonderful effects on helping to reduce acne and eczema. Considering all that, I thought that this would be the perfect candidate for a toner! 

2104-2018-123529105045403085.jpeg
2104-2018-123229101875942982.jpeg

The rooibos I used has chai elements in it as well which only add to the skin benefits and give it a nice aroma! When I started these beauTEA recipes I bought lavender essential oil and rosehip oil and they have been so versatile in all my recipes! I would encourage you however to feel free to replace these oils with other essential oils you have or that you prefer. I think any oils that have positive skin benefits would be beneficial in this toner. 

2104-2018-123129100869720742.jpeg

A word about the coconut oil, this is a little different from the other essential oils and I need you to know that if you don't melt the coconut oil it will congeal in the toner. I also would encourage you to not put more than my suggested amount into the toner because my first try I put more and it was a bit too oily. 

2104-2018-124129110540467198.jpeg

I like to put coconut oil on my skin at night before bed so that 1) I'm not walking around with an oily face during the day and 2) I think it really refreshes my skin for the morning. I made this a nighttime toner for this very reason. Put some on your face in the evening and feel like a goddess in the morning! 

afternoon tonic (2).jpg

I bet you're probably wondering if this toner will make your skin the color of the rooibos and when I put it on my face several times, I didn't find my skin to change color at all!

I created this fun little label that you can download and use!   

1.jpg
2.jpg

DIY Tea Scrubs

Tea Scrubs!

Valentine's day is coming up and handmade gifts are a great way to show someone you love, that you care! If you're stuck on what to make, check out these two types of tea infused scrubs that are easy to make, with simple ingredients !

1002-2018-115956434928411274.jpeg

I have two different versions of scrubs that vary in ingredients and with tea!

1002-2018-115656431866089505.jpeg

The first scrub combines salt and sugar and a rhubarb & ginger tea! Rhubarb and ginger are both great ingredients that can help skin. Rhubarb has antibacterial and anti fungal properties. Ginger is also said to help with evening skin tone and improving elasticity! 

1002-2018-115356429405402579.jpeg

I had this manuka honey and decided to use it instead of regular honey. You're welcome to use regular honey as well! Manuka honey has all sorts of benefits like treating acne and eczema! 

1002-2018-114956424711624352.jpeg
1002-2018-112356105062333586.jpeg

One of the most important parts of this recipe is to let the tea cool completely before mixing it in. If the tea is too hot, the sugar and salt will dissolve and lose the rough texture that helps with exfoliation! Feel free to put more tea than I used in the scrub but just know that the scrub might be a bit more water like as opposed to a scrub.

1002-2018-115456550558249512.jpeg
1002-2018-115856555174370031.jpeg
1002-2018-115956556209179146.jpeg
1.jpg

This seconds scrub uses only sugar and 2 types of tea! I received these teas from kailo tea. Kailo tea puts loose leaf and a capsule of vitamins in a tea sachet so you're taking in tea and vitamins at the same time!

1002-2018-115756433526704348.jpeg

The two teas used were Wake up and Zen out tea. The Wake up blend is green tea with vitamin B, C and D. The Zen out blend is herbal tea with vitamins C, D and magnesium! I brewed these two teas together so that they become mixed when I include them in the scrub. 

1002-2018-115256427693431746.jpeg

The rosehip and vitamin E oils give this scrub a lovely scent and added skin benefits!

1002-2018-115556551939600553.jpeg

Again, make sure to let the tea cool completely before mixing it into the sugar.  

1002-2018-115756553968793313.jpeg

Make sure that the scrub clumps a little bit, so that it will be effective!

1002-2018-110256558619406645.jpeg
1002-2018-113256114869829935.jpeg
2.jpg

Shiitake Mate Body Oil

Tea Skin Care!

Hi lovelies! I'm back with another diy beauTEA recipe! I was again looking through my little book of recipes and I noticed one about body oil and wanted to give it a try. At it's core, doing these beauty products are very similar to cooking. I'm looking for a way to infuse tea!

DSC_0060.JPG

The base oil for this is sweet almond oil...don't panic! I found it at marshalls/tjmaxx and honestly there were so many bottles and I actually saw it in a bunch of other stores so you shouldn't have trouble finding any! The original recipe infuses the almond oil with a bunch of flowers and herbs. I've infused the oil with shiitake mate tea! I'm not a fan of tea bags for drinking and if you're like me I highly suggest using them for cooking and diy recipes like this! The clean up will be much easier and there will be no need for straining!

DSC_0062.JPG

I've been seeing mushroom teas around for a while and they have many health benefits which I wasn't surprised about but I was surprised about their skin benefits! Shiitake mushroom have anti microbial properties and selenium which can help decrease acne. The zinc content can also help promote better skin healing! 

DSC_0064.JPG

This is a super easy DIY, especially because the "hardest" part is infusing the oil! I suggest using a double boiler but if you don't have one I think the best thing to use is a heat proof glass bowl that fits on a pot. The most important part of this recipe is to not let the oil burn, which can easily be accomplished by keeping the heat low and checking on it as it infuses!

DSC_0071.JPG

I additionally added in vitamin E and lavender essential oil which promote better skin health but you are welcome to switch these out for other oils that you prefer! The nice thing about the sweet almond oil is that it has a beautiful fragrance so this body oil doesn't smell like mushrooms, it smells sweet !

DSC_0068.JPG
DSC_0065.JPG

Keep in mind that this is not lotion, this is OIL so you don't need to spray a lot of it. You can spray a little bit and it goes a long way! I think this is best to put on before bed or if you want to knead or massage a part of your body part. 

DSC_0078.JPG

Places like your heels, hands, elbows etc that can easily get dry are perfect target areas for this body oil! 

DSC_0080.JPG
Copy of eye pads (1).jpg

DIY Under Eye Pads

BeauTEA recipe! 

New year, new blog topics! I got a magazine for Christmas with lots of homemade soaps, scrubs and other things. I've been looking at the ingredients to see what they are made up of and how I can incorporate tea!  

After doing a little research on liquorice and peppermint, I was pleased to see that both ingredients are said to have great skin benefits! I saw in several different places that Liquorice is actually used to help decrease dark circles under your eyes! 

1501-2018-05423372169561027.jpeg

This tea includes both ingredients so I decided to use that for my base. The recipe in the book used rosewater and on a quick trip to marshalls I found rosehip oil which is said to help fight wrinkles, perfect! In my recipe I say you can use either rosehip oil or rosewater but I actually used a bit of both. These two things give the eye pads a wonderful smell!

1501-2018-05343363834437124.jpeg

When brewing your tea, make sure that you let it cook before adding in the oil and rosewater. 

I would suggest cutting the cotton rounds into both wide and thin crescents. The wide ones can also be great to incorporate the tops of your cheeks!

1501-2018-05403369554894570.jpeg

When it comes to using the oil, I think it's actually best to use enough so that the mixture is fragrant so feel free to stray from the recipe here.

1501-2018-05303360236133427.jpeg

I let the pads soak in the mixture for 10-15 minutes then gave them a little squeeze and put them in a freezer bag. 

1501-2018-05463375411630089.jpeg

Keeping these cold is important because they are way more refreshing that way! If you want to use these in the morning, keep in mind that you'll need to let the pads thaw a little bit before using them so make sure you leave enough time! 

Also, a mistake I made was stacking them. They will thaw easier and keep their shape better if you put them in a bag in a single line. 

1501-2018-05413370913538892.jpeg

I used them this morning when I first woke up and I loved the sweet smell and the cooling sensation. I've tried a lot of under eye pads before and these were actually not that bad! Will these completley get rid of dark circles? I can't guarentee that, but they will leave your skin feeling cool and refreshed!

eye pads.jpg