Afternoon Meditative Ginger Tonic

Mocktail!

I love making tea cocktails but I also realize that not everyone drinks alcohol. I also realize that even if you do drink alcohol, sometimes it's nice to have a fancy drink. I received some meditative mind tea in my sipsby box this month and oh man, this is some of my favorite tea! 

2402-2018-124826178548858958.jpeg

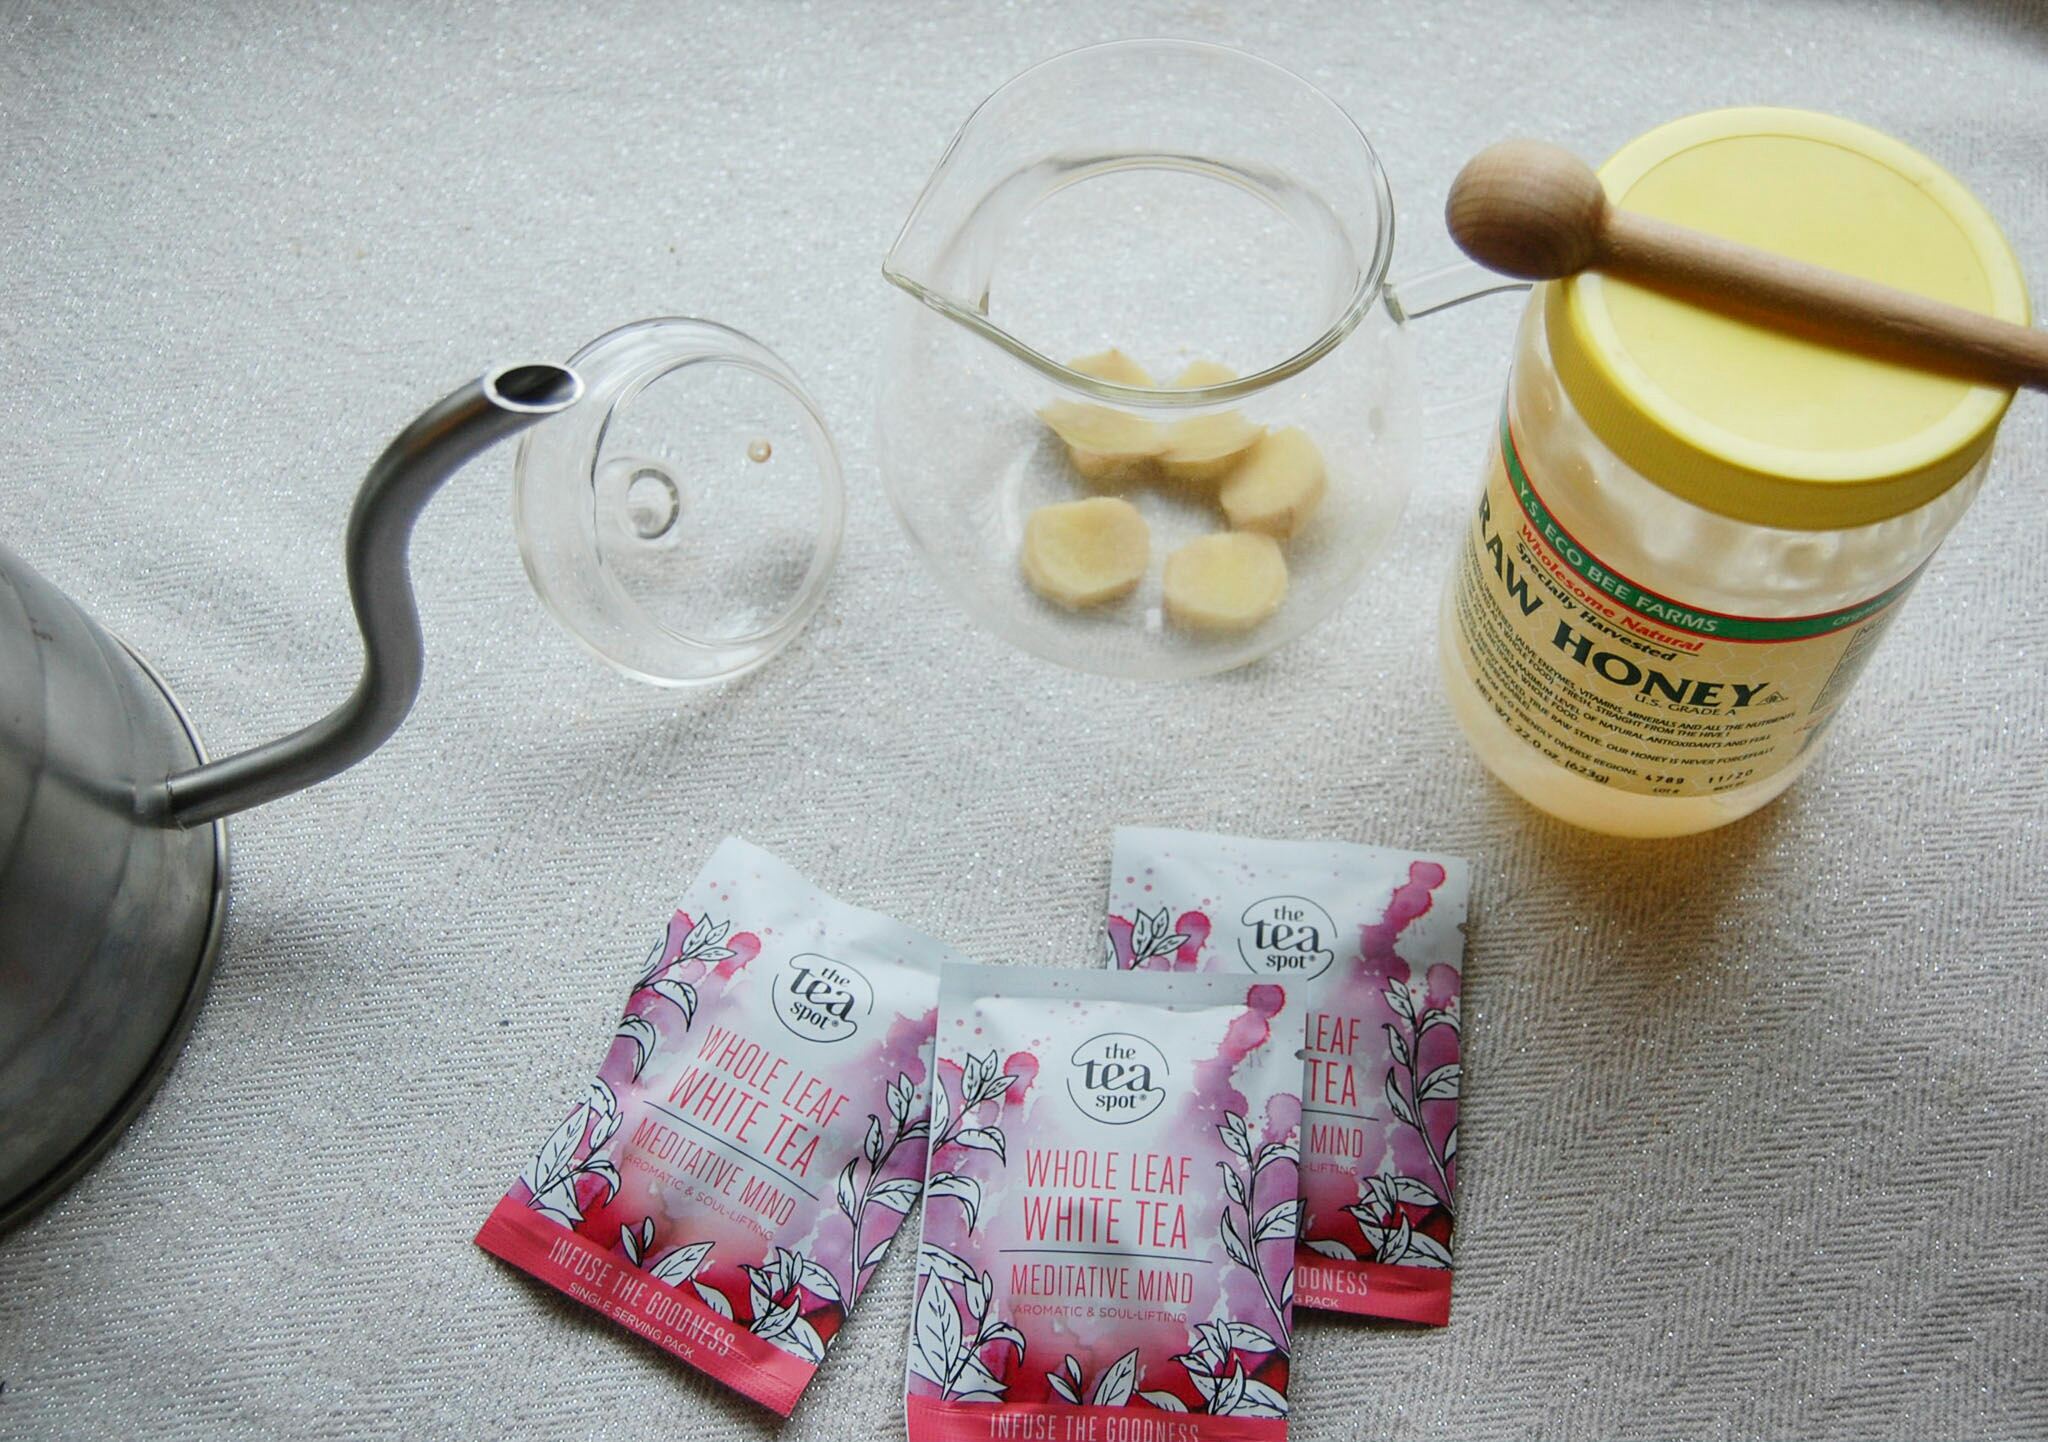
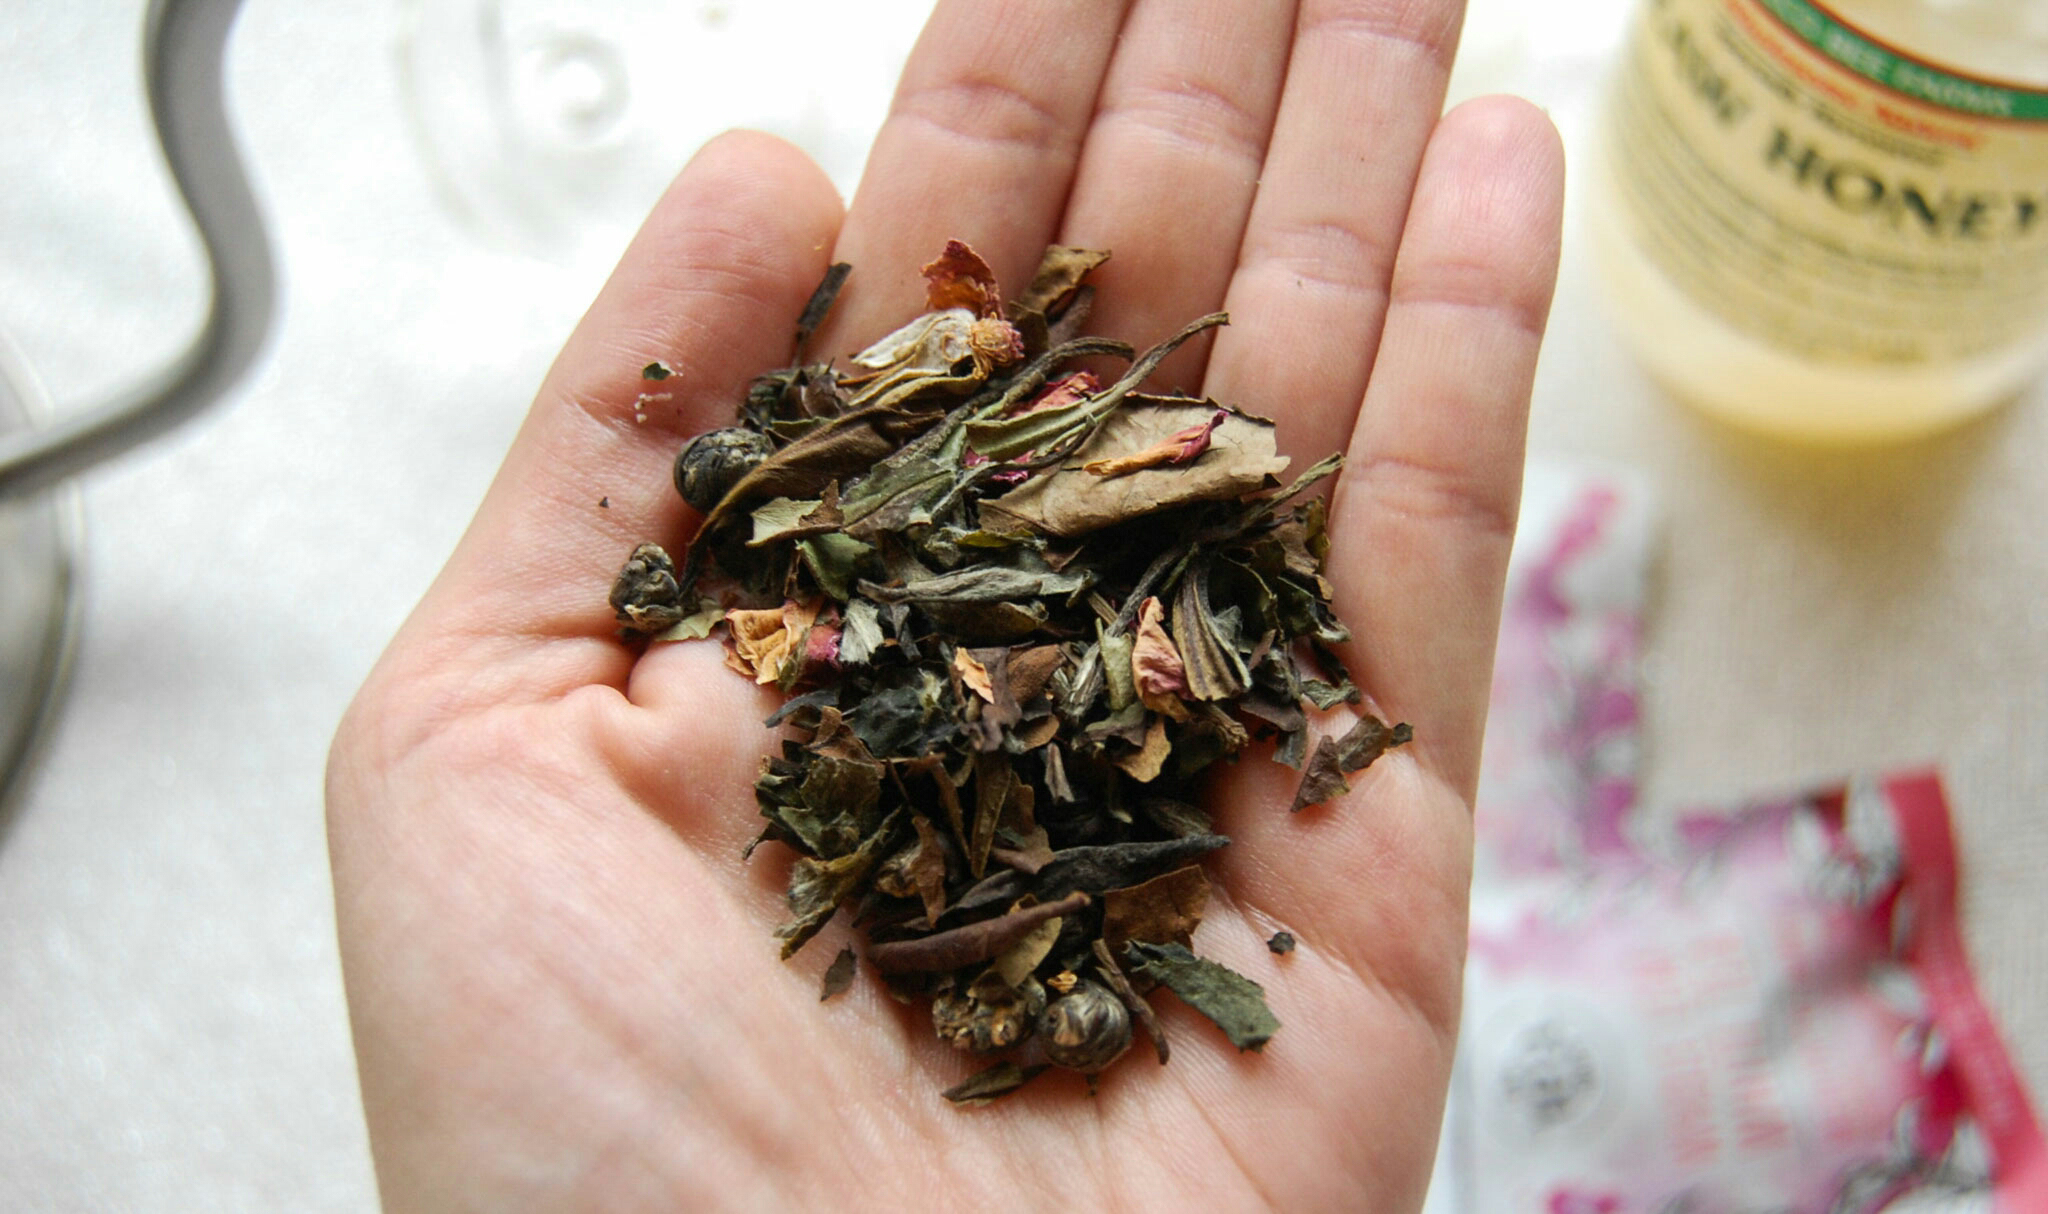
The combination of white tea, jasmine tea and rose buds and petals creates a lovely blend. The tea smells beautiful and has an all around calming nature. I decided that this would definitely make a great afternoon tonic but it needed a few things!

2402-2018-124626176222711251.jpeg

I added ginger because I thought it would go well with all the ingredients and give it a little spice to help energize you. I also added a bit of honey to make is slightly sweet as you'd expect a fancy drink to be! The drink will be topped off with seltzer water to add some fun fizz to the experience! Finally, I added an orange peel garnish for fun but you can also dunk the peel in the drink and give it a little orange flavor as well!

Honey is totally optional and feel free to use whatever type of sweetener you'd like to suit your tastes!

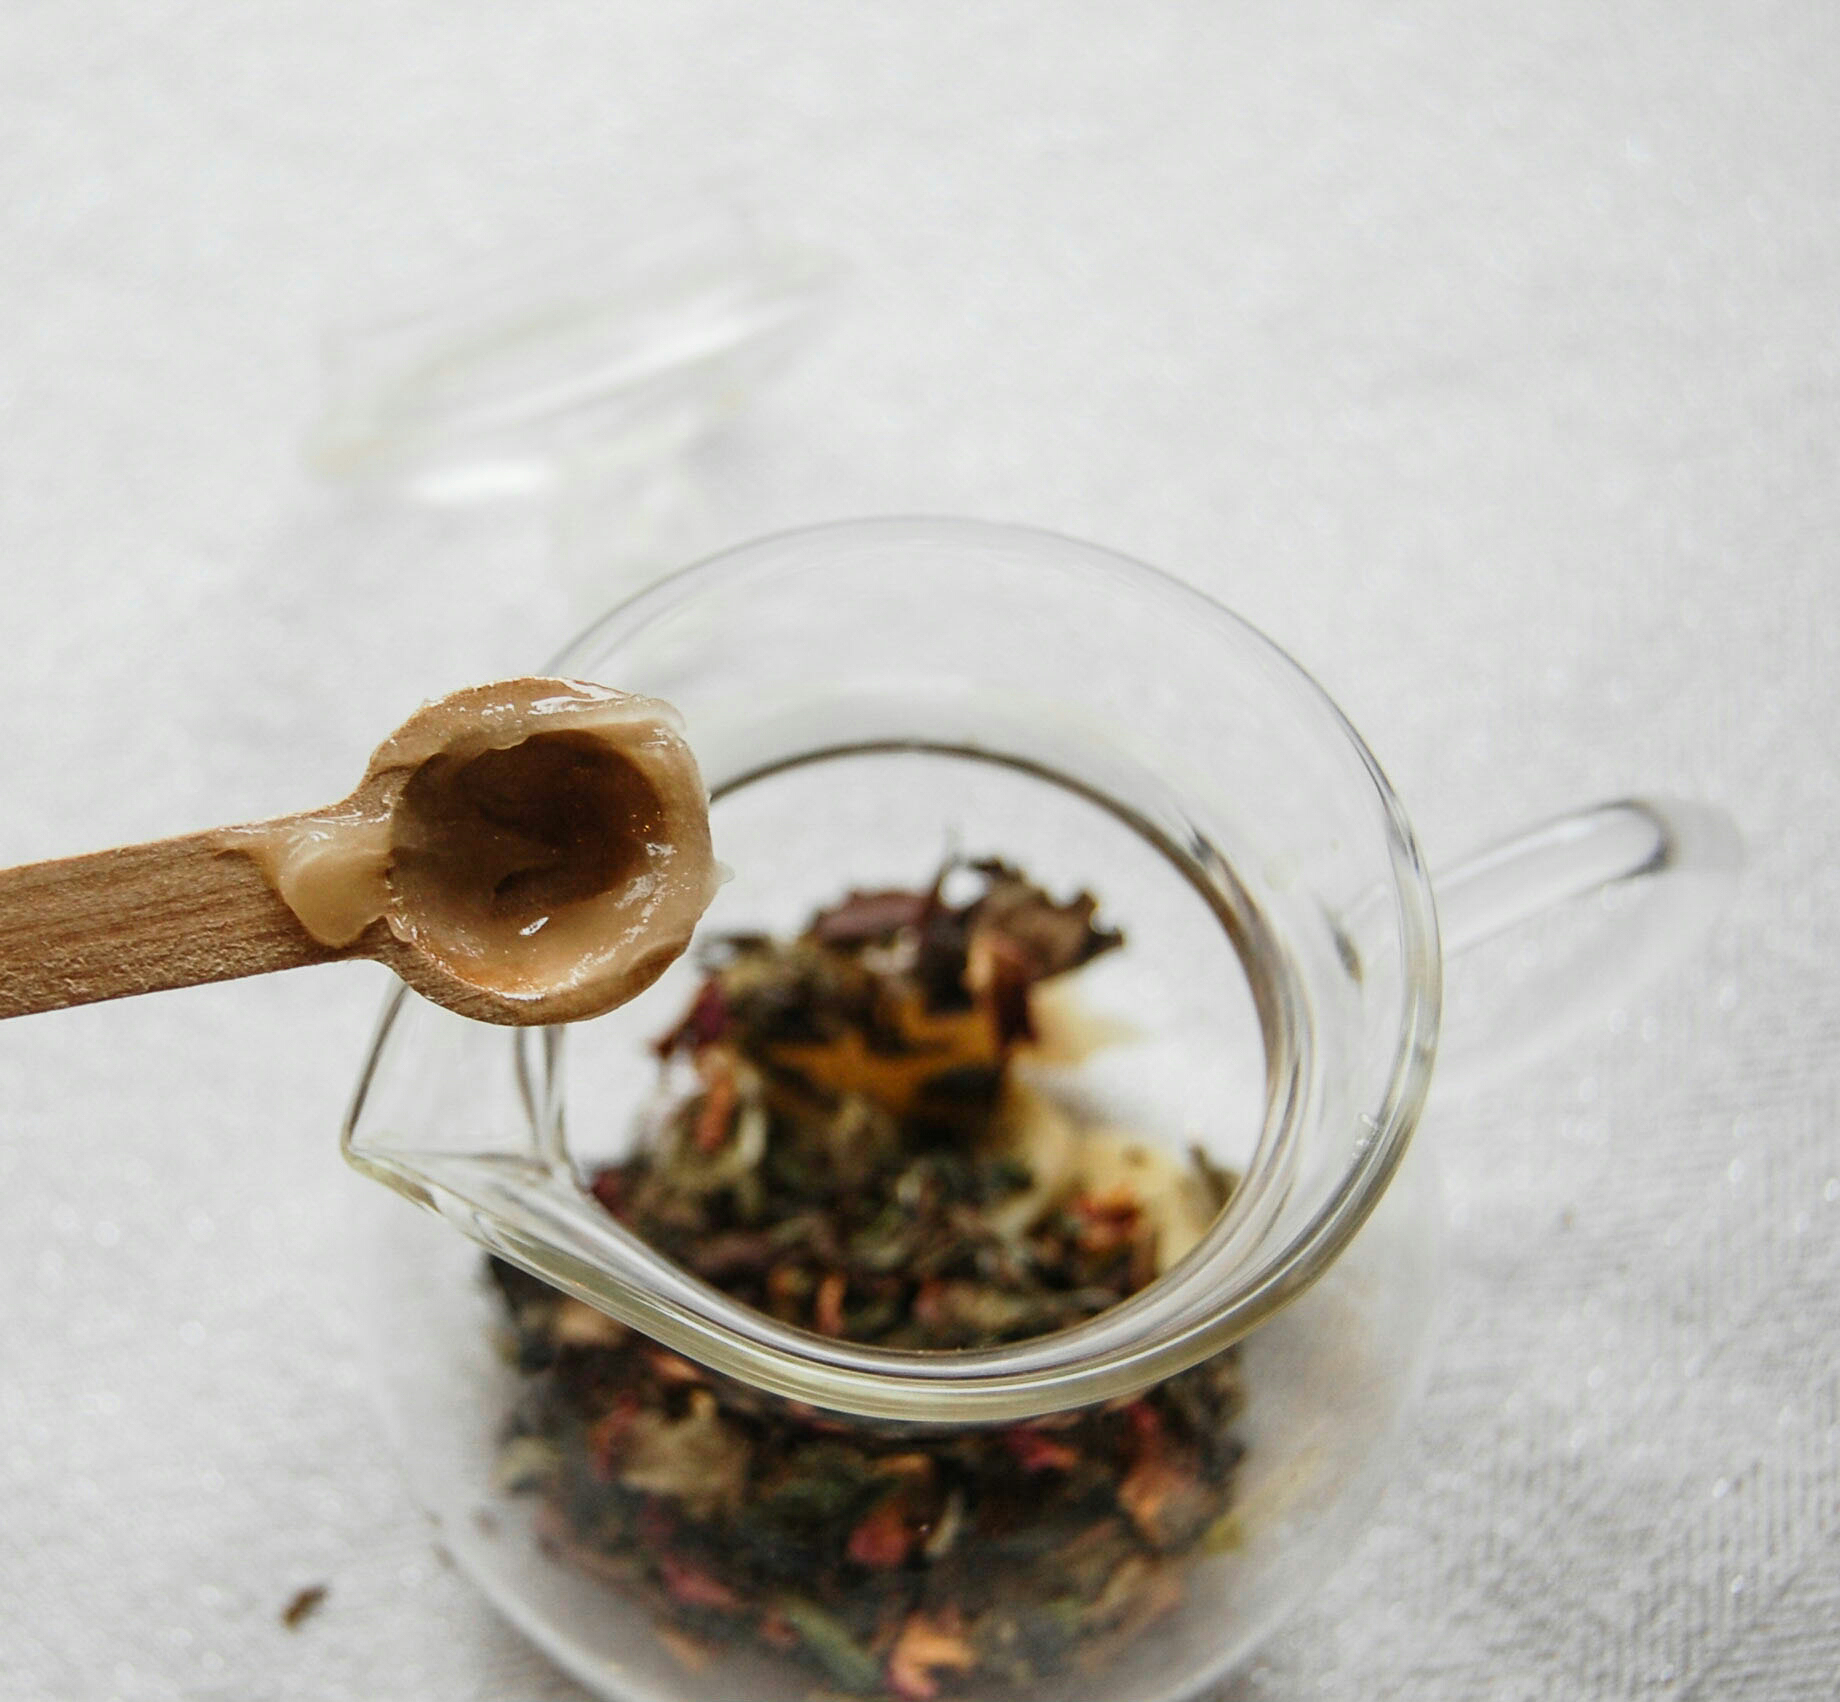
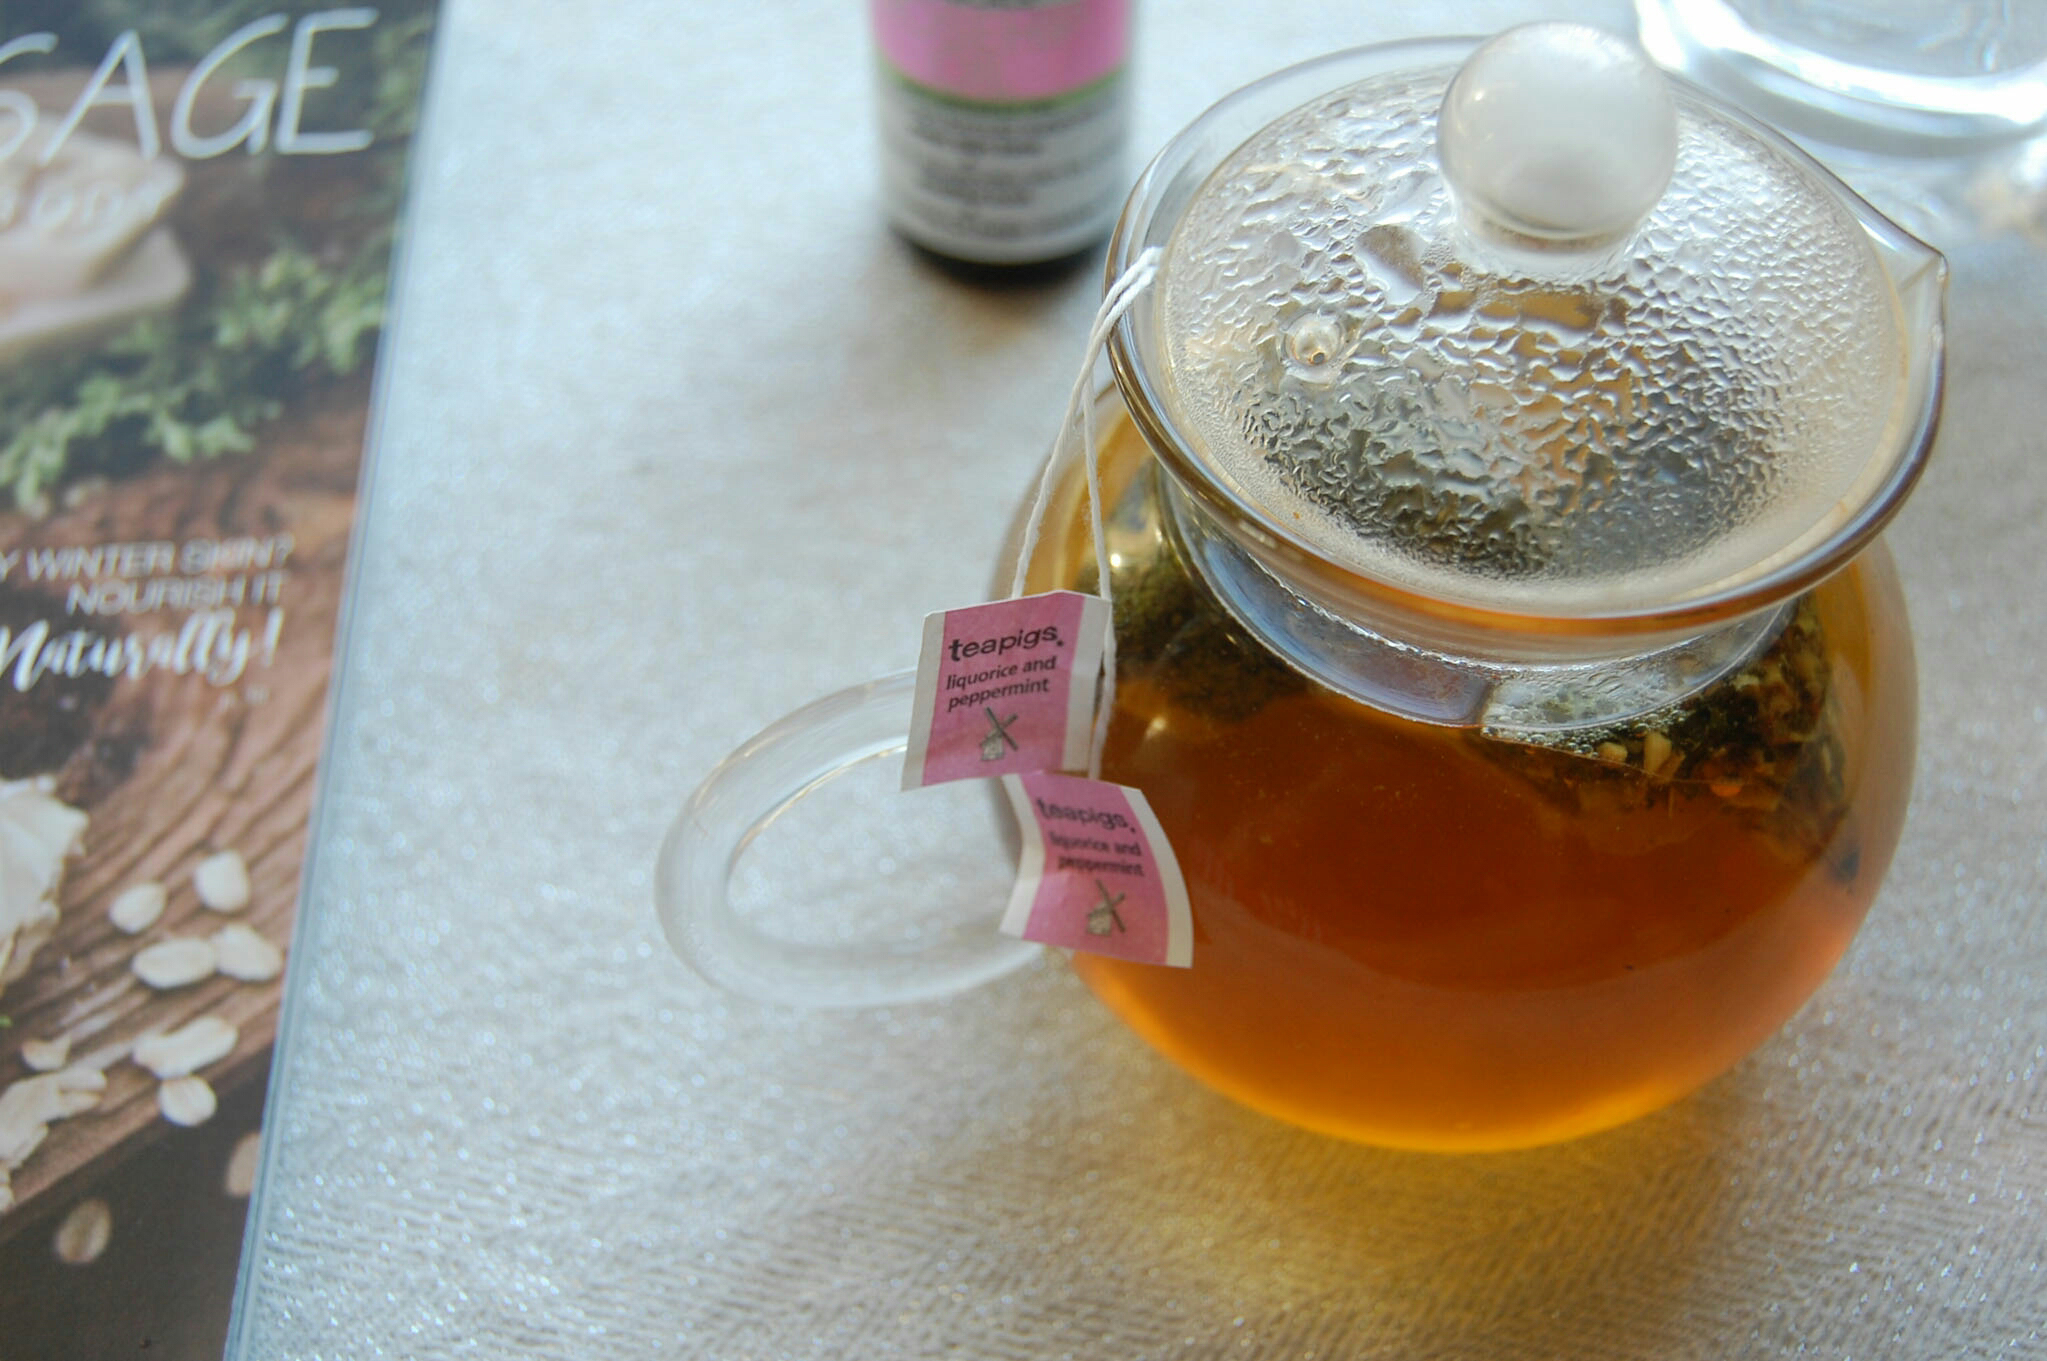
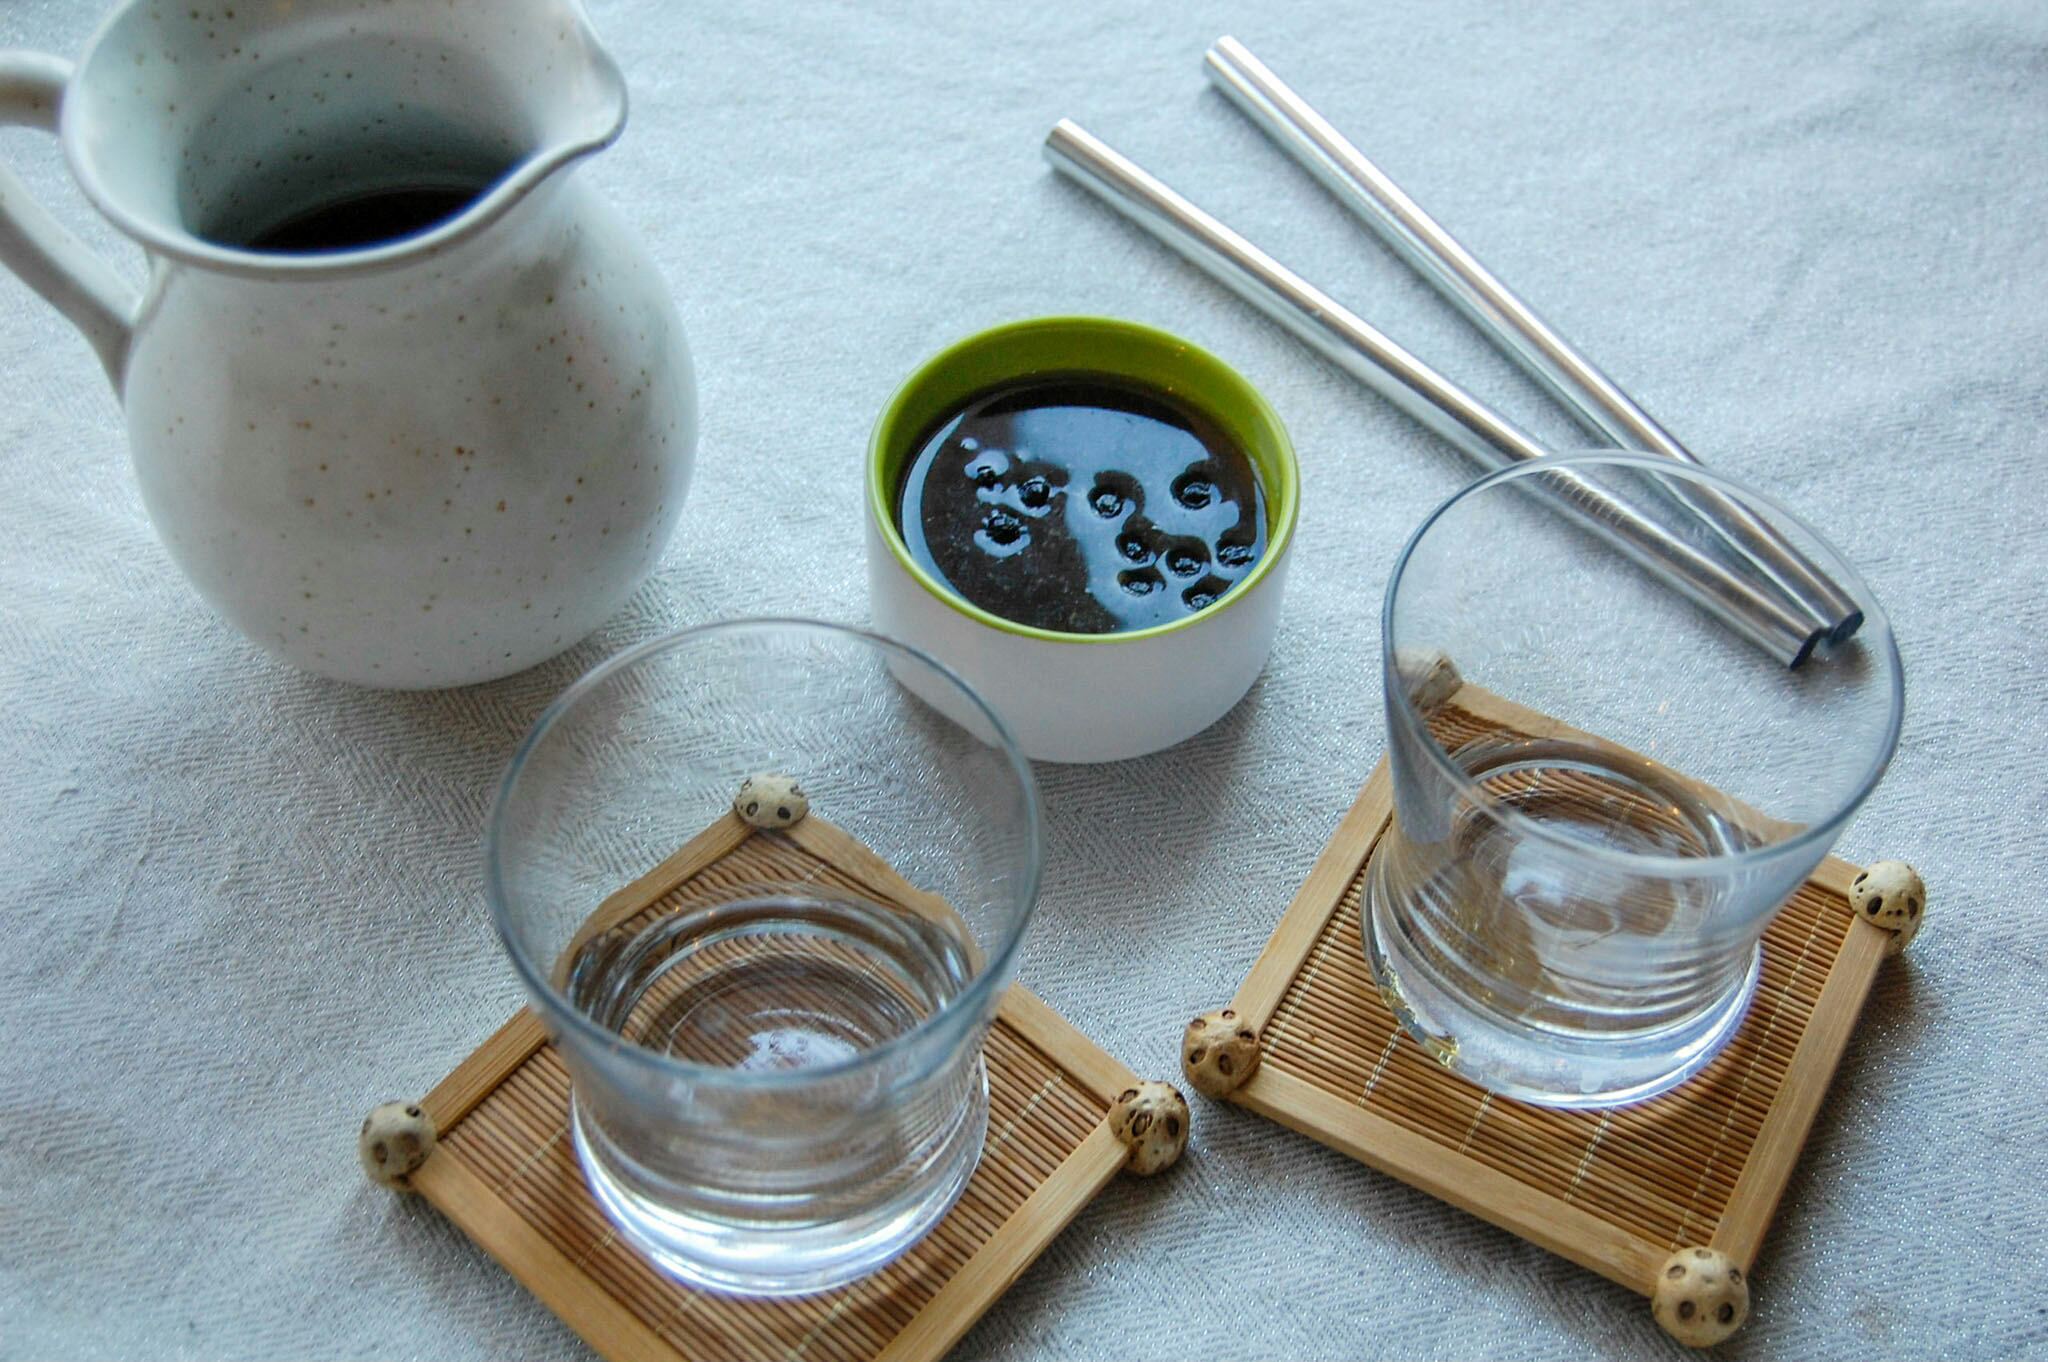
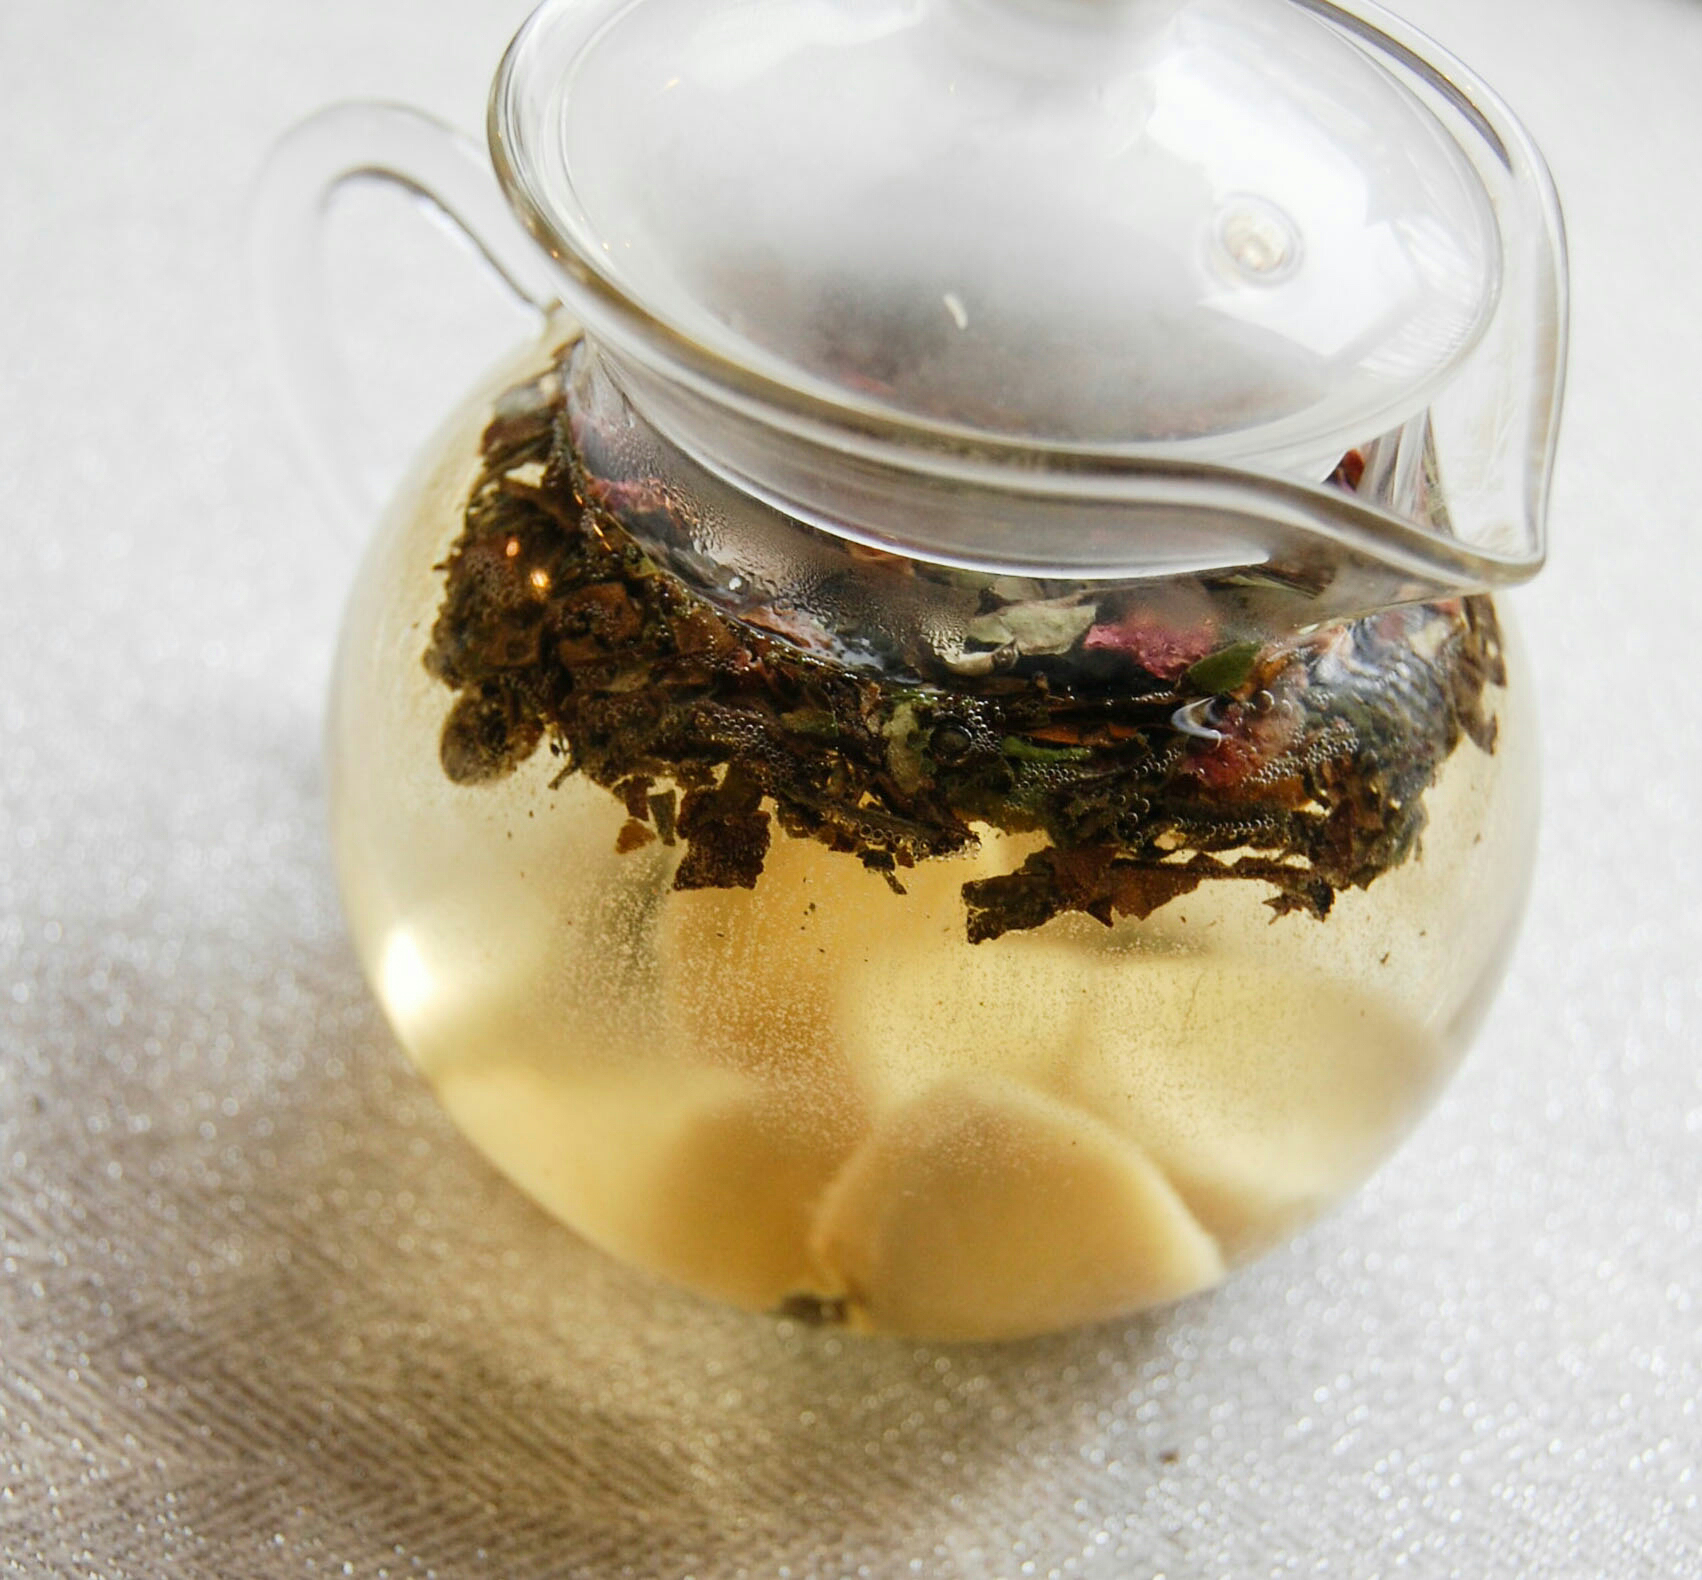
I have this fun glass tea pot that I brewed all the ingredients in together so that they could mix well. You could use a tea pot of any type of bowl that can widthstand heat!

2402-2018-124426173783087450.jpeg

This tea doesn't need to brew for more than 2-3 minutes. Feel free to let it brew a little longer for the ingredients to mix but not too much longer because the longer you brew the more bitter the tea may become. I did ginger slices but I think grating the ginger may give the drink even more of a kick! 

2402-2018-124726177390971563.jpeg
2402-2018-124026169987951461.jpeg

After you strain the tea, make sure you let the tea cool before adding it to your glasses!

2402-2018-125326182376808488.jpeg

I filled my glasses about 3/4 of the way with tea and then the rest with seltzer water and added a garnish on top!

2402-2018-125426183499215259.jpeg
2402-2018-124126171227755940.jpeg
afternoon tonic.jpg

Chai Cookie Sandwiches with Cinnamon Buttercream Filling

Oh my Chai. 

Soooooo, I know those butter cookies with the heart cutouts and jelly centers are a popular choice on valentine's day but I decided to go a different route...chai! I posted these cookies on my instagram on 2/14 without the recipe because I mentioned how it was "selfish" baking aka I didn't take a lot of photos and I didn't write the recipe. I made a batch of these to give out to my family, friends and coworkers on valentine's day. After asking on instagram if people would be interested in the recipe, all the YES PLEASE comments convinced me to write it up!

1902-2018-111522937332723783.jpeg

Something to note about cutting shapes with this dough, it's not easy. There is a high butter content in this dough so it's very soft. I used flour on the rolling pin, work surface and the dough itself to make rolling this dough out a little easier. Even with the flour, you have to be very careful when working with this dough so that it doesn't break! If you want to avoid the hassle, I would suggest balling up small amounts of dough and gently flatening them (not all the way) to make the two halves of the sandwich! 

1902-2018-110122923112894621.jpeg

In terms of your choice of chai, it's up to you. Remember that when you infuse tea in butter It really gets the flavor of whatever tea you're working with! For these I used a chai I had which is a white chocolate pumpkin chai, the pumpkin flavor came through well. If you need a reminder on how to infuse the butter with tea, it's very simple! Melt the butter in a pan, once it's melted take it off the stove and place your tea in the butter. I like to keep the tea in the butter until it's fragrant! Strain your tea and then let the butter solidify, I find it useful to put in the freezer to make the process faster. 

1902-2018-112022942133034562.jpeg

Don't throw away your tea leaves after you strain the butter! What I did to get this fun texture is took some of the leaves, chopped them up fine and threw them in the dough. Be careful to take out any hard chunks like cardamom, pepper etc. This is totally optional but I thought it added a pretty design to the cookies!

These are the heart shaped cookies I made on valentine's day, very festive! Making the heart shapes was definitely easier than making the teapot shapes!

1902-2018-111722938860707168.jpeg

Just for reference, in one of these batches I used bread flour because it was all I had and all I did differently was use 2 egg yolks instead of one egg, the cookies were just as good and soft :) 

1902-2018-111922940449015708.jpeg

Did I mention that the best part about these cookies is how soft they are?? It's very easy to take a bite out of them! No crunching here!

1902-2018-110622927779200400.jpeg

I wasn't specific about the filling because everyone has their own preferences. I beat the butter then gradually added cinnamon and powdered sugar until it was stiff enough to stay but not runny when spreading. If you get to a point where you overdid the sugar and it's too stiff, add a tiny bit of milk of your choice to loosen it up. 

1902-2018-111222933602310138.jpeg

I was a little lazy with the designs, I had on hand these store bought frosting that come in an easy squeeze bag and used that to make the swirls on both sets of cookies :) 

1902-2018-111022932184518889.jpeg
chai cookie sandwiches (1).jpg

Yaupon Infused Cinnamon Rolls!

Tea Rolls.

So as you might have noticed, I don't do a lot of bread type baking. There's a simple reason for that, I'm not very good at it!! I one time made a braided pesto loaf and it was really good but all other attempts at bread have been failures. 

DSC_0080.JPG

I really wanted to infuse the yaupon I had into bread because I think it has a great flavor for bread. With Valentine's day being tomorrow I thought I would try a fun heart shaped bread. Essentially, I brewed the tea and let it cool down slightly until it was warm and used the warm tea as the base to put the yeast in!

DSC_0078.JPG

Enter the idea for cinnamon rolls! I modified a recipe from Paula Deen that seemed simple upon searching with tea and also slightly different ingredients. 

DSC_0087.JPG

One thing that I've often gotten wrong with bread is the rising of the dough. This is probably an issue with the yeast but I was never really sure what I was doing wrong. I knew this would be different because at every step, the dough was looking and feeling the way it should!

DSC_0084.JPG
DSC_0465.JPG

I cut the dough into regular slices and used some of those but to make the heart I just unrolled one side and pinches the bottom to make the point. 

DSC_0470.JPG

I think the next time I do this, I'll put something in the little space of the heart to keep the shape better. 

DSC_0476.JPG

FINALLY! These came out well and they tasted pretty good! I would mention that I feel as though I didn't put enough filling in the middle and would be more generous the next time I make these!

These cute harry potter pusheen toppers are made by the lovely Ali from paperlypress. I thought they were such a cute addition to the rolls. Check her out for all your party supplies needs!

DSC_0478.JPG
DSC_0487.JPG

I didn't include the glaze in the recipe but it's just a mixture of powdered sugar and almond milk until I got a good consistency! 

Copy of Blueberry Basil.jpg

DIY Tea Scrubs

Tea Scrubs!

Valentine's day is coming up and handmade gifts are a great way to show someone you love, that you care! If you're stuck on what to make, check out these two types of tea infused scrubs that are easy to make, with simple ingredients !

1002-2018-115956434928411274.jpeg

I have two different versions of scrubs that vary in ingredients and with tea!

1002-2018-115656431866089505.jpeg

The first scrub combines salt and sugar and a rhubarb & ginger tea! Rhubarb and ginger are both great ingredients that can help skin. Rhubarb has antibacterial and anti fungal properties. Ginger is also said to help with evening skin tone and improving elasticity! 

1002-2018-115356429405402579.jpeg

I had this manuka honey and decided to use it instead of regular honey. You're welcome to use regular honey as well! Manuka honey has all sorts of benefits like treating acne and eczema! 

1002-2018-114956424711624352.jpeg
1002-2018-112356105062333586.jpeg

One of the most important parts of this recipe is to let the tea cool completely before mixing it in. If the tea is too hot, the sugar and salt will dissolve and lose the rough texture that helps with exfoliation! Feel free to put more tea than I used in the scrub but just know that the scrub might be a bit more water like as opposed to a scrub.

1002-2018-115456550558249512.jpeg
1002-2018-115856555174370031.jpeg
1002-2018-115956556209179146.jpeg
1.jpg

This seconds scrub uses only sugar and 2 types of tea! I received these teas from kailo tea. Kailo tea puts loose leaf and a capsule of vitamins in a tea sachet so you're taking in tea and vitamins at the same time!

1002-2018-115756433526704348.jpeg

The two teas used were Wake up and Zen out tea. The Wake up blend is green tea with vitamin B, C and D. The Zen out blend is herbal tea with vitamins C, D and magnesium! I brewed these two teas together so that they become mixed when I include them in the scrub. 

1002-2018-115256427693431746.jpeg

The rosehip and vitamin E oils give this scrub a lovely scent and added skin benefits!

1002-2018-115556551939600553.jpeg

Again, make sure to let the tea cool completely before mixing it into the sugar.  

1002-2018-115756553968793313.jpeg

Make sure that the scrub clumps a little bit, so that it will be effective!

1002-2018-110256558619406645.jpeg
1002-2018-113256114869829935.jpeg
2.jpg

Shiitake Mate Body Oil

Tea Skin Care!

Hi lovelies! I'm back with another diy beauTEA recipe! I was again looking through my little book of recipes and I noticed one about body oil and wanted to give it a try. At it's core, doing these beauty products are very similar to cooking. I'm looking for a way to infuse tea!

DSC_0060.JPG

The base oil for this is sweet almond oil...don't panic! I found it at marshalls/tjmaxx and honestly there were so many bottles and I actually saw it in a bunch of other stores so you shouldn't have trouble finding any! The original recipe infuses the almond oil with a bunch of flowers and herbs. I've infused the oil with shiitake mate tea! I'm not a fan of tea bags for drinking and if you're like me I highly suggest using them for cooking and diy recipes like this! The clean up will be much easier and there will be no need for straining!

DSC_0062.JPG

I've been seeing mushroom teas around for a while and they have many health benefits which I wasn't surprised about but I was surprised about their skin benefits! Shiitake mushroom have anti microbial properties and selenium which can help decrease acne. The zinc content can also help promote better skin healing! 

DSC_0064.JPG

This is a super easy DIY, especially because the "hardest" part is infusing the oil! I suggest using a double boiler but if you don't have one I think the best thing to use is a heat proof glass bowl that fits on a pot. The most important part of this recipe is to not let the oil burn, which can easily be accomplished by keeping the heat low and checking on it as it infuses!

DSC_0071.JPG

I additionally added in vitamin E and lavender essential oil which promote better skin health but you are welcome to switch these out for other oils that you prefer! The nice thing about the sweet almond oil is that it has a beautiful fragrance so this body oil doesn't smell like mushrooms, it smells sweet !

DSC_0068.JPG
DSC_0065.JPG

Keep in mind that this is not lotion, this is OIL so you don't need to spray a lot of it. You can spray a little bit and it goes a long way! I think this is best to put on before bed or if you want to knead or massage a part of your body part. 

DSC_0078.JPG

Places like your heels, hands, elbows etc that can easily get dry are perfect target areas for this body oil! 

DSC_0080.JPG
Copy of eye pads (1).jpg

DIY Under Eye Pads

BeauTEA recipe! 

New year, new blog topics! I got a magazine for Christmas with lots of homemade soaps, scrubs and other things. I've been looking at the ingredients to see what they are made up of and how I can incorporate tea!  

After doing a little research on liquorice and peppermint, I was pleased to see that both ingredients are said to have great skin benefits! I saw in several different places that Liquorice is actually used to help decrease dark circles under your eyes! 

1501-2018-05423372169561027.jpeg

This tea includes both ingredients so I decided to use that for my base. The recipe in the book used rosewater and on a quick trip to marshalls I found rosehip oil which is said to help fight wrinkles, perfect! In my recipe I say you can use either rosehip oil or rosewater but I actually used a bit of both. These two things give the eye pads a wonderful smell!

1501-2018-05343363834437124.jpeg

When brewing your tea, make sure that you let it cook before adding in the oil and rosewater. 

I would suggest cutting the cotton rounds into both wide and thin crescents. The wide ones can also be great to incorporate the tops of your cheeks!

1501-2018-05403369554894570.jpeg

When it comes to using the oil, I think it's actually best to use enough so that the mixture is fragrant so feel free to stray from the recipe here.

1501-2018-05303360236133427.jpeg

I let the pads soak in the mixture for 10-15 minutes then gave them a little squeeze and put them in a freezer bag. 

1501-2018-05463375411630089.jpeg

Keeping these cold is important because they are way more refreshing that way! If you want to use these in the morning, keep in mind that you'll need to let the pads thaw a little bit before using them so make sure you leave enough time! 

Also, a mistake I made was stacking them. They will thaw easier and keep their shape better if you put them in a bag in a single line. 

1501-2018-05413370913538892.jpeg

I used them this morning when I first woke up and I loved the sweet smell and the cooling sensation. I've tried a lot of under eye pads before and these were actually not that bad! Will these completley get rid of dark circles? I can't guarentee that, but they will leave your skin feeling cool and refreshed!

eye pads.jpg

Homemade Bubble Tea!

Boba Box!

I've met some awesome small business owners ever since I started instagram and one those people, one of those people is Katie from K-teas! I was really excited when they announces a boba box. If you're unfamiliar with boba, you might know it as bubble tea!  

1101-2018-092743488659919346.jpeg

Earlier this year, I ordered tapioca pearls from amazon and tried to make it myself but honestly the directions were a little confusing and they didn't come out well! I was excited to try this box because it comes with everything you need! 

The box includes: 

  • Easy to follow directions

  • 2 metal wide mouth straws

  • A large pack of tapioca pearls

  • Royal milk tea (classics bubble tea) and rooibos chai. It's nice that there is a caffeine free tea option available as well!

1101-2018-092143482951507787.jpeg

In addition to cooking the pearls so that they become soft, you often soak them in simple syrup which gives them that sweet flavor. Simple syrup is essentially sugar and water but there are also directions to make simple syrup included. Instead of using sugar, I used honey to make my syrup and also put a few drops of this elderberry syrup just to mix up the flavor!

1101-2018-093143492401449919.jpeg

After cooking the pearls, you soak them in the syrup. I left them in there for a little bit to make sure they soaked up the flavor. One note, you don't want to leave the pearls out too long though so I would suggest brewing the tea and letting it cool before you start the pearls so that the tea is ready once the pearls are ready. 

1101-2018-093243493871465543.jpeg
1101-2018-091443475620327529.jpeg

Generally, bubble tea is served cold but it can also be served hot. I've had it both ways from our local bubble tea place and I definitely prefer cold. If you prep your tea and it's already cool, you can just add it to the pearls and you're done!

1101-2018-091743478564516643.jpeg

I often get my bubble tea at the store without milk because generally I prefer tea without milk however, it's quite common to get milk. I added milk to one of my glasses and left one of them plain to show you the difference! The one with milk is filled up about 3/4 of the way with tea then filled the rest of the way with milk.

1101-2018-091543476921975290.jpeg

I really like how the kit comes with TWO wide mouth straws that are reusable. You can see in the photo below that the straws are large enough to have no issues sucking up the bubbles as you drink the tea!

1101-2018-092543487183210025.jpeg

Note: I cooked my boba a little longer than the recipe, just make sure that your boba had grown in size! Also, I left mine in the fridge all day to drink later but I think this is better enjoyed right away :) 

1101-2018-092043481494930339.jpeg
Copy of Copy of Copy of hot cocoa.jpg

Matcha Jasmine Rice

Green Rice! 

It's been a long time since I've made a recipe with matcha and this one popped into my head the other day. I have been making this garlic jasmine rice ever since I got the recipe in a blue apron box. The water that is added to the pot is a perfect opportunity to add a type of tea!

0801-2018-071319416342716944.jpeg

I've used matcha in cocktails and sweets so I've been curious how it would taste in a savory dish! With the earthy flavor matcha has, I figured it's a great flavor to add to a meal. I essentially keep the jasmine rice recipe the same but instead of using plain water, I use the same amount of brewed matcha. For this recipe I use Midori matcha from matchaeologist, this is a culinary matcha that is perfect for cooking!

The matcha link is an affiliate link. Please consider purchasing with my link as it will help me keep this blog going!   

A few things differ about this recipe than the one I've linked below. I specifically use sesame oil because I think it goes well with the other flavors and spices up the recipe a bit. You are welcome to use any other type of oil that you think might taste good! 

0801-2018-070419407482913822.jpeg

In terms of the matcha, the amount is up to you. I used 3 tablespoons of matcha and that was plenty. The rice came out a beautiful green color and the flavor was not cooked away. If you make more rice, feel free to add matcha and if you want to try this recipe but aren't a HUGE matcha lover I would suggest trying it with 1 or 2 tablespoons. 

0801-2018-071419417488405537.jpeg

Optionally, you can add tuxedo sesame seeds to the cooked rice for presentation but also because they are yummy! Depending on what you are pairing the rice with, you can also add soy sauce. I added soy sauce to try and liked the flavor combination. I think this rice can be eaten with almost anything but I feel as thought it would be most delicious paired with seafood!

0801-2018-070919412602320018.jpeg

Depending on the pot that you use, the cooking time I listed can vary. Make sure after you cover the lid that you turn the heat low. If it's not low you will most likely burn the bottom of the rice!

0801-2018-071019414005538455.jpeg

Another cooking note I wanted to mention was regarding the water/matcha. After about 14 minutes, I took the lid off and the rice seemed cooked but there was a little bit of matcha still on the top. Once I stirred the rice a bit in the pot, the matcha distributed itself around the rice. 

Copy of Copy of hot cocoa.jpg

Green Tea Cranberry Spritzer

Sparkling tea!

It's Christmas time and I have been so busy with the shop that I have been making recipes but not posting them! I recently got a bag of cranberries from my CSA and have been brainstorming about what to do with them. 

2012-2017-0757156429165100538.jpeg

I'm a huge fan of cranberries in drinks so I started to look at what I had in the house. I try to make my recipes with simple ingredients so that you can make them with things you probably have already instead of going out to buy a bunch of items. 

2012-2017-0705156437266433660.jpeg

I had cranberries, seltzer water and some clementines! The last thing I needed was to choose a type of tea. I wanted to chose something that embodies the christmas spirit. Lucky for me The Tea Spot generously sent me some of their lovely teas and one of them is a roasted green tea with peppermint! You can find it here  ! Peppermint is a classic christmas time flavor and with the addition of cranberries and citrus, it's perfect!

2012-2017-0710156442743955585.jpeg

Once you brew the tea let it cool and then let it cool all the way by putting it in the refrigerator! Once the tea is cool you can use it in the drink! 

2012-2017-0709156441438872773.jpeg

Seltzer always gives drinks a nice fizzy kick! If you are a cranberry lover I would suggest crushing up a few cranberries to add to the drink.

2012-2017-0707156438796660274.jpeg

I filled my cup up about 1/2 way with tea and 1/2 with seltzer but feel free to change these porpotions to however you think the drink will taste best!

2012-2017-0755156427624654965.jpeg

I mention in the recipe about adding some juice of the orange. I had a clementine on hand and squeezed half of one in each cup. You can add more or less based on your taste!

2012-2017-0712156444459299282.jpeg

Orange + Cranberries + Green tea peppermint + Seltzer water = AMAZING!! If you want this boozy, I think this simple combo would taste delicious with a variety of drinks!

Copy of hot cocoa.jpg

Darjeeling Hot Cocoa

Hot cocoa has so many wonderful memories and feelings attached to it. The most prominent one of course is winter time activities! I remember ever sledding adventure included going sledding for hours and coming back to the house soaked to the bone and freezing cold. My sweet mom would always have hot cocoa and marshmallows ready for us when we got back! 

1811-2017-1037145470938731666.jpeg

I've always been a fan of LOTS of tiny marshmallows vs. one or two large marshmallows. I did try a few times though to see if this hot cocoa scene from The Simpsons would actually happen LOL. 

1811-2017-1022145455631561724.jpeg

Hot cocoa has always been one of those things that never gets old. I've tried it so many different ways, but I've never tried it with tea! Tea and chocolate is a delicious combination so I knew it could only turn out well!

1811-2017-1023145457117709431.jpeg

I simply brewed some Yatra Tea Co darjeeling tea and that came in my sips by box and added it to my hot cocoa pot. I've always loved making it from scratch because the flavor was always better. 

1811-2017-1029145462481098128.jpeg

I added some spices to my mixture to jazz it up but they aren't necessary. The cinnamon is a must but not the nutmeg or cayenne! I added a bunch of marshmallows to mine but this mixture is good on it's own too!

1811-2017-1034145468390752707.jpeg

Remember that caramel sauce I made? It's the gift that keeps on giving because I added it to the top of these marshmallows....mmmm! I like that the darjeeling tea makes the hot cocoa have an even richer taste. 

1811-2017-1030145463754720836.jpeg

When it comes to cocoa powder, use a good quality one so that the flavor comes through well. I used 1/2 cocoa in my first batch and it was REALLY chocolatey. I would suggest using a little less if you want it to not be as strong OR you can add additional milk or tea!

1811-2017-1033145467029124480.jpeg
hot cocoa.jpg